
While using a computer to study and work, a stable Internet connection will be an extremely important factor. Especially for those who work online, live stream sales, teach and learn online….
So there will be times when you want to check if the Wi-Fi signal strength that your computer is connecting to at the moment is good or not.
Well, and if you don’t know how to check if your Wi-Fi network signal is strong or weak, this is the article for you. Okay, let’s get started now..
Read more:
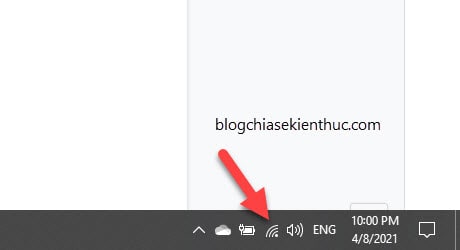
#first. Use the WiFi icon on the Taskbar
Checking the Wi-Fi network signal on the Taskbar is the way that most people already know and this is also the fastest way to check.
If you want to know more details about the strength of the surrounding WiFi networks, you can click on the wifi icon to display a detailed information table.
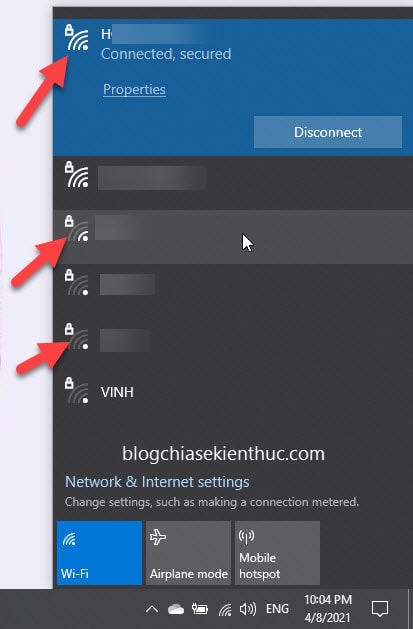
Here, with WiFi networks with full of all wave bars, it will be equivalent to the strongest signal strength, and vice versa, one bar will have the lowest signal strength.
//*actually the ways below are for your reference only*//
#2. Check in Windows Settings
If you still want to check in another way, you can go to the Windows Settings section of Windows 10 to check.
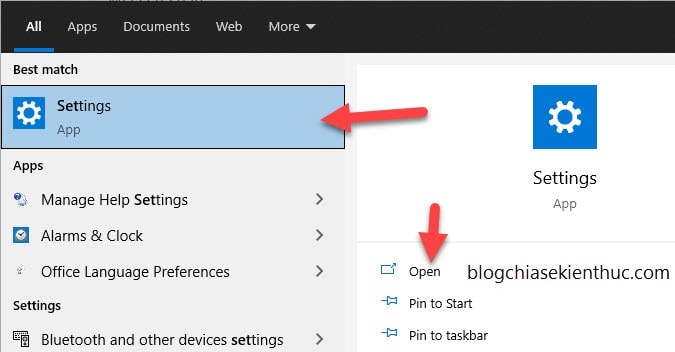
Perform: You press Windows + S to open the search engine in Windows => then you search with the keyword Settings => choose Open.
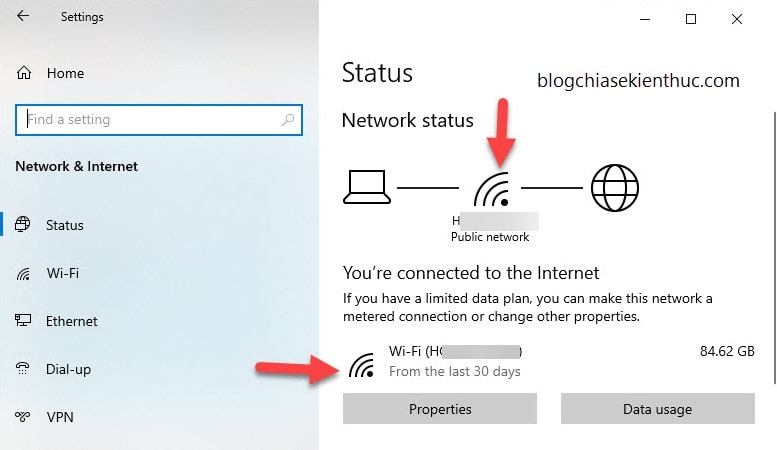
You go to the Network & Internet.
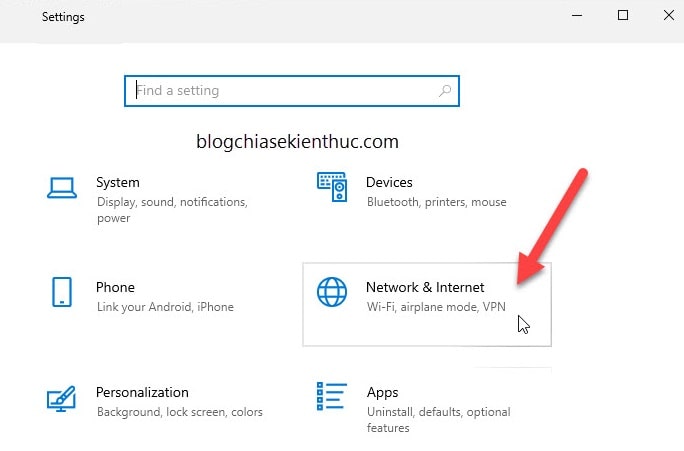
Here you will check the details of the WiFi signal strength that your computer is connected to.
#3. Using Control Panel
You open Control Panel up by opening the Run dialog box (Windows + R) => enter keyword control or control panel => then press ENTER.
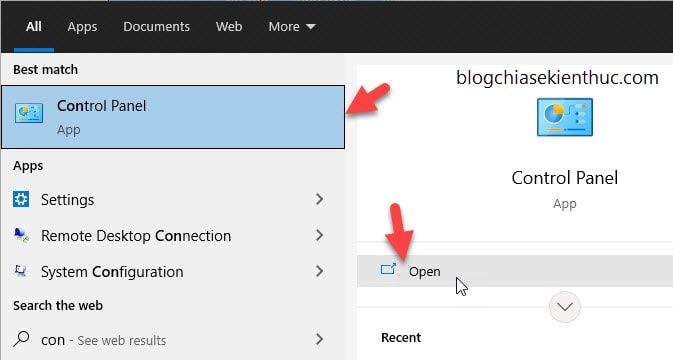
Or you press Windows + S => and find Control Panel same as above. Then open it up.
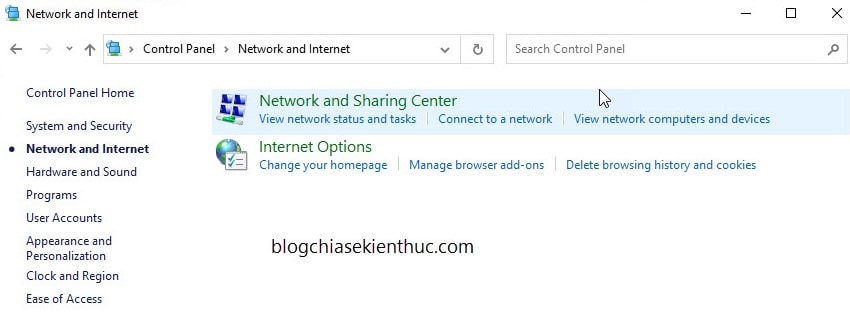
Then you choose Network & Internet in the Control Panel menu.

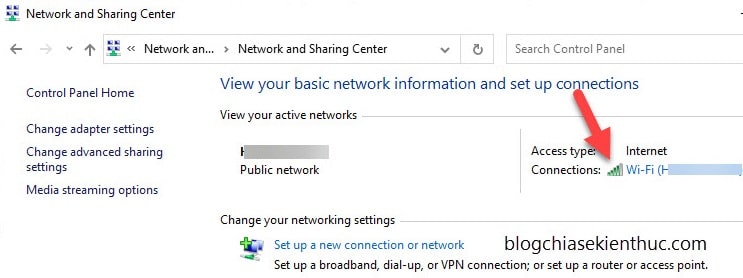
Next, select the item Network and Sharing Center.
Here you will also check the WiFi signal strength you are connected to.
But it seems that it gives more accurate results than the above methods, because the WiFi I’m connecting to has been reduced by one bar, not as full as when I checked it on the Taskbar.
#4. Use Windows PowerShell if you need precision
The methods above only yield quite abstract results using wave lines. And if you are in need of more accurate and detailed information, you can use Windows PowerShell to check.
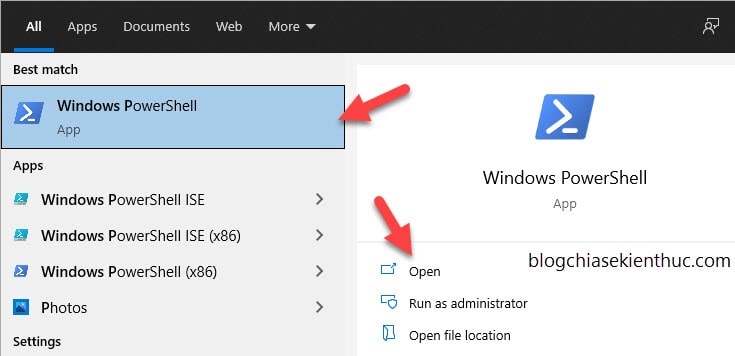
You seek Windows PowerShell by pressing the combination Windows + S => search with keyword powershell => then open this tool up similar to the steps above.
Then you copy the code below and Paste (paste) it into Windows PowerShell => and press Enter to launch.
(netsh wlan show interfaces) -Match '^s+Signal' -Replace '^s+Signals+:s+',''NOTE: To paste into the Windows PowerShell window, you just need to right-click
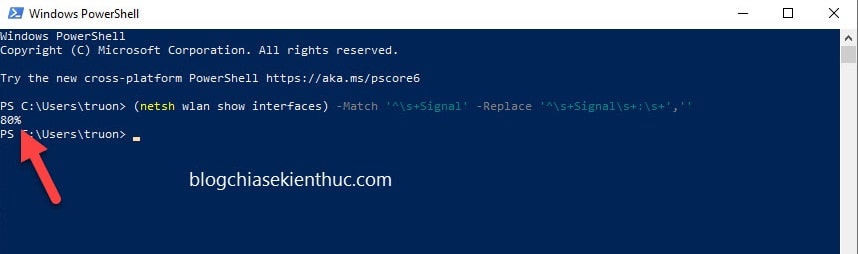
The return result of Wifi signal strength is 80%, this is very useful for those who want to collect accurate data about WiFi signal.
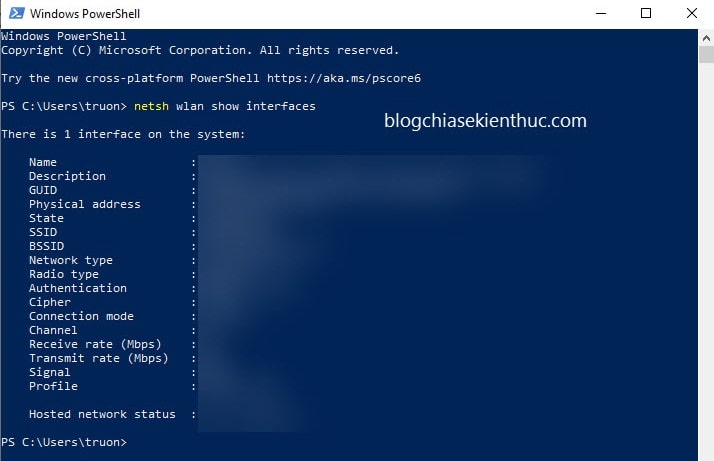
In addition, you can also use the command line below, it will display a lot of other information about the WiFi network that your computer is connected to.
netsh wlan show interfaces
#5. Using Command Prompt (CMD)
Using Command Prompt (CMD) will also give the same % results as when using Windows PowerShell, you search by pressing Windows + S and open Command Prompt up.
See more articles: 9 ways to open CMD (Command Prompt) window on Windows 10

You type or copy and paste (paste) the command line below into Command Prompt => and press Enter to launch.
netsh wlan show interfaces
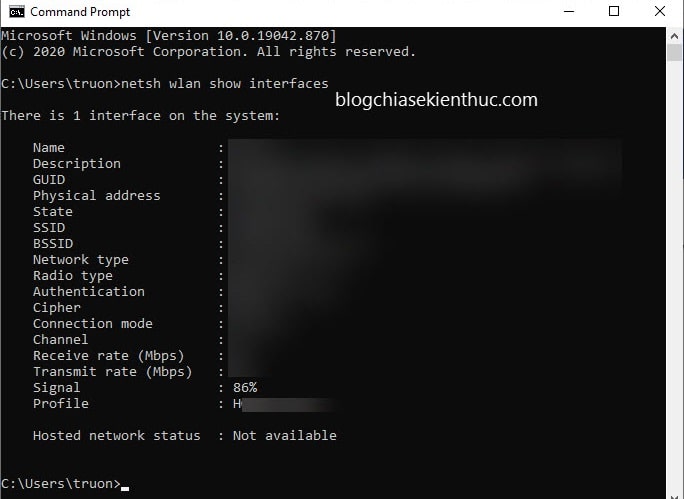
This result is similar to that on Windows PowerShell, so you can refer to it for more information.
#6. Epilogue
So I have introduced to you 5 ways to check WiFi signal strength on Windows 10 okay then.
In addition to the ways above, do you know any other more effective ways? Don’t forget to share it with your friends too 🙂
CTV: Truong Quang Nhat – techtipsnreview
Note: Was this article helpful to you? Do not forget to rate the article, like and share with your friends and relatives!
Source: 5 ways to check Wi-Fi signal strength on Windows 10
– TechtipsnReview


