NOTE: Welcome to the Knowledge Sharing Blog! If you encounter any errors during use, such as error in download link, slow loading blog, or unable to access a certain page on the blog … please notify me. via Contact page. Thanks!
This article I will share with you how to create one USB BOOT according to UEFI standards and Legacy, that is, after successfully creating this USB BOOT, whether you are in UEFI or Legacy standard, you can access it.
This tool is up to you hiepsisoma write and share with the community. Today I just bought a new laptop and tried to install the UEFI standard and the hard drive in GPT format once to see why it has been used according to Legacy standard. And after using this tool, I found it quite good because the USB creation process is very fast and does not need much work.
Right after downloading with just a few clicks, you already have a very professional rescue USB, that’s why I decided to write this article to share with you in need because I think a lot of you also. want to install this standard but do not know how or do not have time to research and learn.
Advantages of creating USB BOOT UEFI
- After creating USB BOOt, you can access both UEFI and Lagacy standards.
- Has been integrated Hiren Boot 15.2 Lite and Norton Ghost 11.5
- Compact Win 8 PêE x86 includes basic rescue tools.
- Win 8 PêE x64 Full soft & Full driver for intensive rescue.
- If you are Booting on UEFI standard, it will automatically access Win 8 PêE x64, if you boot on Legacy standard then go to Boot Menu as usual.
How to create USB BOOT UEFI 1 click
Tools need to prepare:
Read more:
Next, you do the following steps in turn. Actually, the tool is full of Vietnamese instructions, so it’s very easy to use. But I just write through it for you to easily imagine.
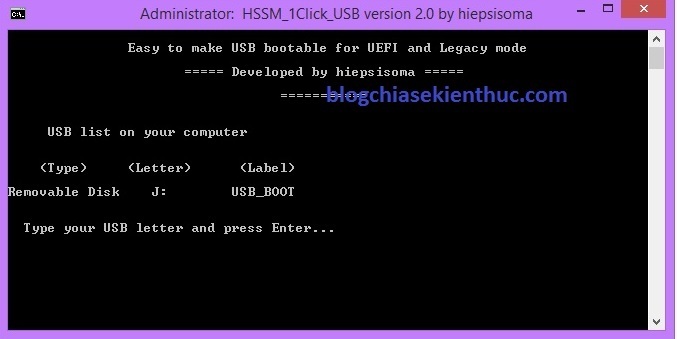
After you download the Tool, run as administrator if you are using Windows 7/8/10…. (Right-click on the Tool and select Run as Adminstrator). Then, the program will show the connected external devices. For example, here I am connecting a USB called “USB_BOOT” (the drive letter is J)
You enter your USB drive’s letter (here I enter J ) and press Enter.
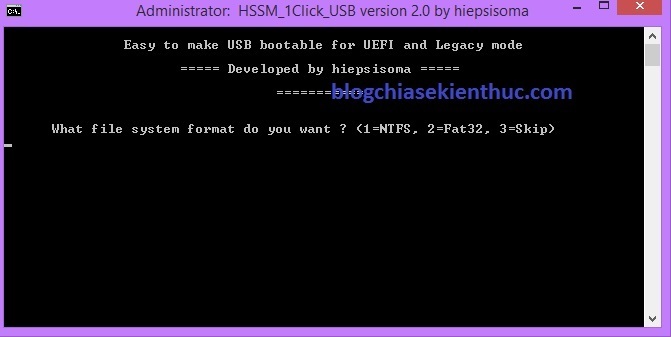
Next, the program will ask if you want to reformat the USB.
- Option 1 to Format USB with NTFS format
- Option 2 to Format USB with FAT32 format (choose this to boot 2 standard UEFI-Legacy)
- Option 3 to not Format.
Depending on your purpose, for example I enter the key 2 and press Enter
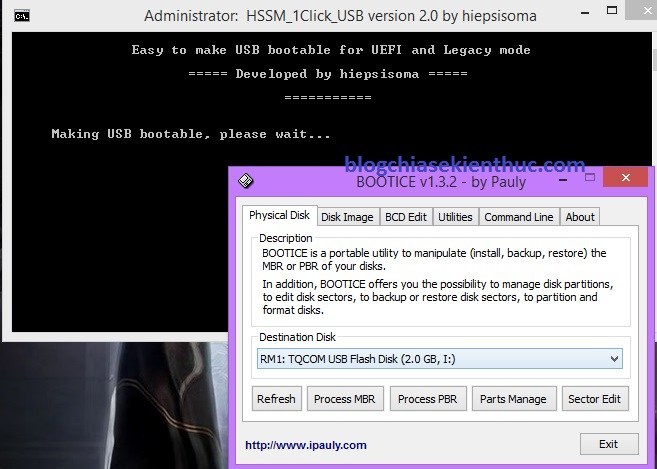
USB during the booting process.
Note: In the first run, there may appear a BOOTICE panel as shown below and the tool stops running, click Exit to get out. Turn off the program and run Tool again is OK.
The process of copying data files to USB starts. Please wait a few minutes to finish.
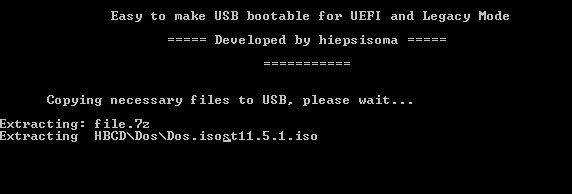
OK! you have completed the process of creating one USB BOOT standard UEFI and Lagacy there. Very simple, right ?
Image when booting into standard Lagacy, fully display the boot menu.

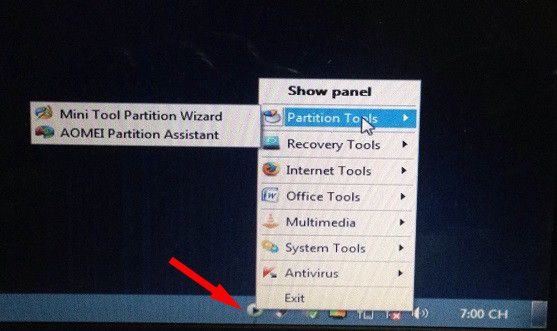
Some of you have questions that after and Mini Win do not see some tools like Partition Winzard or AOMEI Partition Assistant…. Then I add an image like the image below so you know!
Tips:
Epilogue
In the following article, I will guide you to ghost your computer with UEFI standard and the hard drive in GPT format, if you are interested, you can follow and follow it. I will instruct in great detail because during the process, I took pictures already: D. Hopefully this article will be useful for you.
Kien Nguyen – techtipsnreview
Note: Was this article helpful to you? Don’t forget to rate, like and share with your friends and relatives!
Source: Create UEFI USB BOOT standard with 1 click to rescue computer
– TechtipsnReview


