
Automating the use of cloud services is a relatively new concept. Most people don’t realize the time-saving advantages of automating repetitive tasks. Even when people are aware of the benefits of a cloud service, the complicated learning process scares them.
Microsoft Power Automate (formerly known as Microsoft Flow) is a cloud service that aims to simplify the process of automation. If you don’t have programming skills and want to take advantage of cloud automation, Microsoft Power Automate is a perfect starting point.
What is Microsoft Power Automate?
Microsoft Power Automate is a cloud-based service that allows you to automate workflows. Let’s say you have a daily job checking email from your manager. It is very easy to forget this simple task. Using Microsoft Power Automate, you can schedule reminder notifications to check email from your manager at a certain time.
There are also many other business processes that you can automate, including complex data collection business processes. In other words, Microsoft Power Automate is more than just a simple task scheduler. This is a secure cloud service that can help streamline your business.
Automate jobs in Power Automate with built-in templates
Microsoft Power Automate makes it easy to automate common tasks like email reminders, important events, and data collection. Let’s learn how to automate some common workflows using the built-in templates in Power Automate!
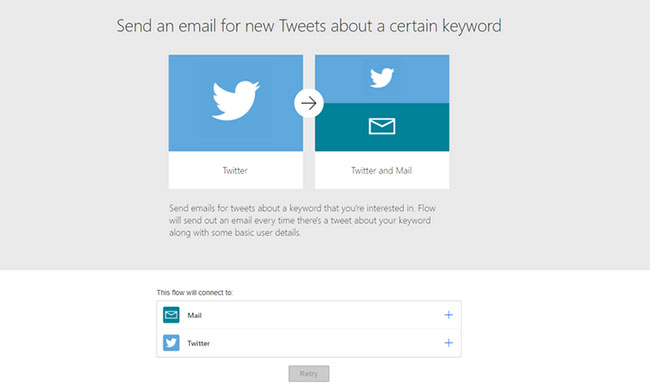
Send emails whenever a new Tweet uses keywords
Let’s say you run a business that sells gaming hardware, for example graphics cards. Naturally, you want to target people who want to buy a GPU. So you’ll keep an eye on customers interested in gaming hardware. One way to do this is to track certain keywords that match your business goals.
On the Power Automate home page, use the search and find box “Twitter”. Click Send an email for new Tweets about a certain keyword. Connect Twitter account by clicking on the bookmark + and enter your login information. Click tiếp tục will take you to the process customization screen.
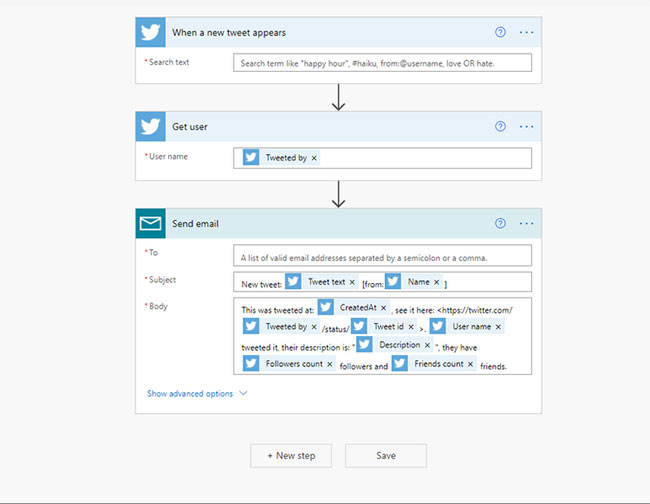
Customize your process with relevant information in the fields provided:
- In box When a new tweet appears, enter the phrases you want to search for.
- In box Get UserEnter the name of the user you want to monitor.
- In box Send email, enter the email address you want to email to.
- Click Save and you have successfully created the process.
Save email attachments to OneDrive
Deleting old emails comes with the risk of losing important email attachments like contracts. Using Microsoft Power Automate, you can create workflows to automatically save new attachments to your OneDrive cloud.
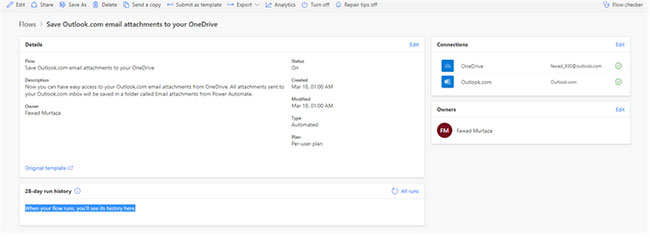
Search “OneDrive” using the search box and clicking Save Outlook.com email attachments to your OneDrive. Then enter your email and OneDrive credentials. Click Create Flow to set up your workflow.
Once you’ve created your process, you’ll see a screen where you can manage it. For example, you can delete, modify, and view your current processes history. Furthermore, you can also publish the process as a template by clicking Submit as template.
Create custom tasks in Power Automate
The workflow from existing templates simplifies many tasks, but they are also a bit limited. There are situations when you want to automate a task without a pre-built template. In such situations, you can create your own process.
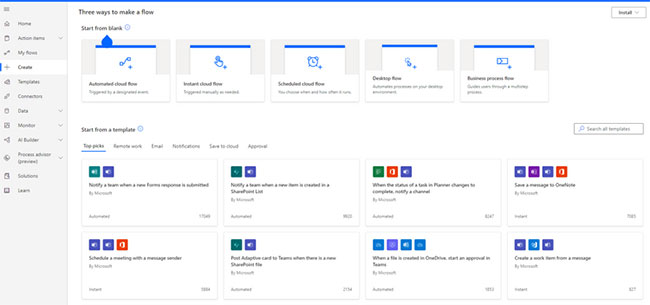
Create a custom process for sending someone a birthday greeting each year. To do this, click Create on the left sidebar. This will bring you to the process creation screen, where you can choose the type of process you want to create.
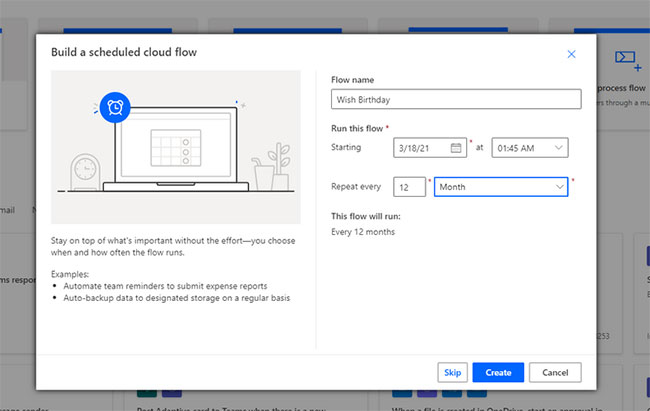
Because you want to send a birthday wish, it will be a process scheduled to run on a specific date. So click Scheduled Cloud Flow.
A screen appears where you will have to name the process, the start date and the repeat cycle. So give the process whatever name you want and enter the date you want it to run. Import twelfth into the Repeat every and choose the month from the drop-down list.
Click Create.
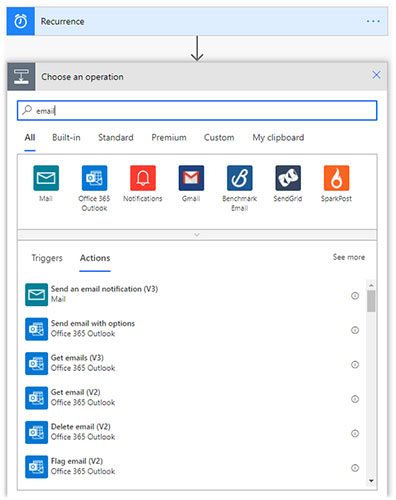
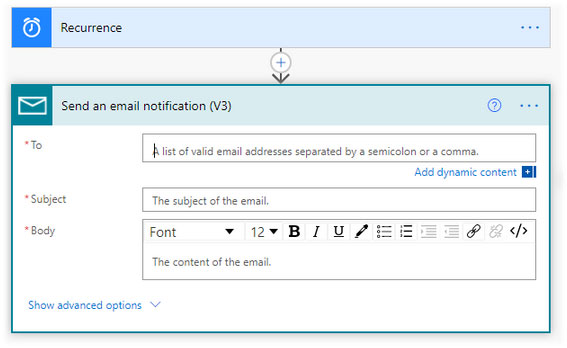
Once on the new screen, click + New step and choose Send an email notification by searching “email” or scroll down.
Enter email details and click Save.
Source link: How to automate routine tasks with Microsoft Power Automate
– https://techtipsnreview.com/


