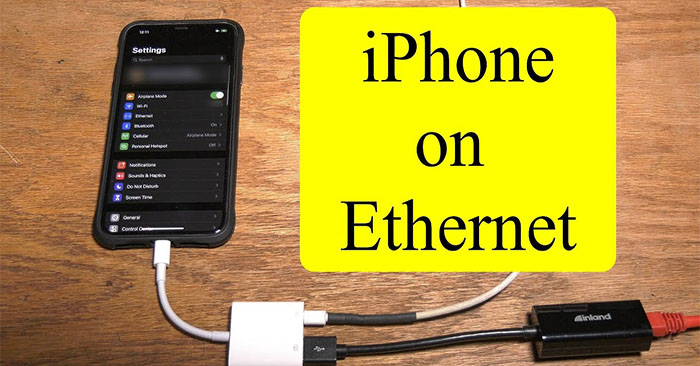
In recent years, the only way to connect an iPhone to Ethernet has been to plug several adapters together – a USB adapter, a USB hub, a USB Ethernet adapter, and an iPhone power adapter (of course. Lightning to USB cable).
If you plug all these devices together in the correct order, you can make everything work. However, this will leave you with a mess of messy adapters and cables.
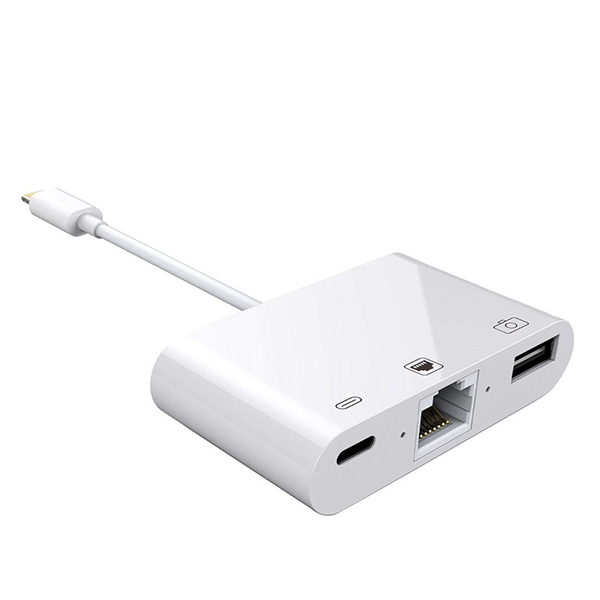
The Gigabit Ethernet adapter solves this problem, providing a simple and neat way to connect iPhone to Ethernet.
How does the Ethernet adapter for iPhone work?
The Ethernet adapter is a dedicated version of the USB 2 to Gigabit Ethernet converter. They use the support for Ethernet built into the iOS operating system starting with iOS 10. This means that Ethernet connectivity is available to be used by any iOS application.
The adapter communicates with iPhone using high speed USB and supports connection to 10/100/1000 Ethernet network. When connected to a Gigabit Ethernet network, the adapter provides bandwidth up to 225 Mbps.
These adapters can also be used to charge an iPhone. There are two versions of the converter available:
- The Gigabit + PoE adapter uses power over Ethernet (PoE) to charge the iPhone. It takes 15.4W from a PoE enabled switch or PoE injector.
- The Gigabit + power adapter uses an external AC adapter (12V 1.6A) to charge iPhone.
Steps to connect iPhone to Ethernet
Step 1: Connect the adapter to the source
If you have a local AC outlet, plug the adapter into an outlet using the power adapter Redpark provided.
If you are using power over Ethernet (PoE) as a power source, use an Ethernet cable to connect the converter to a PoE-enabled switch or PoE injector. Cat 5e or Cat 6A Ethernet cable is recommended.
Step 2: Connect the adapter to your iPhone using a Lightning to USB Micro B cable
Lightning to USB Micro B cables are available from manufacturers in various lengths.
Or you can use a Lightning to USB Micro B cable from other brands (as long as the cable is MFI certified).
Step 3: Configure Ethernet connection using the app Settings on your device.
After the Ethernet adapter is connected to power and iPhone, “Ethernet” will appear in the application Settings in the middle of the “WIFI“And”Bluetooth“. (Requires iOS 10 or later.)
Choose “Ethernet”To access Ethernet configuration details. The Ethernet connection can be configured to use DHCP or static IP addresses. The default is DHCP and this doesn’t need to be modified in most cases.
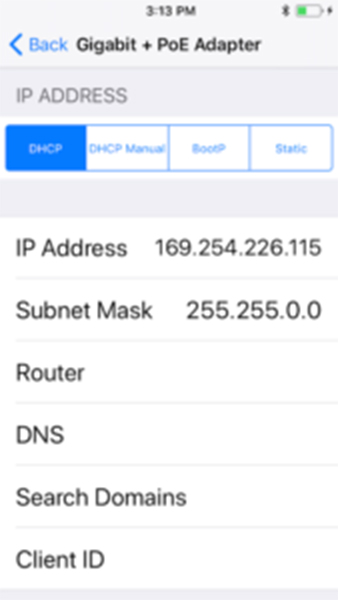
If you need to enter a static IP address, please click the static IP button and enter the configuration settings for your device and network.
Now the iPhone Ethernet adapter is ready for use.
Why use an iPhone Ethernet adapter?
The wireless connection works well in many situations. But Wifi is not always available or reliable, and installation, configuration, and support can be more complicated. Wifi can’t have the simplicity, reliability, and security of a wired Ethernet connection.
In the following cases Ethernet can be used with iPhone:
- Connect to local networks in buildings such as military facilities and conference centers where Wifi is forbidden, unavailable or unreliable.
- Connect iPhone directly to Ethernet devices such as IP cameras or cable modems when installing or troubleshooting equipment in the field.
- Take advantage of Ethernet’s outstanding latency and reliability when using iPhone to stream shows or stream videos.
Source link: How to connect iPhone to Ethernet wired network
– https://techtipsnreview.com/