
Photos are now mostly digital, so people rarely have photo albums in their homes like they used to. But if you miss the feeling of flipping through a photo album or want to create a new one for your grandma, you can easily create one with Canva. Quantrimang.com will show you how to do it through the following article.
1. Prepare the image
First, you should decide on the content of the album. Albums can include a certain time period, showcase pictures of you and your friends or partners, or look like a scrapbook. Deciding which images to include will help with future design and layout.
Next, you should gather all the images you want to include, preferably in one folder – this will save you time. Most importantly, make sure the image is high resolution. If you want to print albums, 2048 x 1536 pixels or larger would be the ideal resolution.
If you are going to digitize old photos, make sure you scan them in high resolution. Pictures taken on a “genuine” phone or with a digital camera will give excellent quality. However, if you have some small images you want to use, there are ways to enlarge the image without losing quality.
2. Start a new project on Canva
Canva Photobook Maker is a great tool to help you design unique and custom albums. You can add your own photos individually or as a collage, with background and text adding meaning to each memory.
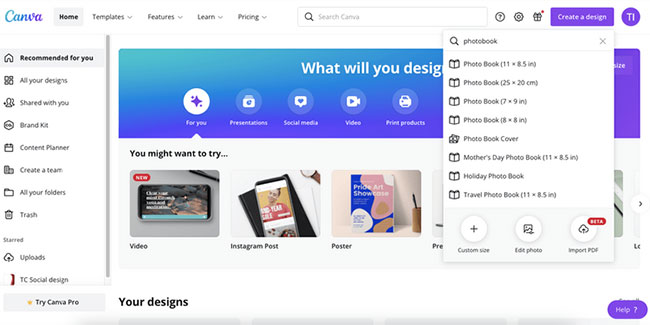
If you haven’t signed up yet, do this (don’t worry, the free version is more than enough). Then, on the home page, click the . button Create a design at the top, enter Photobook and choose the size you want. You can also choose a custom design (Custom) if you want to use other sizes.
3. Find the perfect template
One of Canva’s most appealing features are the templates it provides. For those without any design experience, it can be difficult to figure out which colors, fonts, and elements work well together. Since professional designers have created Canva templates, rest assured, you will get a great result.
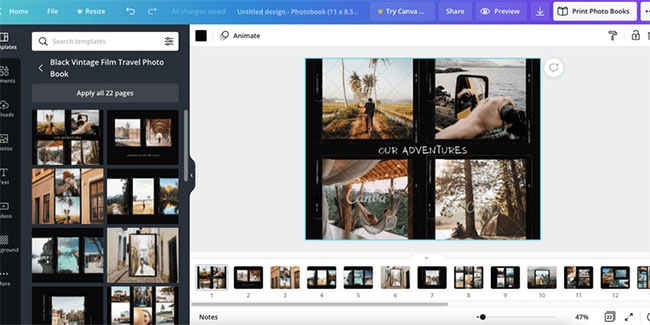
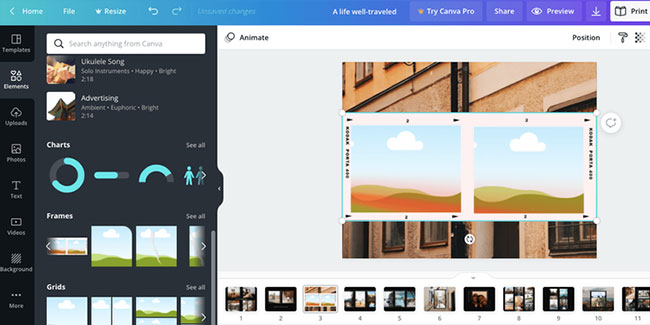
You can see the photobook templates on the left side of your desktop (if that’s not possible, type “photobook” in the template search bar). They are divided by categories to simplify search, and each category contains 22 pages, so you can get a different design on every page.
Double-click the template you like and then click Apply all 22 pages to use it in the document. You can also apply to just one or more individual pages. To do that, add more pages to the photobook using the plus (+) icon at the bottom of the screen and choose a template for each page.
Some templates may have logos, which means you will have to pay to use them. However, if only specific images are logotyped, you can always replace them with your own images or with images from Cava’s free library.
4. Upload photos
Now it’s time to insert images into the pages and create the final look of the album. To do that, you need to upload photos to the Canva cloud.
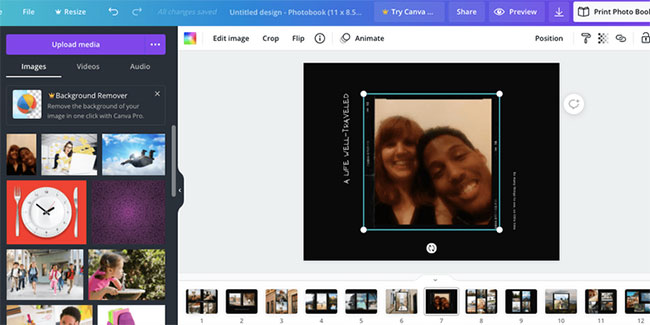
Go to tab Uploads on the left side of the screen and click Upload media. You can also just drag and drop from a folder on your computer.
To put them in an album, select a page and drag the images in. Drop the image when it fills the frame.
5. Add Text
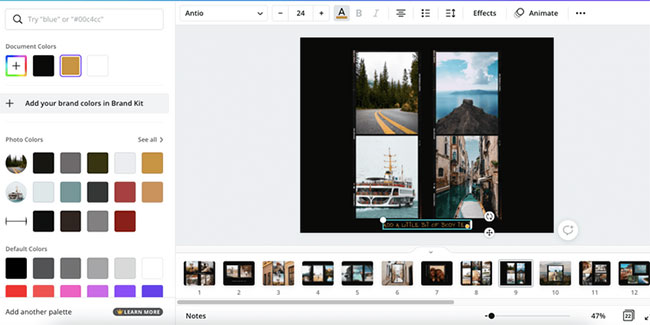
If there is already text on the template, just double-click the template to change it. If you want to add text, go to the Text tab on the left side and double-click the type you want. You can zoom in, change colors and fonts using the tools in the top bar.
Note that the default font for the text box is Open Sans, but if you open the fonts window, the first one will be the font that the template uses. It’s best to stay the same if you want to stay engaged.
Another thing that can help you maintain design consistency is the color-picker. Normally, when you click on it, you can see the colors present in the image. This will help you with color coordination.
6. Make some tweaks
This is the part where you can unleash your creativity. While a template is useful, it doesn’t always look exactly what you want. Luckily, Canva allows you to customize the template however you want. You can delete certain pages or move them around using the bar at the bottom of the screen.
You can delete grids and frames, then add new ones from the tab Elements. This tab also has stickers, lines, and shapes, which further customize your album.
7. Completing the album
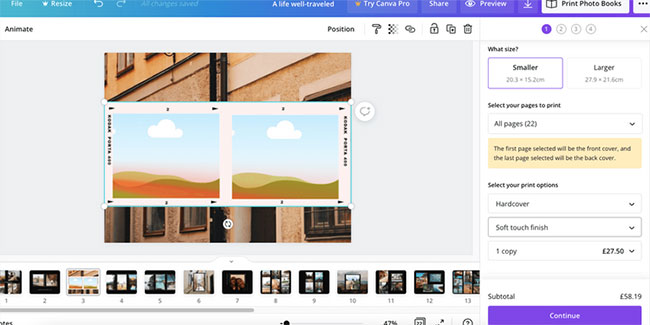
Want to consult others before printing an album? You can use the . button Share at the top of the screen to email them. You can even share a link to edit the album if you want to collaborate with them.
Once done, tap Preview at the top of the screen to see how the album will look. You can then save the album as a PDF file with the download icon (down arrow) at the top, or share it on social networks.
This tutorial will help you create a beautiful photobook that you may have cherished for years. Hope you are succesful.
Source link: How to create a photobook with Canva
– https://techtipsnreview.com/


