
Moving and clicking to confirm (Yes / No / OK….) on the notification windows is a regular thing when you use the Windows operating system, especially for guys who like to play with lines and install software. software and install games as much as me 😀
Usually, with small computer screens, moving the mouse to these notification windows is relatively simple.
But if you are using a laptop without an external mouse, or you are using a computer with a large screen, or multiple monitors, moving the mouse will take a long time.
Fortunately, on the Windows operating system, there is a specialized feature to support clicking to confirm the notification windows.
And in today’s article, I will show you in detail how to activate and use this feature!
Enable Automatically move pointer to the default button in a dialog box on Windows
The feature that I talked about at the beginning of the article is called Automatically move pointer to the default button in a dialog box, although the name is quite wordy, but its function is extremely simple.
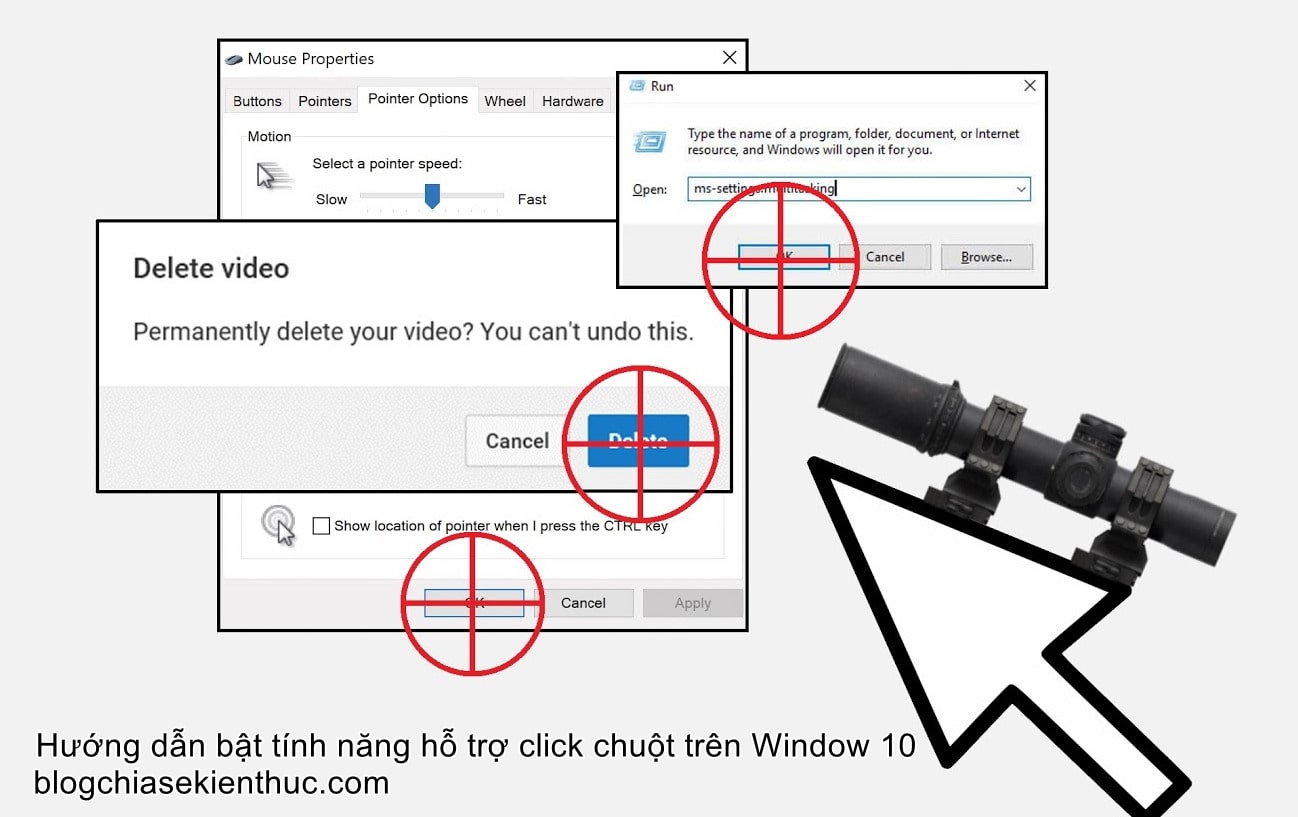
It will automatically move the mouse pointer to the correct position of the Yes, No, Apply, Cancel, Close, … button in any message dialog box of the screen when you click the mouse.
This saves you quite a bit of hover time, so we can call it sniper mouse mode
Perform:
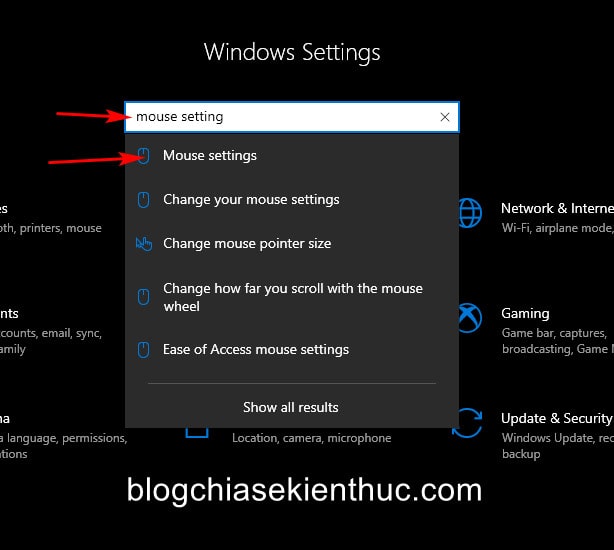
To enable this feature, please open Windows Settings up using the key combination Windows + I => type in the search box Mouse Settings => and select the result as shown in the image below:
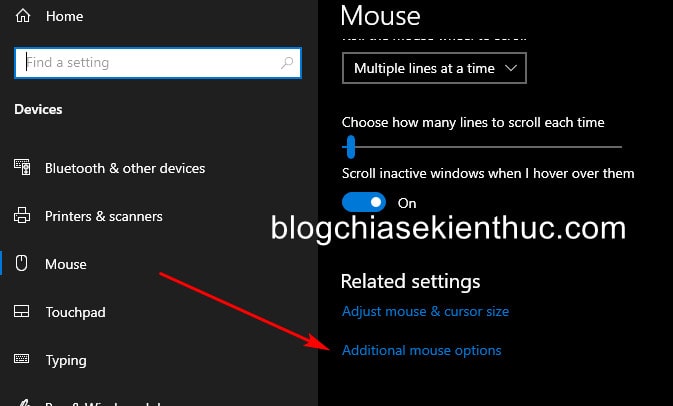
In the window Mouse Settings, you click Additional mouse options to open the Mouse preferences window in the Control Panel.
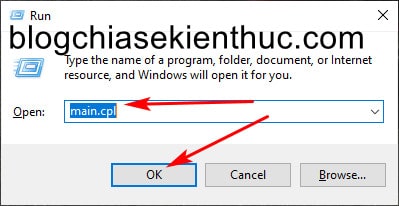
Or There is a faster way for you to open the Additional mouse options / Mouse Properties window, applicable to all Windows versions, including Windows 11 that is:
Open the RUN window (Windows + R) => enter main.cpl => and ENTER it’s done.
In the window Mouse Properties just appeared, you switch to tab Mouse Propertie => and in the Snap to Please tick the line Automatically move pointer to the default button in a dialog box to activate.
=> Tick is done, then click on OK For this setting to take effect, now open any window to try it. For example, the Run dialog box for example ^^

However, it is precisely because of its function to automatically pan and click the default selected button (the button with the green border outside) in a certain notification window that sometimes you will squeeze yourself by clicking the wrong button. option.
To put it easier: Some windows will leave the button selected by default as you want it to be, and some won’t (it leaves it open). Cancel that you want tiếp tục for example), as long as you mistakenly click one, it will open @@.
So it will take some time to get used to this feature, but I will use this feature to help you practice carefulness, think before you act ^^
Epilogue
Okay, so I just finished showing you how enable automatic hovering to the notification dialog box on Windows operating system then that’s it.
A small feature, but quite interesting and useful, isn’t it? However, as I noted above, you should also use a careful approach lest you strangle yourself :))
If you don’t want to use it anymore, repeat the above steps and uncheck the Automatically move pointer to the default button in a dialog box option. Good luck !
CTV: Nguyen Thanh Tung – techtipsnreview
Note: Was this article helpful to you? Don’t forget to rate the article, like and share it with your friends and family!
Source: How to enable automatic hovering to the notification dialog on Windows
– TechtipsnReview


