
Computer lag and slowness are quite common with computers that use HDD and have low configuration.
When facing this problem, surely many of you will choose to reinstall Windows or Ghost again, right?
Yes. It is true that reinstalling Windows is smoother, but this invisibly reduces the life of computer components, especially your hard drive, if you do it too many times.
Moreover, this also takes up a lot of your time. So, the best solution is not always to re-run the operating system, we only do this when there is no other way.
In this article, I will show you how to enable the autocorrect feature on Windows operating system, to keep your computer running smoothly and smoothly without having to reinstall it. Win often!

How to enable auto-correction on Windows 10
You may not have noticed that since Windows 10 version 1909 onwards, Microsoft has provided us with a tool to automatically detect and fix errors.
This tool will automatically detect and fix the error as soon as it sees it, so you won’t have to worry about lag due to minor errors of the Windows system anymore.
This feature has the ability to identify and remove dangerous software, automatically update drivers, delete junk files, etc. or simply contribute to improving the performance of your computer.
Perform:
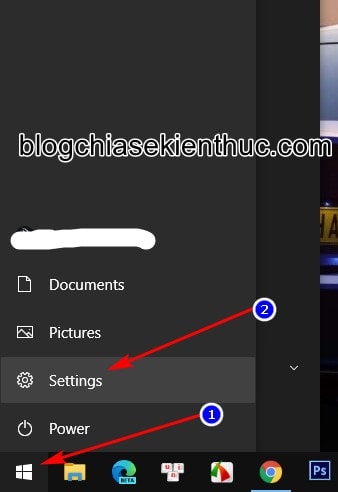
To enable this feature, you first need to open Windows Settings up by opening the menu Start => and choose Settings.
Or you can use key combination Windows + I For quick, in addition, you can see more ways to open Windows Settings.
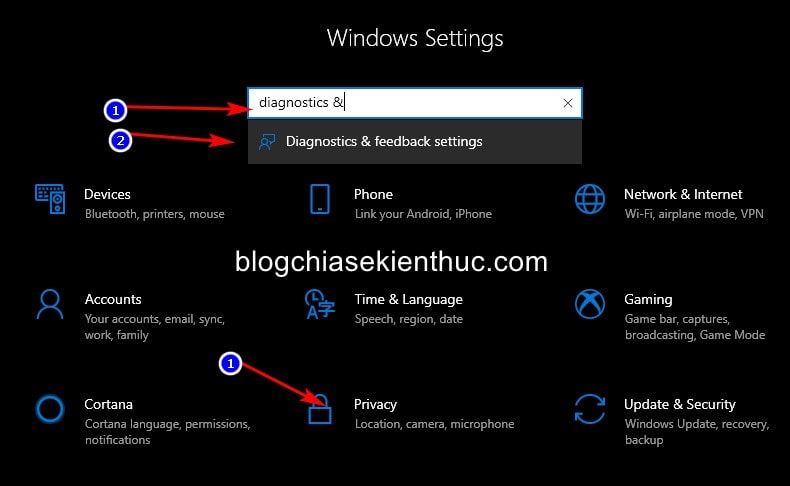
In the main interface window of Windows Setting, you access the Privacy => choose Diagnostic & Feed back, or you can enter each key Diagnostic in the search box above => then select the correct result in the image below to be able to open the setting page of this feature.
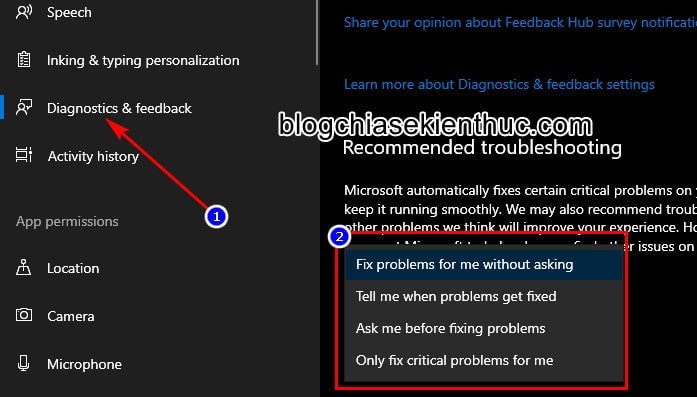
On page Diagnostics & Feedback Settings, you scroll to the bottom and find the section Recommended Troubleshoot. This is the function I said, it has 4 different modes when you click on the drop-down menu, they include:
- Fix problems for me without asking: Automatically fix any errors or problems it detects, without consulting you.
- Tell me when problem get fixed: Same as the above mode, only it will notify you after all errors have been fixed.
- Ask me before fixing problem: Detect errors and wait for your decision before proceeding to fix the error or not. This feature will be selected by default when you reinstall the operating system.
- Only fix critical problems for me: Also automatically detects errors, but only particularly severe errors, and fixes it without consulting you.
Usually I leave it on Tell me when problems get fixed because I don’t care what the error is, just fix it and report back to me.
Please choose whichever option you feel is best for you. After selecting, then restart Windows for this setting to take effect!
Epilogue
Okay, with Auto detect and fix errors on Windows 10 With this, we will encounter less minor errors during use, it is really useful for those of you who do not have much experience in using computers.
Oh forget, in addition to this automatic error detection tool, don’t forget that Windows provides us with a lot of specific Fix error tools, if you don’t know how to use it, please refer to this article:
CTV: Nguyen Thanh Tung – techtipsnreview
Note: Was this article helpful to you? Don’t forget to rate the article, like and share it with your friends and family!
Source: How to enable the autocorrect feature on Windows 10
– TechtipsnReview


