
If you ever get an error and don’t know what to do, the good news is that Windows 10 comes equipped with troubleshooting tools to fix it. One of those nifty tools is the auto repair tool. This is a handy repair feature that can fix problems that keep you from starting up correctly.
But, what do you do when the tool itself is the cause of the error? If your PC is stuck in automatic repair loop, the following article will provide a list of solutions to fix the error for you.
1. Run Fixboot and Chkdsk commands
If you can’t identify any cause of the Windows 10 automatic repair loop, you can use some system repair tools to try to fix it. The chkdsk command starts a low-level check of the system drive for errors using the Check Disk utility. If it detects errors, it will automatically fix them.
Even though Windows cannot boot, you can still force Windows to boot into a Command Prompt window by using the menu screen Advanced options.
To do this:
B1: Restart the PC and press the . key F8 on the keyboard before the Windows icon and the gyro icon appear. This will cause the Windows startup troubleshooting menu to appear. Choose See advanced repair options to begin.
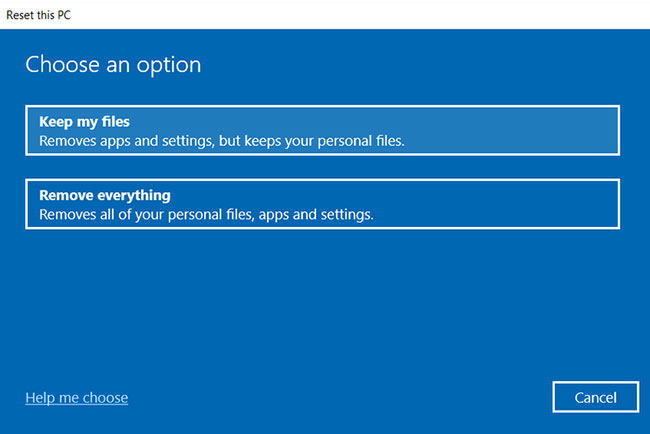
B2: From the screen Choose an option, choose Troubleshoot > Advanced options > Command Prompt.

chkdsk c: /r
B4: If the chkdsk command fails, you can also try using the Fixboot command.
B5: In the same Command Prompt window, enter the following command and press Enter:
fixboot c:B6: Once done, close the Command Prompt window and restart the PC.
2. Perform a system scan in Safe Mode
If system repair tools find corrupted files, Windows will replace those files with the local image. However, if the image itself is also corrupted, Windows cannot repair itself and causes previous commands to fail. To fix this, you can use the DISM (Deployment Image Servicing and Management) tool.
To use this tool, you must first enable Safe Mode. This loads a basic version of Windows without any third-party programs to help you fix your startup.
3. Restore Windows Registry
Sometimes, malware infection or drive failure can also corrupt registry files.
To fix registry problems, you can restore it with these steps:
B1: Open menu Windows boot troubleshooting.
B2: Choose See advanced repair options > Troubleshoot > Advanced options > Command Prompt.
B3: Enter the following command and press Enter:
C:WindowsSystem32configregback* C:WindowsSystem32configB4: If you are asked to overwrite the file, enter All and press Enter.
B5: Once done, restart your PC.
4. Disable the Automatic Repair tool
If you believe Windows is working, you can try disabling Automatic Repair. This will allow you to boot into Windows without the repair loop taking place. However, this will only work if your Windows system is working properly. You can use it to determine if your Windows is indeed faulty.
To disable Windows 10’s automatic repair tool, follow these steps:
B1: Open the Windows boot troubleshooting menu.
B2: Choose See advanced repair options > Troubleshoot > Advanced options > Command Prompt.
B3: Enter the following command and press Enter:
bcdeditB4: Check the values identifier and recoveryenabled. Value identifier Must be {default} and recoveryenabled Must be yes.
B5: Now type this command and press Enter:
bcdedit /set {default} recoveryenabled noB6: This will disable automatic startup repair. If the command doesn’t work, try the following command:
bcdedit /set {current} recoveryenabled noB7: Once done, restart your PC.
5. Reset Windows 10 device
The last resort for a computer stuck in an automatic repair loop is to reset Windows 10. You don’t have to worry about losing your files and data because you have the option to perform a factory reset. (delete everything) or keep the files.
Good luck with your troubleshooting!
Source link: How to fix “Stuck in Automatic Repair” error in Windows 10
– https://techtipsnreview.com/


