
CyberPanel is a control panel designed to be user-friendly for non-technical users. CyberPanel is easy to learn as it uses a simple layout that most hosting companies are familiar with. CyberPanel also has some features that most other control panels do not have. This tutorial will show you how to set up CyberPanel with OpenLiteSpeed on Ubuntu 20.04 cloud server.
Prerequisites
- VPS server running on Ubuntu 20.04 (any LTS) with at least 40GB of free disk space and at least 2GB of RAM. If you have a high-traffic blog, you will need more than 4GB of RAM for CyberPanel to function smoothly.
- Basic understanding of terminal commands in Linux.
- You must have a non-root user created with sudo access on the server.
Update server
The first step is to make sure that the server is up to date. CyberPanel may require newer versions of packages that are not shipped with Ubuntu 20.04 by default. The following commands will update everything on the system to the latest update, if you are running a custom kernel you will need to modify this command accordingly.
sudo apt-get update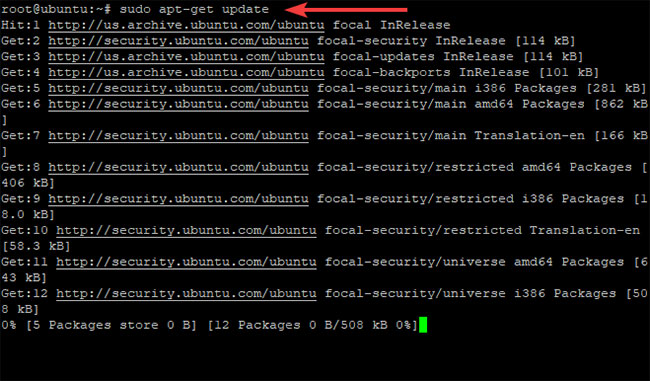
sudo apt-get upgrade -y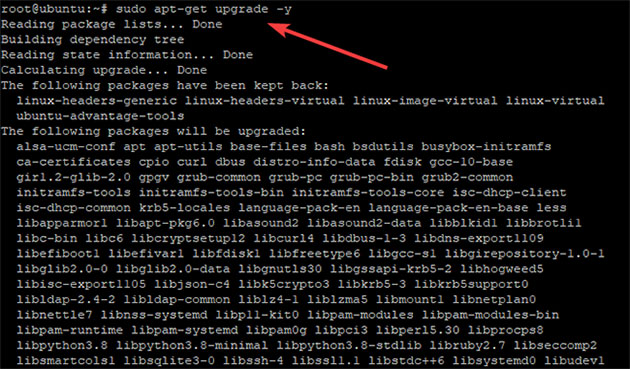
You should restart the server after the update is complete to apply any necessary changes. Once the process is complete, log back in with the same non-root user and proceed to the next step.
sudo reboot nowAs you know, Cyberpanel is an openlitespeed or litespeed enterprise web server, so uninstall Apache, MySQL, Postfix, Dovecot and other optional packages.
sudo systemctl stop apache2
sudo systemctl stop mysql
sudo systemctl stop postfix
sudo systemctl stop dovecot
sudo apt-get remove -y apache2 mysql-server php5-mysql postfix dovecot-core
sudo apt-get autoremove -y
Install CyberPanel on Ubuntu 20.04
In this section, we will install CyberPanel and OpenLiteSpeed on Ubuntu 20.04.
Download the latest version of the CyberPanel installer script to your home directory.
cd
wget -O installer.sh https://cyberpanel.net/install.sh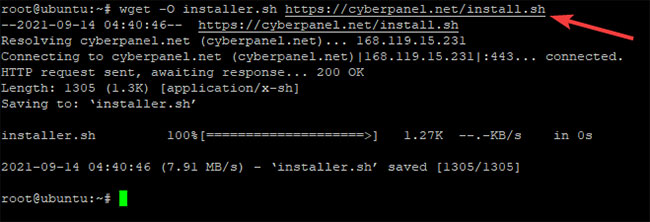
Make the CyberPanel installer script executable.
chmod + x installer.shRun the CyberPanel installation script.
sh installer.shDuring the installation process, CyberPanel will ask you a series of prompts as shown below.
Choose first to start installing CyberPanel. The CyberPanel setup script will start installing CyberPanel in the directory /var/www.
Choose first if you want to install CyberPanel with OpenLiteSpeed (free version). Choose 2 if you are a CyberPanel Enterprise user or a CyberPanel Cloud customer. The free version is optional that will apply in this guide.
This script will then start downloading and installing the packages you selected. You will be asked to choose whether to install Full or install Lite, Full installation is a CyberPanel installation with PowerDNS, Postfix and Pure-FTPd. Installing CyberPanel Lite only installs CyberPanel. Articles choose 1 to install CyberPanel fully.
The next step asks you about Remote MySQL Server. CyberPanel needs a MySQL server to work properly, so the article will locally install CyberPanel Database on the same server where CyberPanel is being installed.
CyberPanel will ask for a password for the admin account. Default password is 1234567. Choose a password that’s easy to remember, CyberPanel doesn’t require an extremely secure password, but it’s best to choose something harder to crack than “password” or “1234”.
Now install the CyberPanel Memcached plugin, CyberPanel’s Memcached implementation is better than the Litespeed implementation. This way, CyberPanel can use native Memcached libraries to improve performance and security.
Redis serves as an in-memory data structure and message broker. It is free and open source. CyberPanel supports Redis as a cache backend for CyberPanel page caching and session management. Choose Y, then CyberPanel will install and configure the CyberPanel Redis plugin.
Import Y to begin WatchDog. This plugin helps CyberPanel to detect corrupt database tables and alert CyberPanel administrators if there are any problems with the database.
Script will take care of the rest after you answer all the questions in the setup wizard. Installing CyberPanel will take some time (15 – 30 minutes) as it requires a lot of packages to be compiled and installed.
Please be patient. Do not close the Terminal window until the Cyberpanel installation is finished.
After you complete the installation, your output should look like shown below.
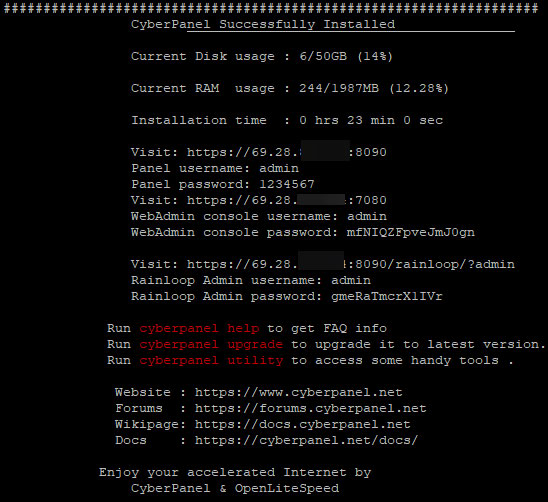
Hope you are succesful.
Source link: How to Install CyberPanel on Ubuntu 20.04
– https://techtipsnreview.com/