Visual Studio Code (VSCode) is a powerful and extremely popular open source code editor developed by Microsoft. In this article, we will learn how to install VSCode on Ubuntu from version 20.04 LTS and above
Visual Studio Code is currently available on both Windows, macOS, and Linux. The cross-platform nature is a key factor in the appeal of this toolkit, as it allows developers to not need to switch tools or learn new user interfaces while working on multiple platforms. different operating system platforms.
Almost all VSCode features are available to all users, no matter what operating system they are using. Up to the basic feature set like debugging, syntax highlighting, auto-completion, embedded Git controls, and even a built-in terminal.
In addition, VSCode also supports many different programming language packs, including JavaScript, TypeScript, and Node.js. A rich set of extensions is available for other languages, like C++, C#, Java, Python, PHP, and Go, as well as runtimes like .NET and Unity.
In this tutorial, we will learn two ways to install Visual Studio Code on Ubuntu 20.04 LTS: using the official Snap package on the Snapcraft store, or downloading the VSCode .deb package from Microsoft.
Install Visual Studio Code via Snap package
Microsoft now offers the official Visual Studio Code Snap installation package on Canonical’s Snapcraft Store.
What are Snaps? They are standalone software packages that include all the components needed to run the application. Snap plans are easy to upgrade and secure. Basically, you can install Snap packages using the Ubuntu Software application or by diving deep into the command line.
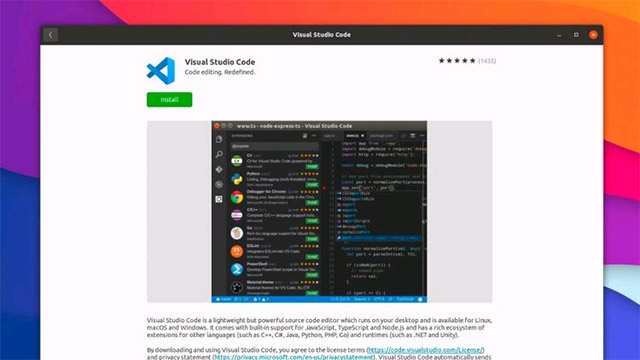
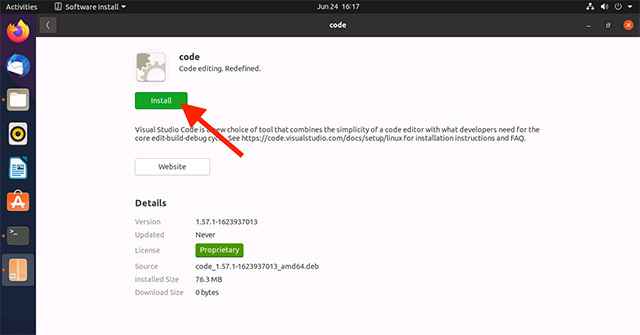
To install VS Code, open the Ubuntu Software application and search for the keyword “Visual Studio Code”.
Alternatively, if you feel more comfortable using the command, press Ctrl + Alt + and run the following command:
sudo snap install code --classic
That’s all you need to do to install Visual Studio Code on your system.
What about future updates? You need not worry because new versions of Visual Studio Code are automatically downloaded and installed in the background when available.
Install Visual Studio Code using the .deb . package
Microsoft currently maintains an apt repository for Linux users to install Visual Studio Code from here.
You can manually add the Visual Studio Code apt code repository with the command. But a quicker way to set it up on your system is to download and install the VSCode Linux package from the app’s website. As part of the installation, the apt repository will be added to your Software Sources list.
Download Visual Studio Code (64-bit .deb)
Once the download is complete, navigate to the Downloads folder (or the location you chose to save the installer) and double-click the .deb file. Ubuntu Software will open. Click the “install” button.
When a new version is released, you can update the Visual Studio Code package (along with any other updates you have) using Ubuntu’s Software Updater tool.
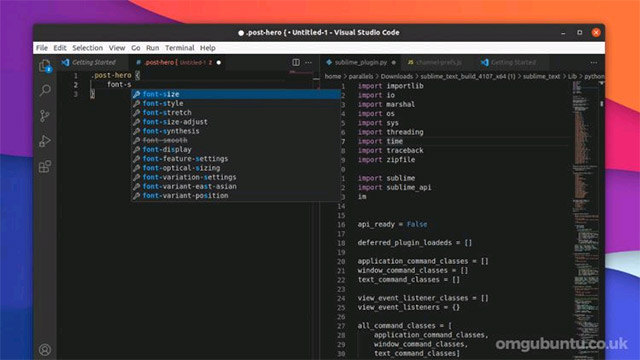
Open Visual Studio Code
To open VSCode on Ubuntu, simply click on the ‘Applications’ icon at the bottom of the Ubuntu Dock. In the search bar, enter the keyword “Visual Studio Code” and when the application icon appears, click on it to open it.
To open the application from the command line, simply run the command code.
Source link: How to Install Visual Studio Code on Ubuntu 20.04
– https://techtipsnreview.com/