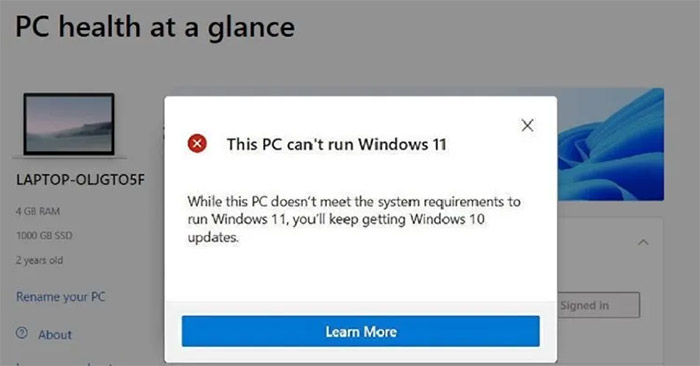
Whether it’s just a push for people to upgrade their PCs or Windows 11 is actually much stronger than Windows 10, the fact remains that many PCs are not compatible with the new Windows 11 upgrade. If your PC doesn’t meet Microsoft’s hardware requirements, don’t give up. It is possible to install Windows 11 on unsupported PCs. Join Quantrimang.com to find out through the following article!
Note before starting
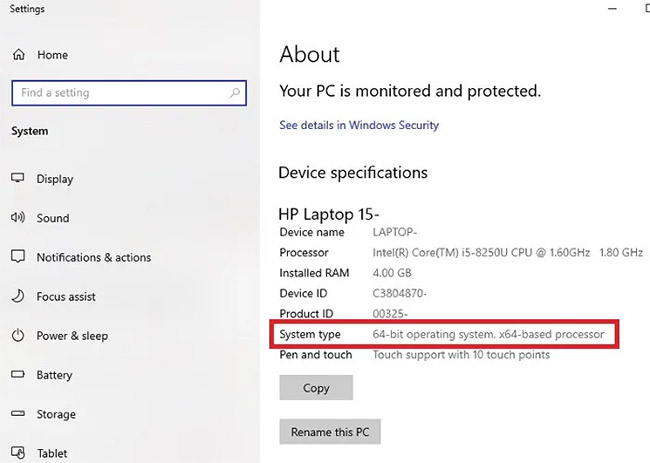
So far, installing Windows 11 on unsupported PCs only works if you have a 64-bit processor, as Windows 11 is only available in 64-bit versions. Unlike previous Windows systems, Windows 11 does not have a 32-bit version available.
If unsure, press Win + XD and choose System. You’ll see detailed information about your system, including your operating system type and processor, next to System type.
Also, no files are deleted, but sometimes upgrading to a new operating system goes wrong and your files can disappear. To be on the safe side, back up all important files before proceeding. In fact, you should go through this to-do list before installing Windows 11.
Download Windows 11 ISO file
You will need to download the Windows 11 ISO file. Since you cannot upgrade using Windows Update due to a lack of compatibility (you will receive an error message), you will have to do the manual method.
Follow the instructions in the article: How to download Windows 11, download the official Windows 11 ISO from Microsoft.
The download is just over 5 gigabytes, so it could take anywhere from a few minutes to a few hours depending on your Internet connection.
Edit registry
Before doing anything else with the ISO image, you need to edit your registry. This allows you to skip the compatibility check of CPU, 4GB RAM, TPM 2.0 and Secure Boot. There are two different registry tweaks:
1. Bypass CPU and TPM Requirement
If your PC meets the memory and Secure Boot requirements, installing Windows 11 on unsupported PCs may only require this single registry edit.
Step 1: Press Win + CHEAP to open Run. Type regedit and press OK. Press Yes if asked for confirmation.
Step 2: Manually navigate to the location or enter the following in the menu in Registry Editor:
ComputerHKEY_LOCAL_MACHINESYSTEMSetupMoSetupStep 3: Right click anywhere on the right and select New > DWORD (32-bit) Value.
Step 4: Name the new value AllowUpgradesWithUnsupportedTPMOrCPU, then double click it to change the value to first. Press OK to save the changes.

If you want to skip ahead to the next section on ISO installation to see if this hack is all you need, go ahead. If you still get the installation refusal message, you will need the next registry hack.
2. Bypass TPM, Secure Boot and RAM requirements
This registry hack will bypass TPM, Secure Boot and RAM requirements.
Step 1: Open Registry Editor (if not already open) and navigate to:
ComputerHKEY_LOCAL_MACHINESYSTEMSetupStep 2: Right click on Setup and choose New > Key. Name it LabConfig.
Step 3: Right click on key LabConfig newly created and selected New > DWORD (32-bit) Value. Name it BypassTPMCheck.
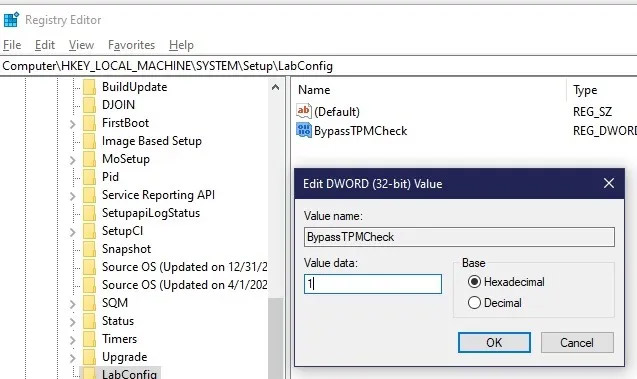
Step 4: Double click on the new value and set its value data to first.
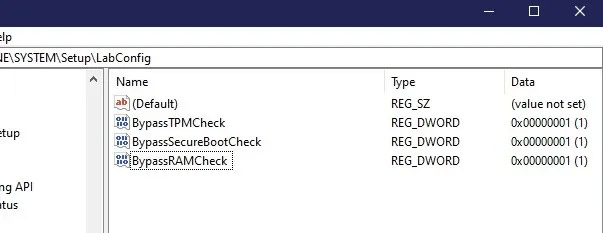
Step 5: Repeat the process to generate two more DWORD (32-bit) values. To name BypassSecureBootCheck for the first value and BypassRAMCheck for the second value. Set the above values to first.
Step 6: When done, you will have all three values set to first.
Step 7: When you’re done, check that everything is working as planned.
Installing Windows 11 on an unsupported computer
Although you don’t need to burn the ISO image to DVD or create a bootable USB, please refer to Microsoft’s step-by-step instructions on the download page if installing via File Explorer doesn’t work properly.
Windows 10 has the ability to mount virtual ISO images, eliminating the need to use DVD and USB disc methods.
Step 1: Open File Explorer and navigate to the location of your Windows 11 ISO file. Double click on it to mount the file.
Step 2: Open the mounted image like any other folder and double click on the file Setup to start the installation.
Step 3: Assuming all goes well, you may get a warning message that your PC is incompatible, but you can ignore it – unlike the rejection message you received before.
Source link: How to install Windows 11 on an unsupported PC
– https://techtipsnreview.com/


