
Zoom is increasingly becoming one of the world’s most commonly used online conferencing applications, especially in the context of the need to work remotely, working from home is still a popular trend. globally. Besides Windows, macOS as well as Android or iOS, Zoom can also work on Linux in general, especially with popular distributions like Ubuntu.
In this article, we will learn how to install Zoom on Ubuntu 20.04.
Prerequisites
Before you begin the installation process, you need to make sure you meet a few simple requirements:
- Ubuntu 20.04 is already installed on your computer.
- An account with ‘sudo’ privileges.
- Stable Internet connection.
Method 1. Install Zoom from Ubuntu Software Center
This is the simplest method and is recommended for those who are just getting started with using Ubuntu, as well as installing applications on Ubuntu. Note that the Zoom package to install Zoom is an unofficial repacked version of the Debian installer package from https://zoom.us. The source code for the same package is available on GitHub at https://github.com/ogra1/zoom-snap.
Follow the steps below to install Zoom:
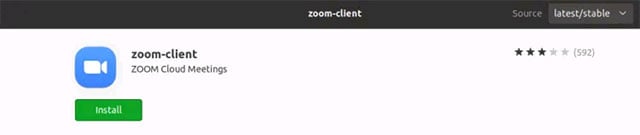
Step 1. Launch the “Ubuntu Software” application and type the keyword “zoom” into the search icon on the left in the top bar.
Step 2. In the list of returned search results, click the “zoom-client” option.

Step 3. Click the Install button to install the application.
Step 4. Once installed, Zoom can be launched from the Activities menu.

Method 2. Install Zoom from Snap Repository for Ubuntu 20.04
First you need to install snap on your system first, by executing below 2 commands:
sudo apt update
sudo apt install snapd
Another way to install snap is to use the Ubuntu Software Center (search for the keyword “snapd”), just like installing any software on Ubuntu. Once snapd is installed, log out and back in or reboot the system. This will ensure that the snap’s paths are set up correctly.
Get started on the Zoom settings:
Step 1. Update the software repositories on Ubuntu 20.04 with the following command:
sudo apt update
Step 2. Upgrade installed packages on Ubuntu 20.04 with the following command.
sudo apt upgrade
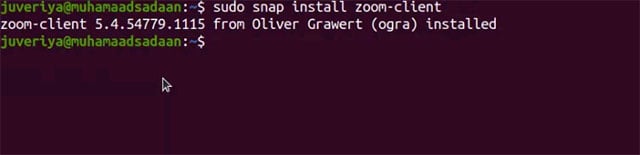
Step 3. Now install the Zoom app using the snap command.
sudo snap install zoom-client
Method 3. Install Zoom from Debian Installer Package
This method will install the latest version of the Zoom application. Zoom’s download center has many installer packages corresponding to different linux distributions like Ubuntu, Debian, RedHat, Mint, etc. You can choose the installer package by specifying the Linux type, OS architecture operating system and operating system version. For example, Ubuntu with 64-bit OS and version 16.04+ can be selected from the drop-down list.
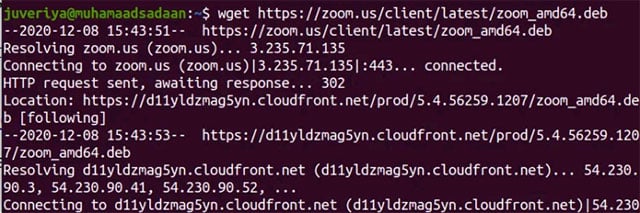
Step 1. Open a terminal tab and enter the following command to download the latest version of Zoom from the official website. This command is for Ubuntu 64-bit and 16.04+.
wget https://zoom.us/client/latest/zoom_amd64.deb
Step 2. After downloading the .deb package, install the Zoom application by running the following command with sudo privileges:
sudo apt install ./zoom_amd64.deb

Run the above two commands in the same directory to prevent any problems, otherwise specify the path of the downloaded file on the terminal as:
sudo apt install /path/to the/file/zoom_amd64.deb
Step 3. You can now launch the Zoom app as usual.
Hope you are succesful.
Source link: How to install Zoom online video calling application on Ubuntu 20.04
– https://techtipsnreview.com/