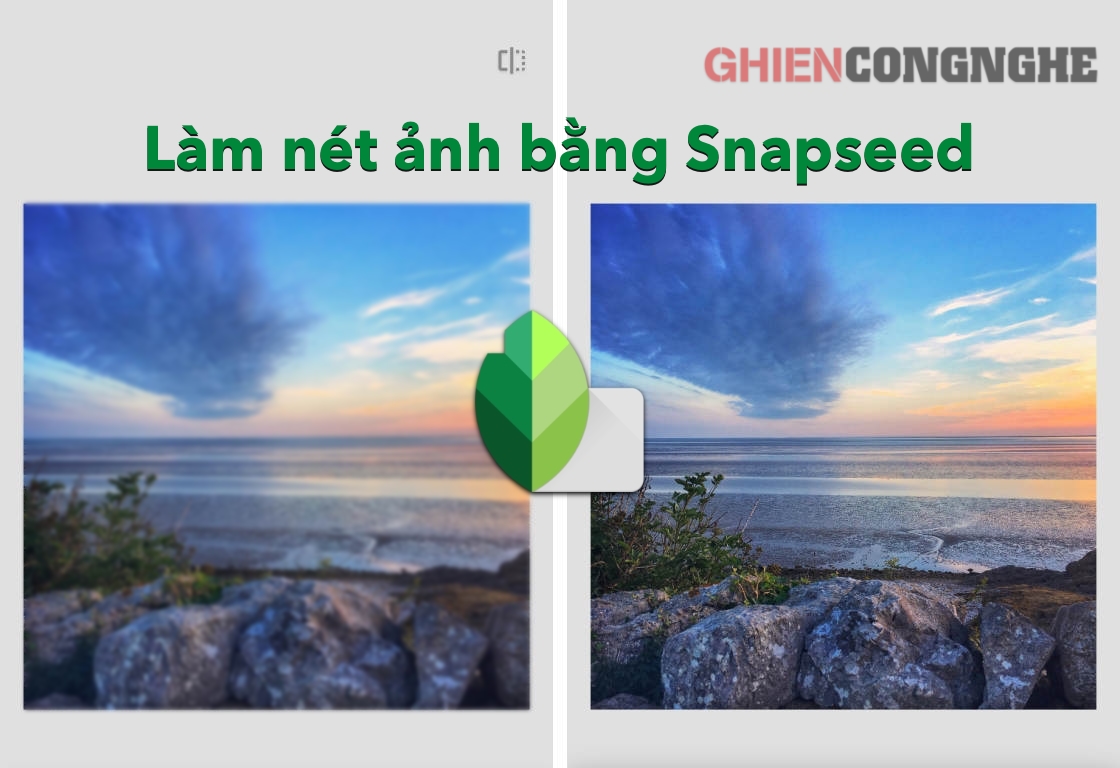
Taking pictures on the phone often makes the photo blurry for many reasons such as when the hand shakes when taking a photo, the image is not focused on the subject when shooting… The post-editing for the photo becomes much more detailed. necessary in these cases.
The following is how to clear blurred photos with Snapseed with useful tools that you can easily manipulate with just a swipe of your finger. Follow along with the tutorial of GhienCongListen below.
Advertisement
How to sharpen photos with Snapseed
App Snapseed is one of the best apps for sharpening photos with a user-friendly interface even for amateurs.
Here are instructions on how to sharpen photos with Snapseed (the operation is the same on both Android and iOS phones):
Advertisement
Step 1: First, open the app Snapseed on your device.
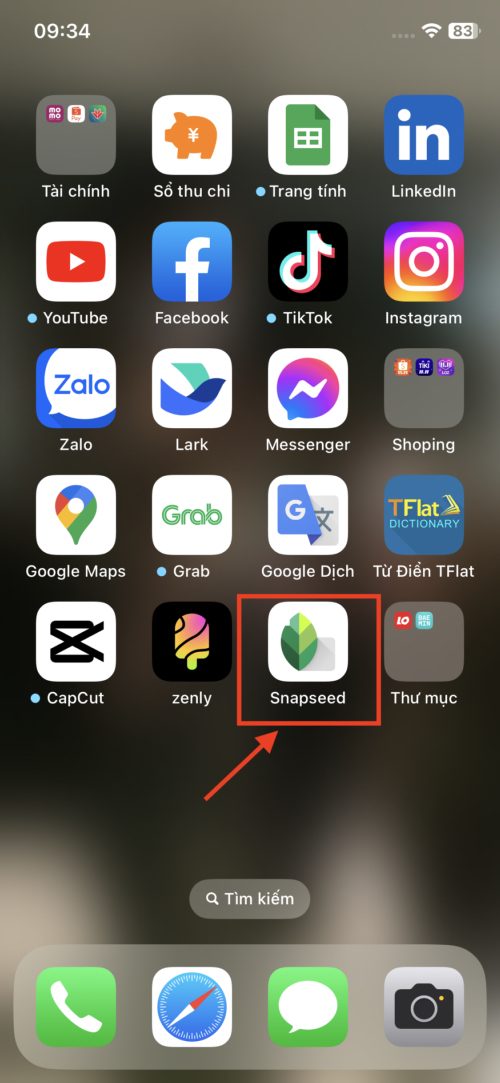
Advertisement
Step 2: Click anywhere to open the photo gallery and select the image you want to sharpen.
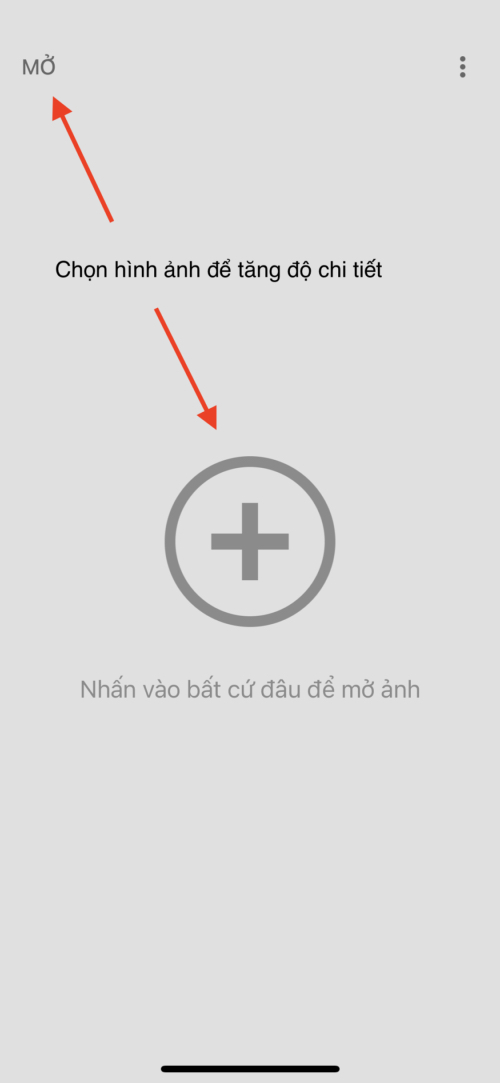
Step 3: Click Tools (Tools).
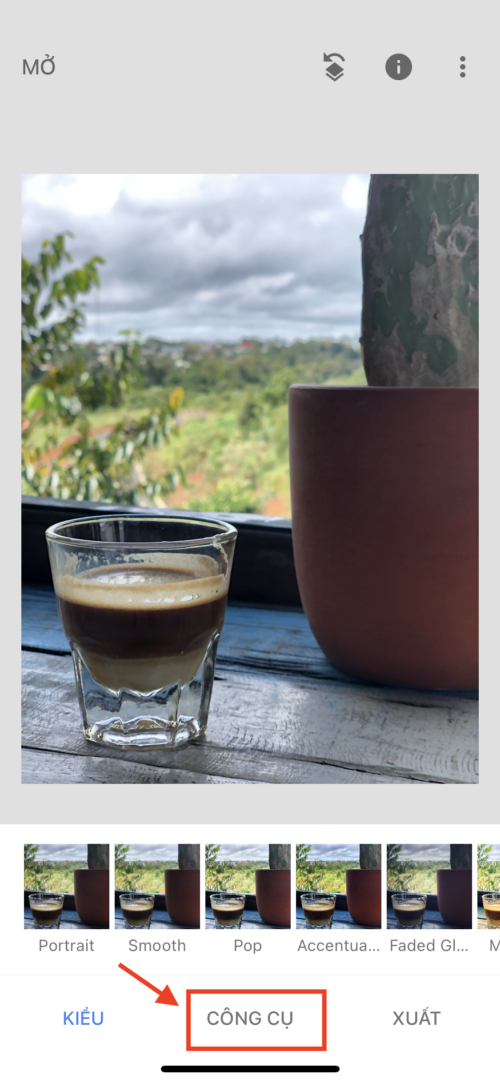
Step 4: Continue to click Detail (Details).
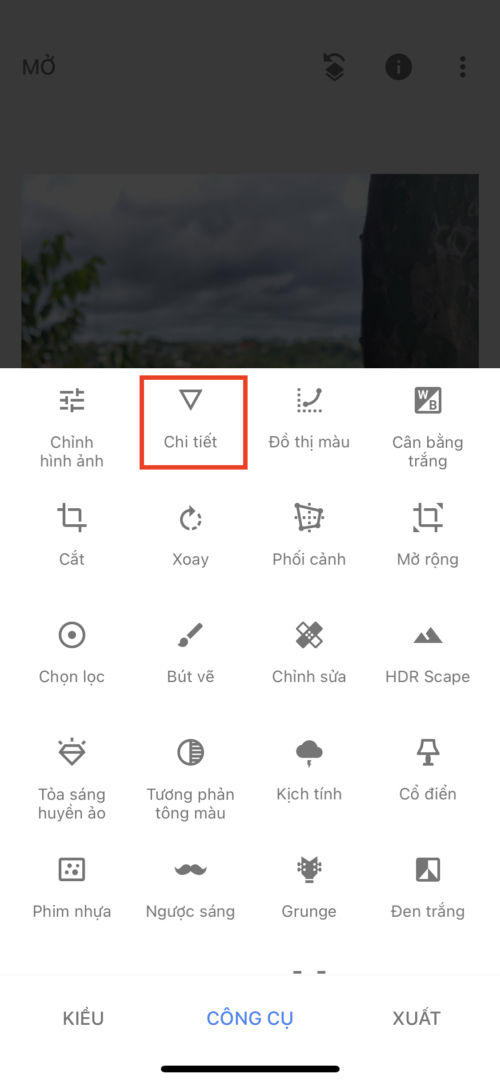
Step 5: Click the option icon located in the middle next to the bottom of the screen (as shown below).
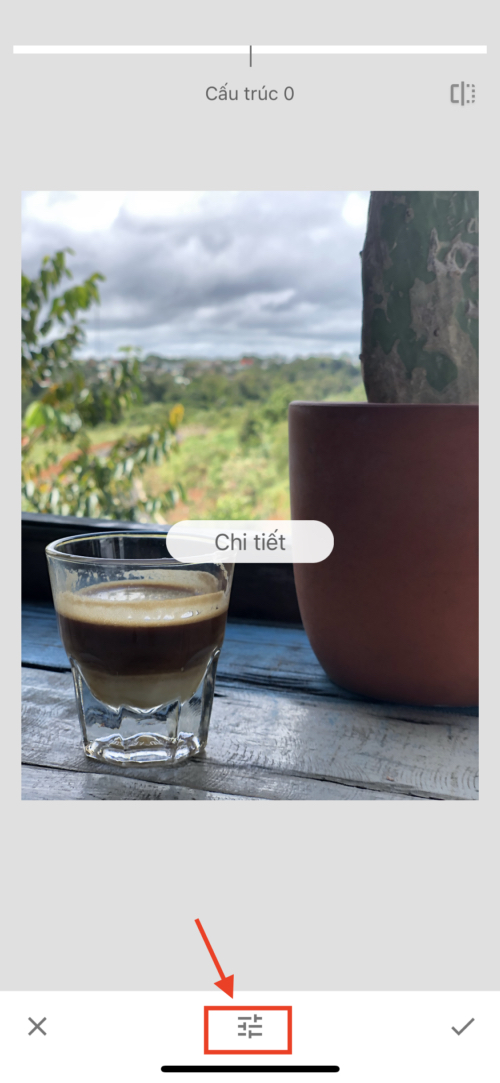
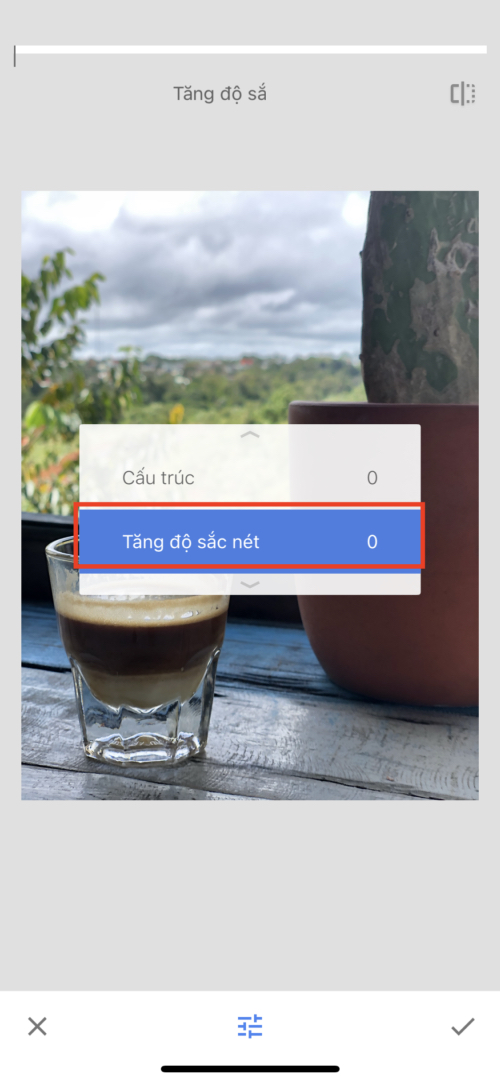
Step 6: Swipe your finger from bottom to top to switch to selection Increase sharpness (Sharpening).
Step 7: To sharpen the image, swipe right. Conversely, to reduce the sharpness of the photo, swipe left.
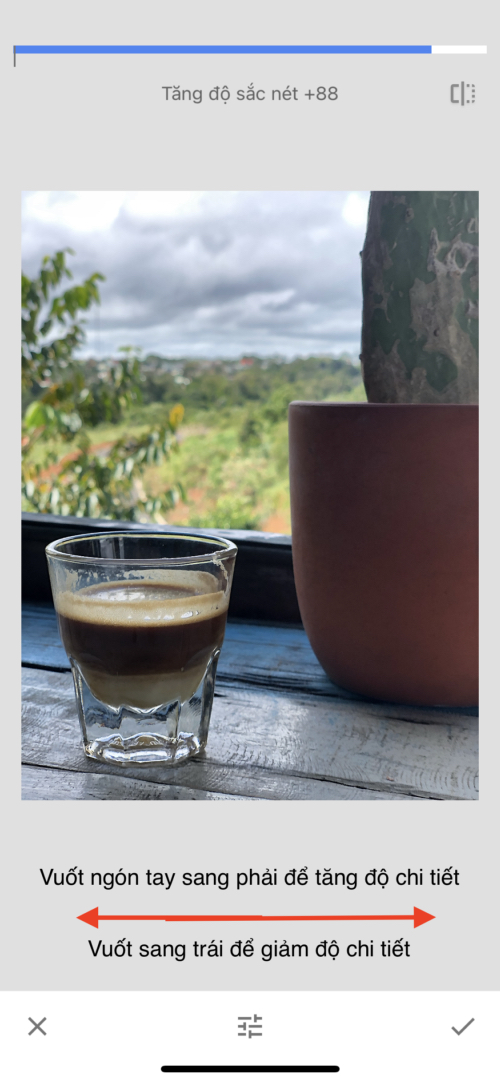
Step 8: Click the checkmark (V-shaped icon) to save the changed sharpness settings for the photo.
To save the changed image, press Export and choose the format you want to save the image in.
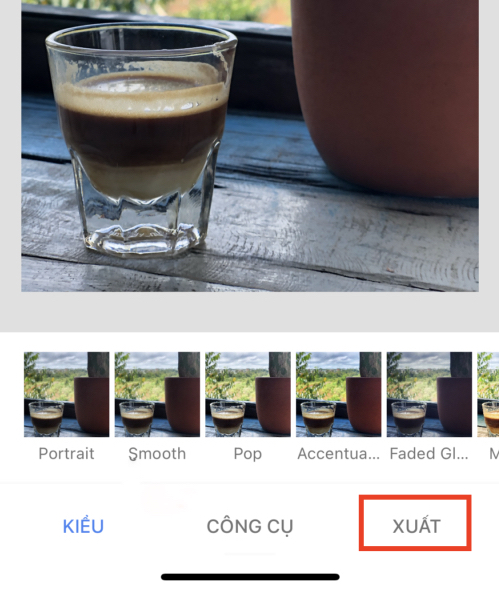
How to sharpen an image area with Snapseed
The subject focus and background blur effect is also known as Bokeh, this effect is very easy to achieve with digital cameras or on some high-end phones today like iPhone 11 and above.
But if you want to focus on highlighting the subject or directing the focus to a point on the photo, follow the steps below:
Step 1: Open the Snapseed application and select the photo you want to create a sharpening effect on.
Step 2: Click Tools and continue to scroll down and select Lens Blur.
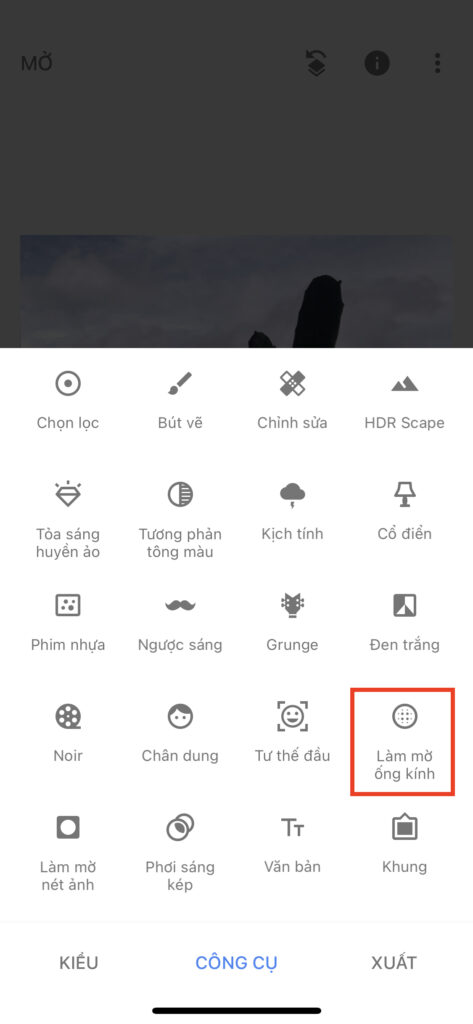
Step 3: Here, you can drag the focus area and blur the remaining areas. Increase or decrease the width of the focus area by swiping in and out with 2 fingers.
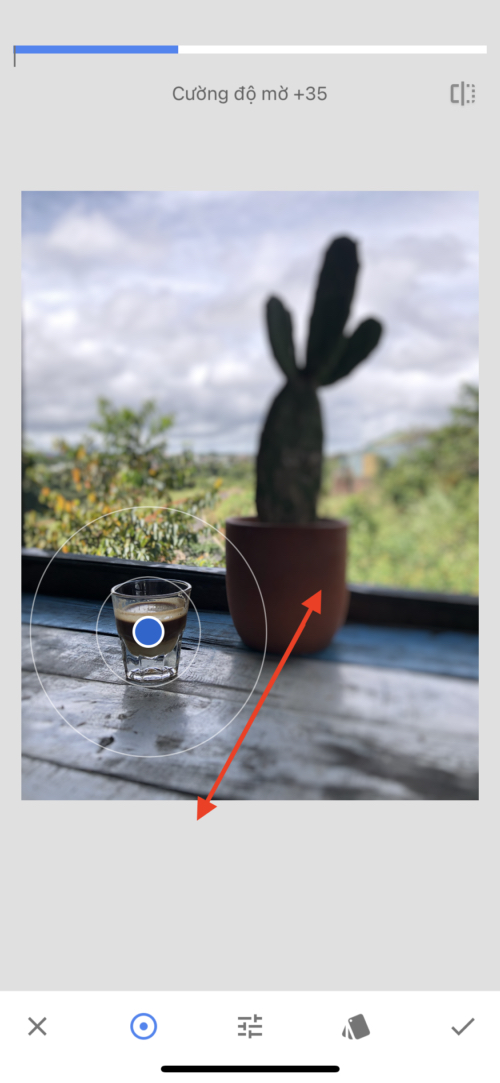
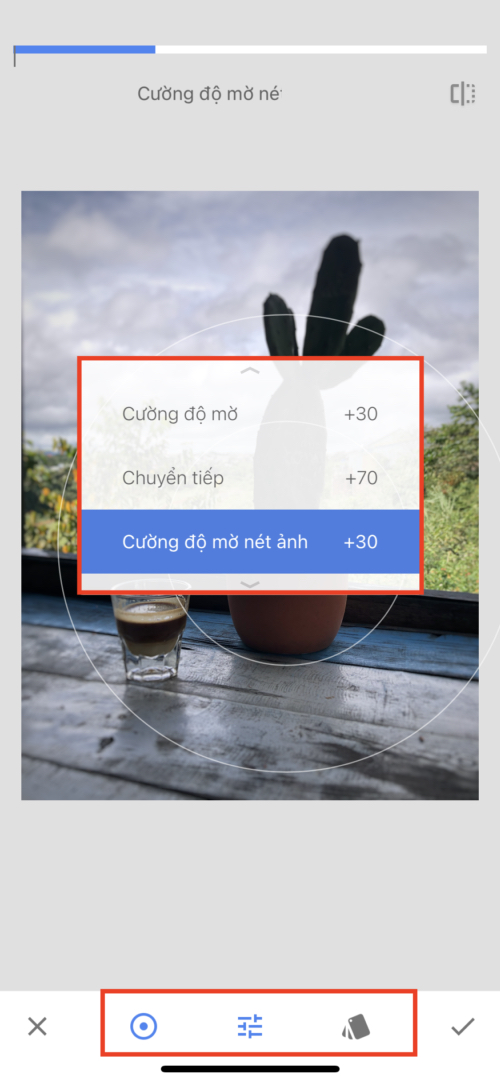
Step 4: Change the background blur level by swiping left to decrease the blur level and right to increase the blur.
Click the checkmark (V-shaped icon) if you are satisfied with the changes to the photo.
Step 5: Click Export to save an image that has sharpened an area of the image above.
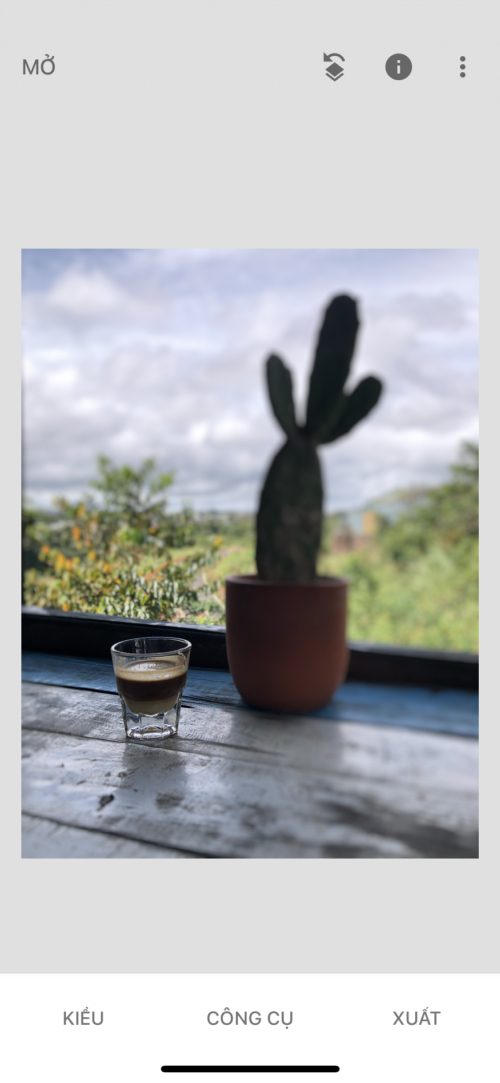
Thus, we have guided you How to sharpen photos with Snapseed all or a specific area in the image. Be sure to follow us to learn more advanced image editing skills with this Snapseed professional photo editing app.
If this tutorial was helpful to you, please support GhienCongListen develop further by Like & Share so that this article reaches more people.
Source: How to sharpen photos with Snapseed quickly and simply
– TechtipsnReview
