
Camera settings, lighting, scene mode, and composition all play a role in making your photos look better. Here are photography tips, photo editing to help you get the best photo! Let’s explore with Quantrimang!
Focus and exposure
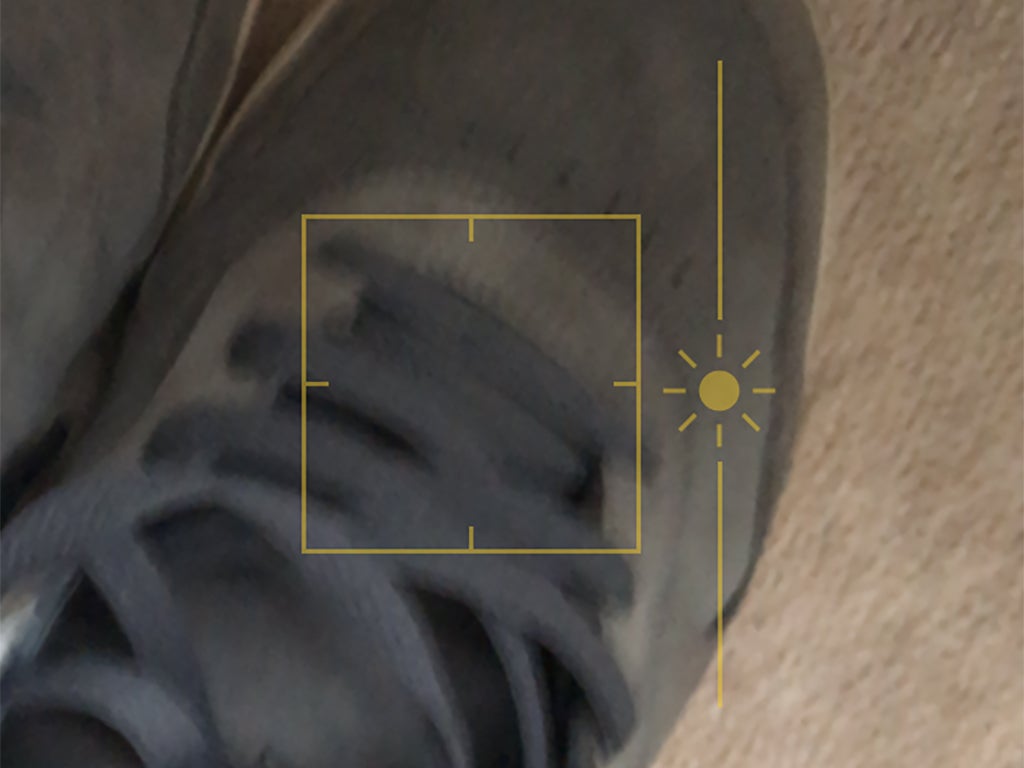
Most smartphones today allow you to manually focus and adjust exposure. Manual focus is very simple, you just press once on the screen at the point where you want to focus. If you set the face recognition option, it will automatically detect faces, focus only on your portrait, and blur the surrounding scene.
For exposure in the iPhone’s camera app, you can tap once to focus, then hold and drag to adjust exposure. With Android, you do the same thing.
Using HDR mode
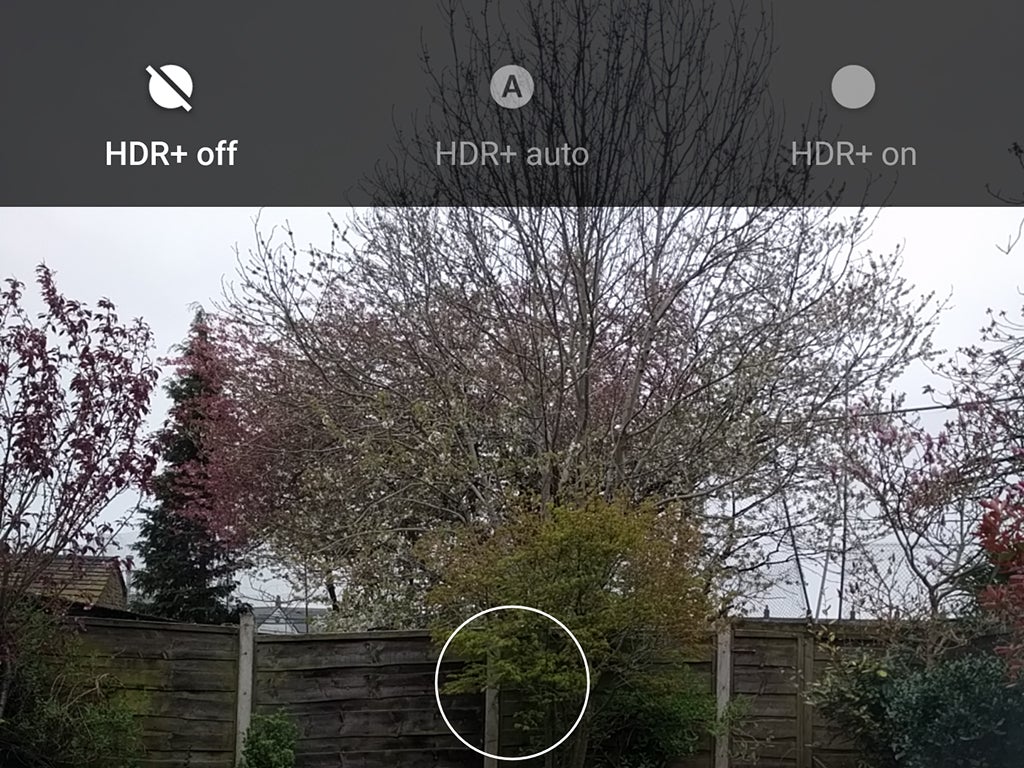
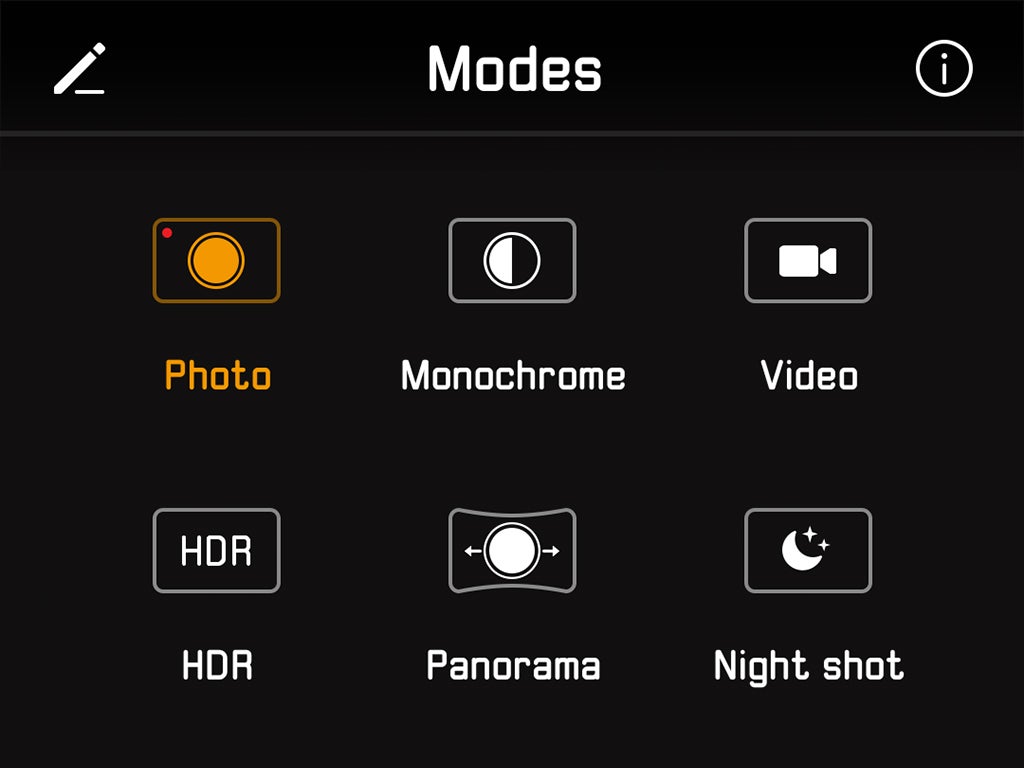
HDR (High Dynamic Range) is now a key feature of smartphone cameras. Simply put, HDR helps bring out the darkest and brightest parts of an image in detail, and creates a better overall color balance.
HDR mode is suitable for landscape and portrait photos, especially when there is a wide gap between the darkest and brightest parts.
The downside of HDR mode is that image processing takes a little longer even though your smartphone is operating at full capacity.
Since the snapshot takes a few extra milliseconds, you should avoid applying HDR to photos with fast-moving subjects or when you can’t hold the phone steady.
You can manually enable/disable HDR mode. For some smartphones, this mode is automatically enabled when the camera deems it necessary.
Take advantage of natural light
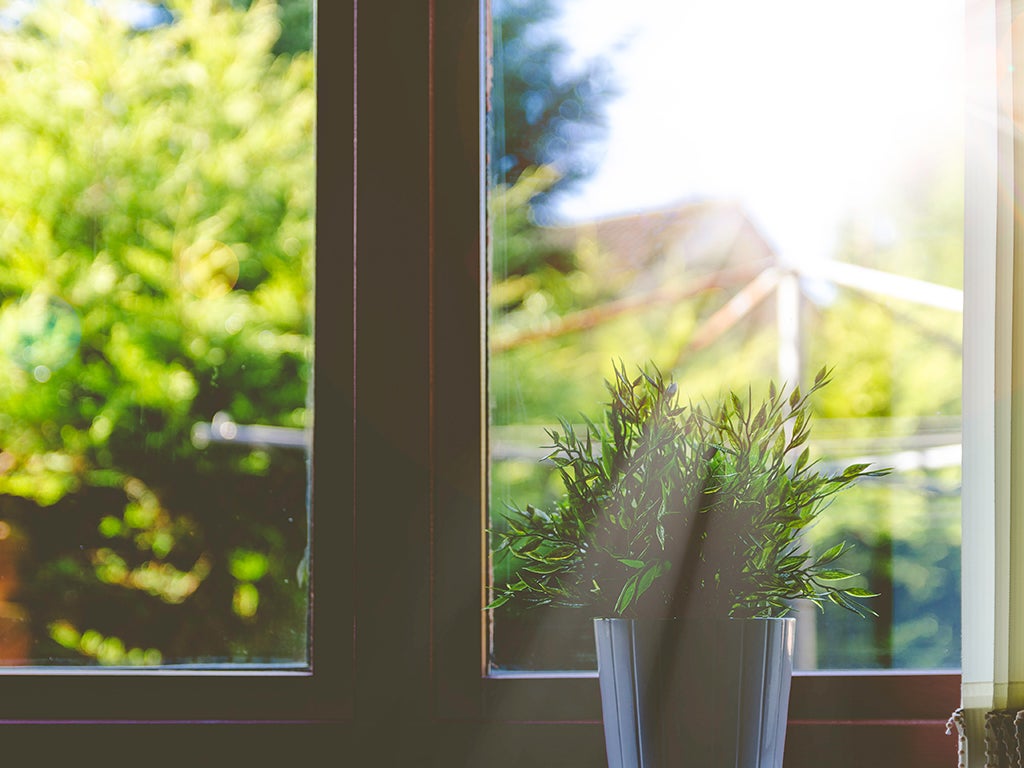
Lighting is one of the most important factors for any photo. If you can take advantage of natural light, then you don’t need to resort to the built-in flash of the camera (which can give you less than ideal results, especially at long distances).
Therefore, place the subject of the photo in a place where there is enough light. Of course, this isn’t always possible, but make the most of natural light where possible.
Using artificial light can also work, but you need more adjustment. For example, when you are shooting a night scene, you need to move the subject closer to the artificial light instead of placing it deep in the dark. If shooting people, make sure the subject’s face gets enough light. In this case, using flash can help you.
If you have time, try to compare the photo with and without flash to see the difference!
Hold the phone steady, avoid shaking
While professional DSLRs can better deal with camera shake, smartphones can’t. Therefore, it is important to minimize vibration as much as possible. You can buy tripods / put the phone against the wall, arm, shoulder … to help the phone be fixed, reduce vibration.
Keeping the shot steady is especially important in low light, when exposure times need to be longer.
Apply the 1/3 . rule
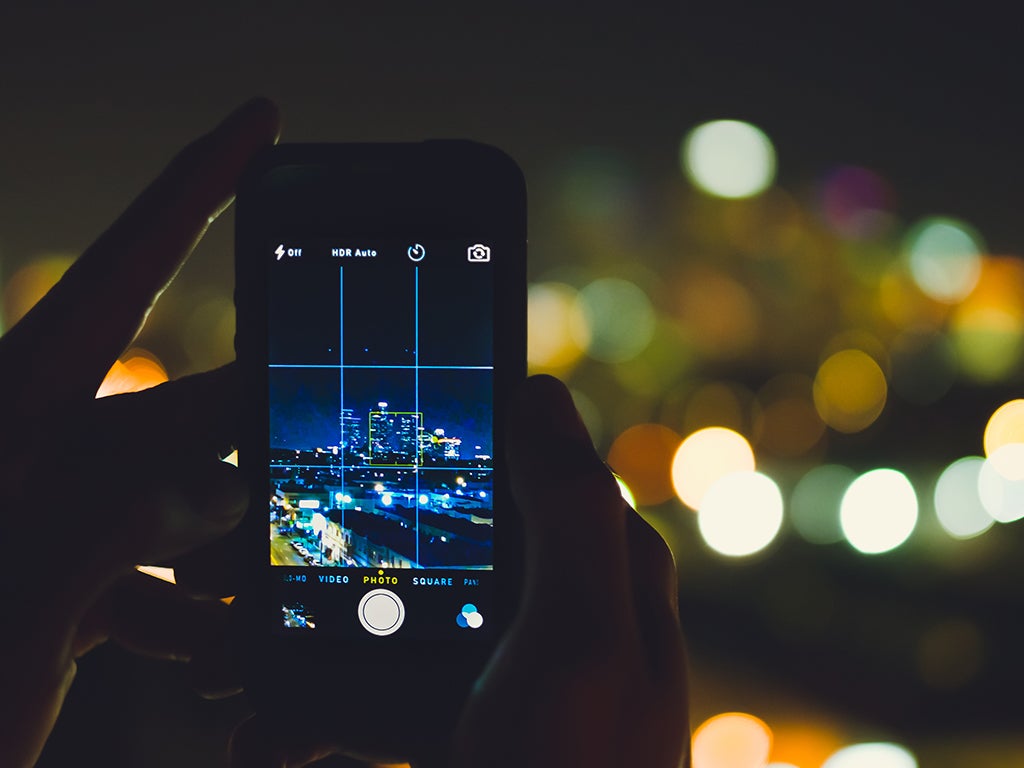
This is a photography trick that has been around for years, but you can still apply it to smartphones. According to the rule of thirds, an image is divided into 9 equal parts, forming a grid of 3 columns and 3 rows. You should try to fit the most interesting parts of the image near the corners of the grid lines, where the columns and rows intersect.
To improve photo composition, try applying this rule of thirds. Whether you’re photographing friends at a bar or shooting landscapes, you’ll find it simple and effective. It’s even simpler when you don’t have to imagine the dividing lines yourself.
On Android/iPhone phones, the gridline option is in the camera settings.
Take pictures continuously
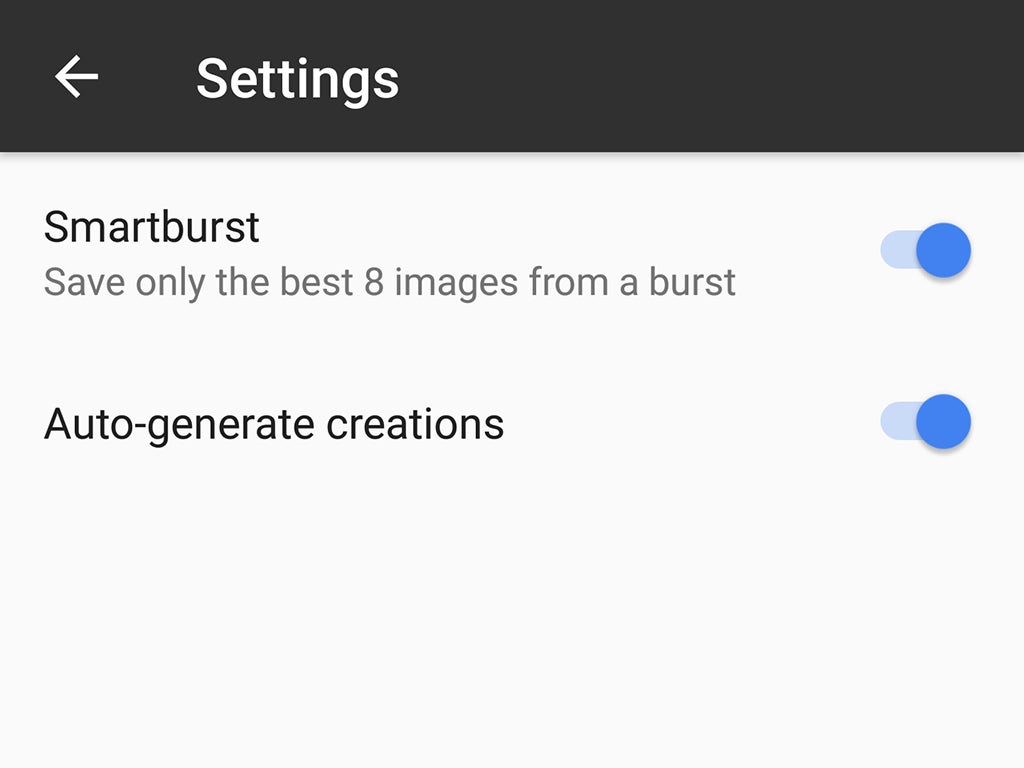
You should take as many photos as possible. If possible, you should take pictures continuously to be able to capture the best moment.
Most phones have a burst mode. On both iOS and Android, you can shoot continuously by holding down the shutter button. Third-party camera apps also often have burst modes, which give you a bunch of different images to choose from.
Edit photo
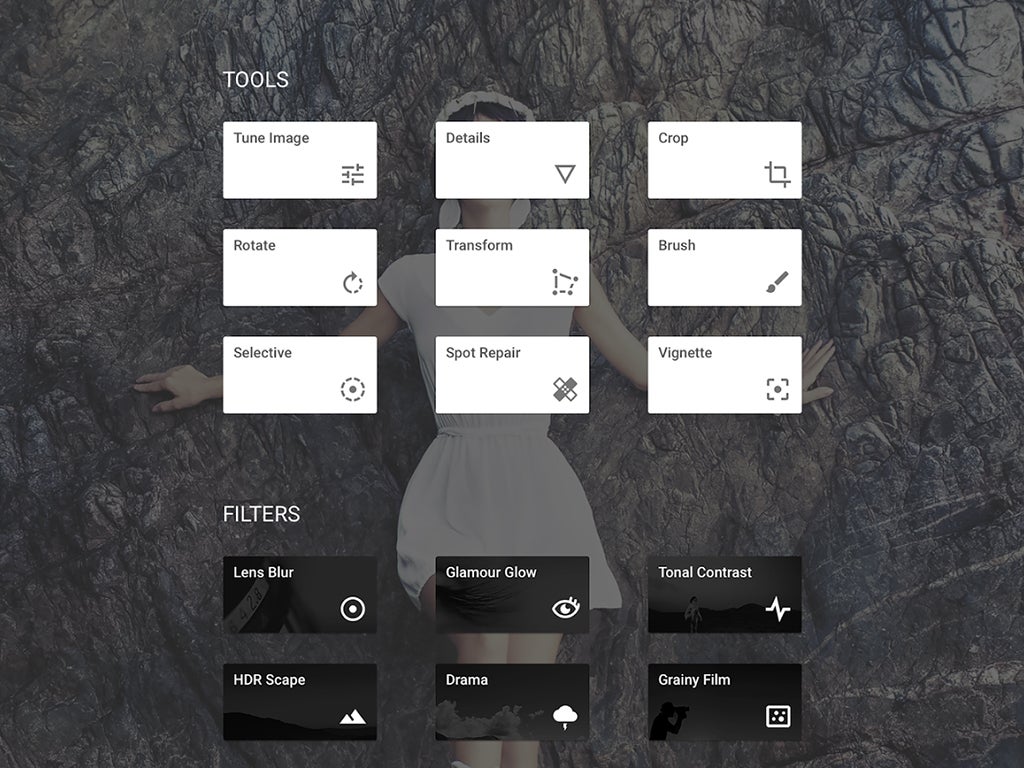
Before sharing photos, you should edit photos, not only directly on the camera, but also on other photo editing applications.
In addition to the apps provided by the App Store or CH Play, you can use Snapseed, Adobe Photoshop Express, and VSCO. Adobe apps even incorporate AI into photo editing.
Some photo editing apps give permission to your photo albums, others have their own built-in cameras.
Install a third-party camera app
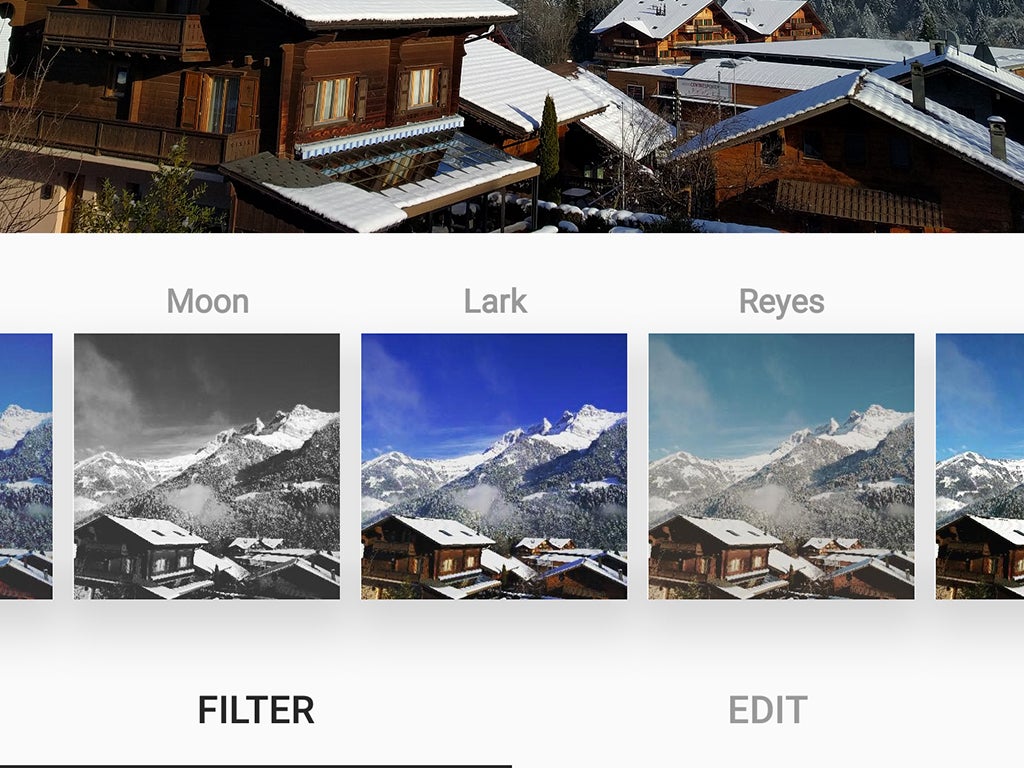
If you’ve never tried using a camera other than the camera app on your smartphone, you’ll be surprised at what third-party camera apps are. They give access to additional settings, different features and filter packs to make your photos look their best.
For example, iOS’s Manual gives you control over speed, ISO helps you white balance, and so on. Afterlight on iOS and Android gives you access to a similar set of professional tools, along with an impressive array of filters. .
Speaking of filters, Instagram for iOS and Android is more than just a social network. It can also turn your poor quality photos into works of art. The application includes a wide range of editing and tweaking tools in addition to filters that attract millions of users, making it one of the best photography apps.
Explore default camera
Even if there are tons of third-party camera apps to choose from, it’s worth exploring everything your phone’s default camera has to offer. If you’re using iOS, the camera has a bunch of filters you can choose from (tap the icon in the upper-right corner to see them).
On Android, the camera app will vary depending on the manufacturer. Android phones have a good light filter, available via the thermometer icon.
The default camera apps from Samsung, LG, Sony, and Huawei are packed with cool editing tools and options. For example, on a Samsung smartphone, you can tap the Mode button to bring up the Professional mode with filters and adjust the color and contrast, to make adjustments even before you shoot. So open your app and check it out!
Source link: How to take better photos with a smartphone
– https://techtipsnreview.com/


