
Nearby Share is a feature of wirelessly sharing data between devices in the Google software ecosystem. Basically, this feature works similar to Apple’s AirDrop, and the method of operation is not much different. Nearby Share uses a variety of connection protocols to help you send and receive files quickly. When you need to send a file, the feature will show users around you, and when you select a recipient, they will receive a notification to accept or reject the file you send.
Besides Android (version 6.0 or later), Nearby Share is also available on Chromebooks running Chrome OS 89 or later. In this article, we’ll learn how to set up and use Nearby Share on a Chromebook.
Set up Nearby Share on Chromebook
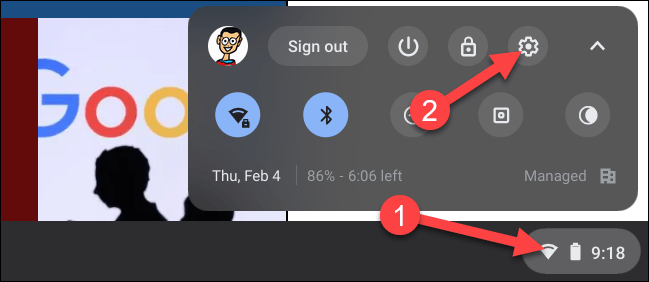
First, open the Settings menu on your Chromebook by clicking the clock in the bottom right corner of the screen to display the Quick Settings panel. Then click on the gear icon to open the Settings menu.
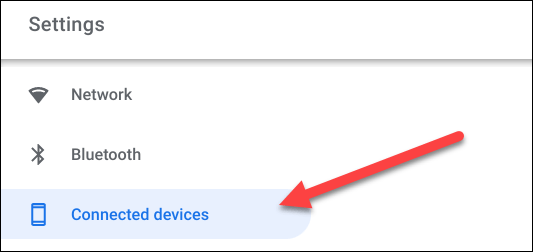
In the Settings screen, look to the menu on the left and click on the tab “Connected Devices“.
Next, if the feature is already available, you will see “Nearby Share” listed here. Click “Set Up” to begin.
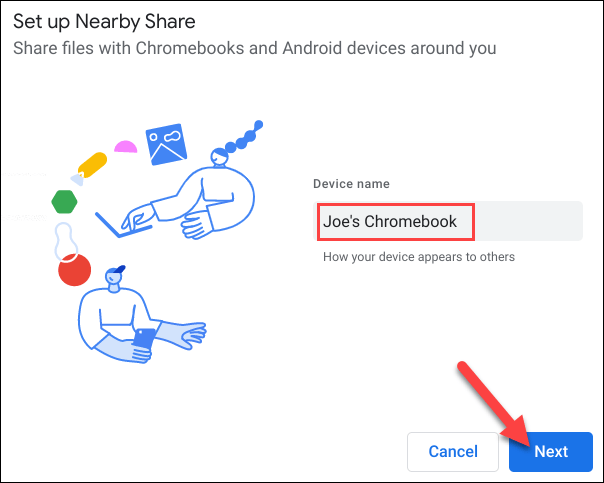
First, give your device a name and click “next“. This is the name others will see when they start searching for your device with Nearby Share.
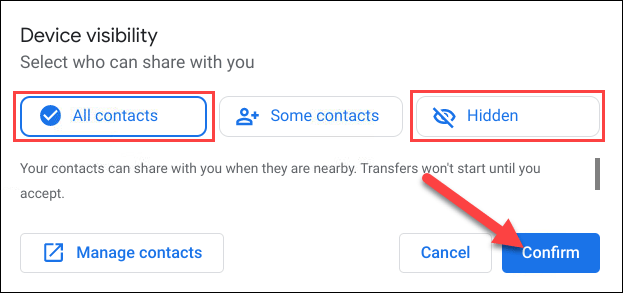
The next step is to decide who will be able to share the data with you. You have the following three options:
- All Contacts: Your device can be seen by all users in your contact list. You’ll also be able to see all nearby devices with Nearby Share turned on.
- Some Contacts: You choose which specific contacts will be able to see your device through Nearby Share.
- Hidden: No one can see your device. However, you can still see all nearby devices with Nearby Share open.
If you choose “All Contacts” or “Hidden, then no further setting is required.
In case you select Some Contacts, the system will allow you to go through your contact list and select each person. Scroll through the list and select anyone you want to allow to see your device via Nearby Share.
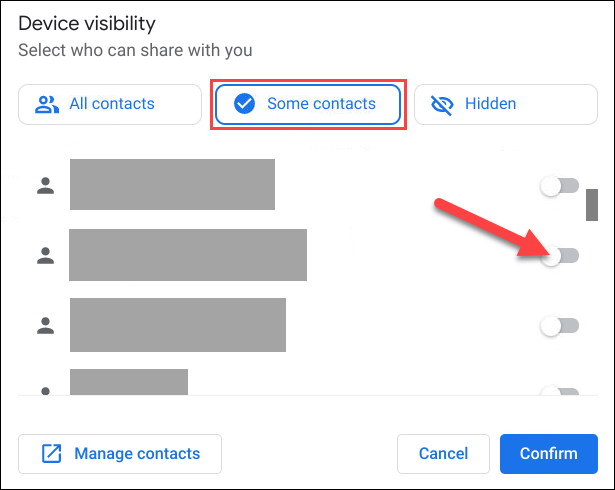
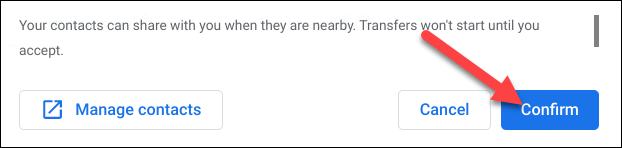
Click “Confirm” to confirm.
That’s all the initial setup, let’s get started on the data sharing process with Nearby Share.
Use Nearby Share on Chromebook
Nearby Share works in two ways — sending and receiving. First, we’ll cover how to send something on a Chromebook via Nearby Share.
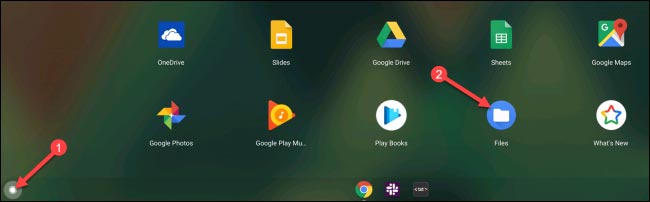
First, you click on the biểu icon App Launcher in the bottom left corner of the screen to see all the apps on your Chromebook or Chromebox. Then open the app”Files“.
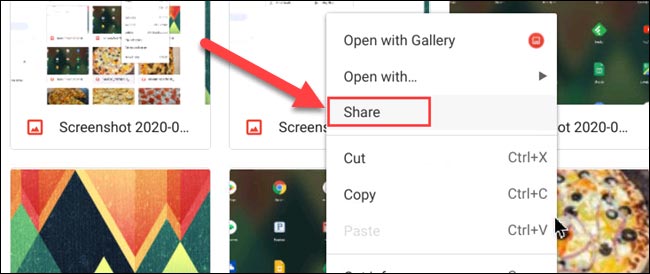
Find the file you want to share and right-click it.
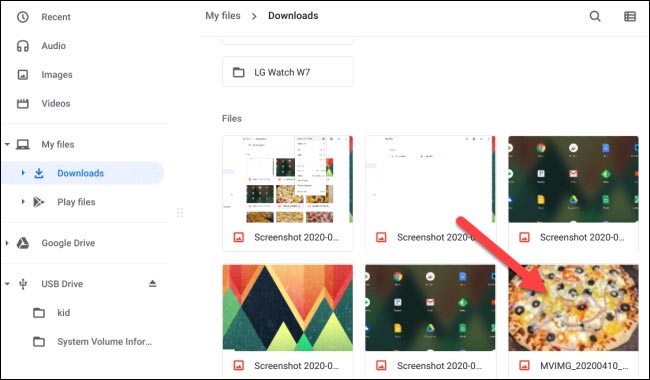
From the context menu that appears, select “Share“.
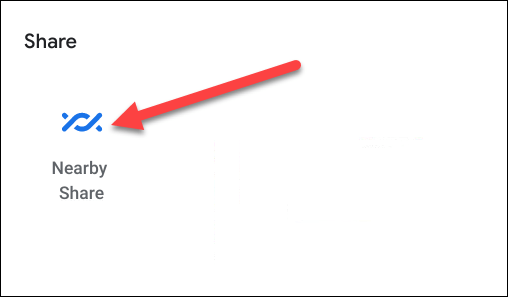
“Nearby Share” will be one of the options that appear, click on it.
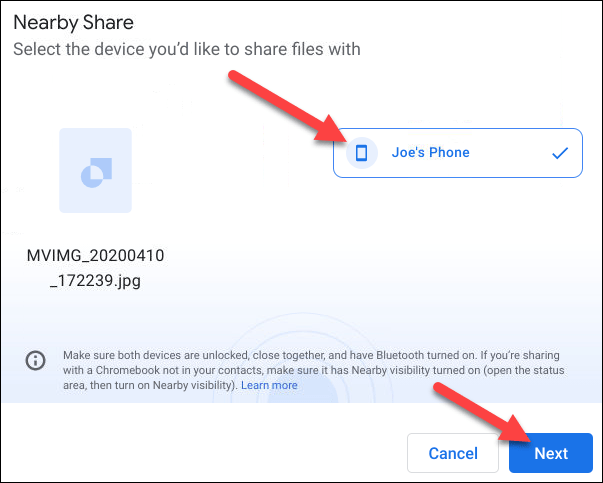
Available devices will appear here. Select the device you want to share the file with, then click “next“.
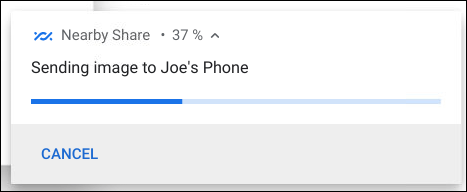
After the device receives “Accept, file transfer will begin.
On the other hand, getting files via Nearby Share on Chromebooks is also very simple. When a device is trying to share data with your chromebook, you will see a message on the screen asking you to “Recieve” (Receive) or “Decline” (Refuse).
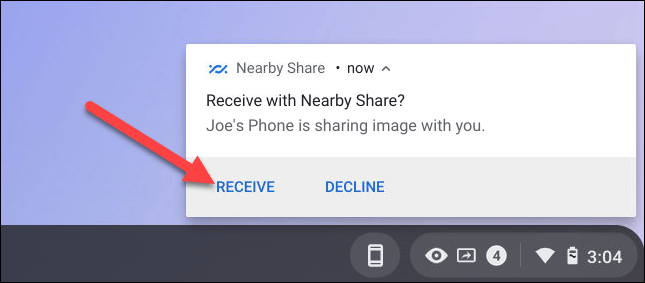
Click “Recieve” and the file transfer will complete in a moment.
Source link: How to use Nearby Share on Chromebook
– https://techtipsnreview.com/


