
“Tab Groups” is a recently added feature in many Chromium-based web browsers, and Microsoft Edge is no exception. Microsoft’s browser got this feature in version 93, allowing users to actively organize open tabs into separate groups with specific titles and topics.
Tab Groups is a very useful feature if you often have to work with a large number of tabs on the browser. Here’s how to use it.
Use the Tab Groups feature in Microsoft Edge
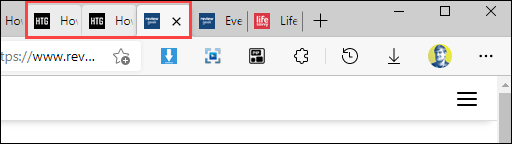
First, you’ll need to open a few tabs in Edge, then select the ones you want to include in a group. Do this by holding down the Ctrl key and left-clicking each tab to select it. Or, to select a series of contiguous tabs, simply left-click one tab, then hold Shift and click another tab.
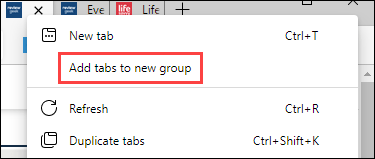
After you have selected the tabs to group, right-click on one of these tabs and select “Add Tabs to New Group“.
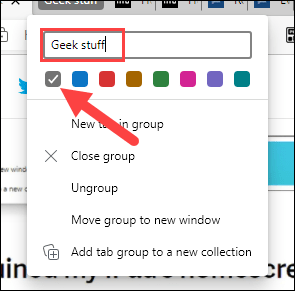
You can now name the tab group and choose a theme color. Of course, this is optional, if you want to keep the tab area “cleaner”.
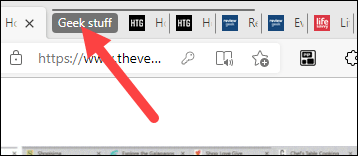
Tabs placed in the same group will display the same color, and the group name is on the left side. From here, there are a few things you can do:
- To collapse or expand all tabs, click the tab group name or the symbolic color indicator.
- To move all the tabs around into a group, click and drag the group name.
- To move a specific tab into another group, drag and drop the tab into the corresponding group.
- To add a new blank tab or ungroup tabs, right-click the name of the tab group.
That’s the basic usage of Tab Groups feature on Microsoft Edge. Hope you are succesful.
Source link: How to use Tab Groups feature in Microsoft Edge
– https://techtipsnreview.com/


