If you just bought an iPhone (6S or later), you’ll love the new iOS feature, Live photos. If you don’t love this feature yet, it’s probably because you’re not familiar with it.
The best way to describe a Live image is to compare it to a GIF animation. When you take a picture of a moving object and the iPhone captures the image as a short movie.
If you look closely, you will see that this image is saved as a MOV file. This file will take up more space than a still image, so you should save Live images selectively.
Live photos are one of the coolest features on the iPhone. You should to try it. The following quantrimang.com will guide you to take beautiful live photos, turn them off, open and edit them.
Make sure that the object you want to capture live has to move
A live photo is like a short movie in which the subject being captured moves. Therefore, you need to make sure that the subject you want to capture is moving. Live images only work when the object is in motion.
Another important thing you need to know is that taking a Live photo takes only a few seconds longer than taking a still image. When a Live photo is being taken, the text Live will appear at the top of the capture screen.
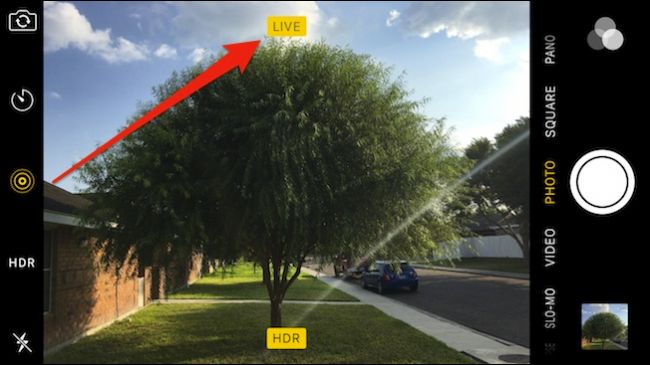
When this text disappears, your Live photo has been taken, and it will be saved to Photos. To capture the movement of your subject, you need to keep your phone still until you’re done. You can use the volume down button to take pictures for the best quality.
Also, note that the Live image also captures the sound. Make sure you don’t say anything during the shoot.
How to enable and disable Live shooting mode on iPhone
To enable or disable Live shooting, simply tap the icon on the camera screen. When you regularly take still photos, iPhone will also “recommend” this feature to you, and then you can turn off the feature from anywhere on the screen.

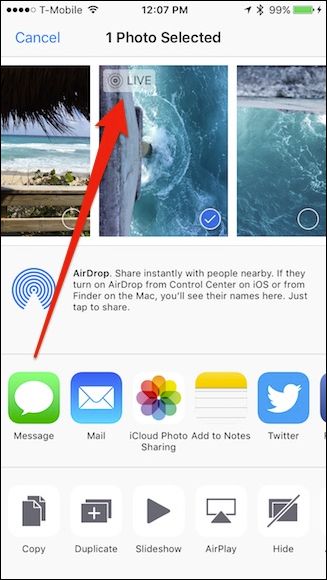
When you view photos in Photos, it’s hard to tell the difference between stills and live photos. However, when sharing, Live photos will have the words “live” appearing in the upper left corner of the thumbnail.
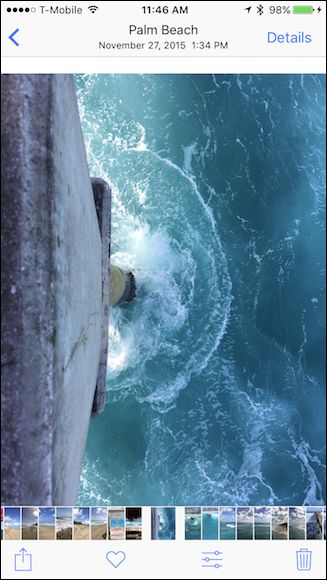
Live photos don’t have their own albums like slo-mo, bursts, and selfies. So to distinguish a Live photo from other photos, you need to touch it.
How to set Live photo as iPhone wallpaper
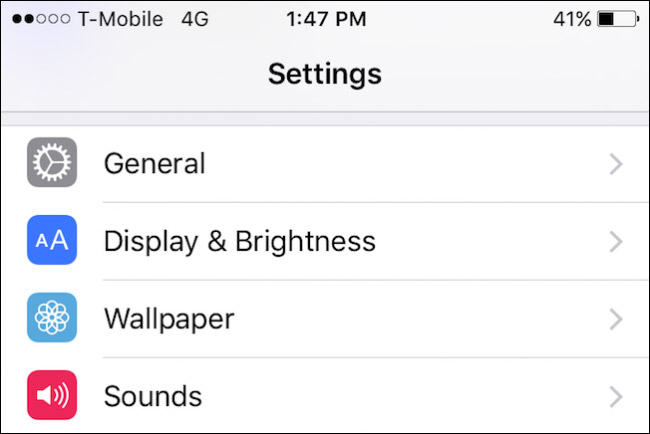
You can use a Live photo as a live wallpaper for your lock screen. Open Settings, choose Wallpaper.
You can also display Live Photos as live wallpaper on your lock screen. To do this, open Settings and tap “Wallpaper”.
Next choose All Photos to open all captured images.
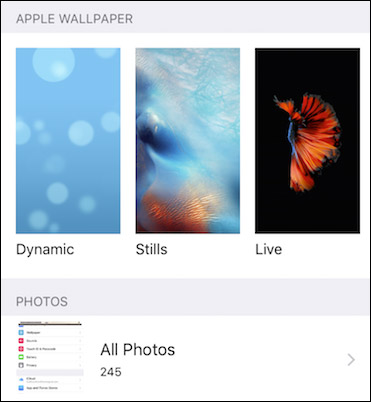
From the captured photos, select the Live photo you want.

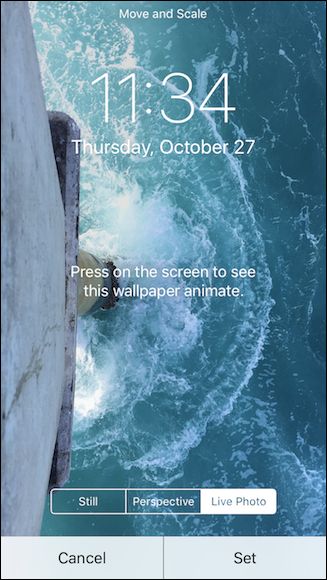
Once you have selected a photo, you need to select Live Photo. To test, tap the screen and watch the image move. Then choose Set.
Next choose to set the Live photo as the lock screen, home screen or both. You can select all, but for the Live photo to be animated, you need to set it up as the lock screen.
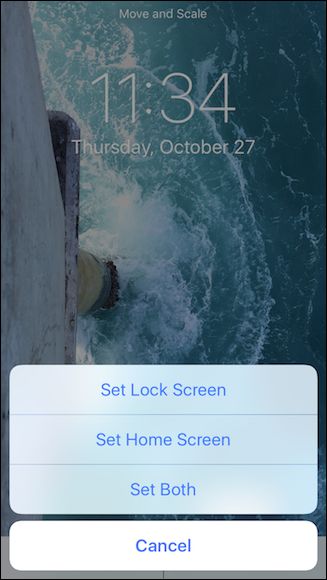
So completed. Your lock screen has been set with a Live photo. Click on it to see the motion.
See more:
Source link: Instructions for taking live photos and animations on iPhone
– https://techtipsnreview.com/