Today, TechtipsNReview.com shares with you how install MacOS virtual machine on Windows 10 It’s very easy that you can do it at home without an IT specialist.
1. Install MacOS on Windows 10 with VirtualBox
– Step 1: Download the necessary software to install virtual MacOS on Win 10
+ VirtualBox latest version 6.1.18 (as of March 2021): [https://www.virtualbox.org/wiki/Downloads].
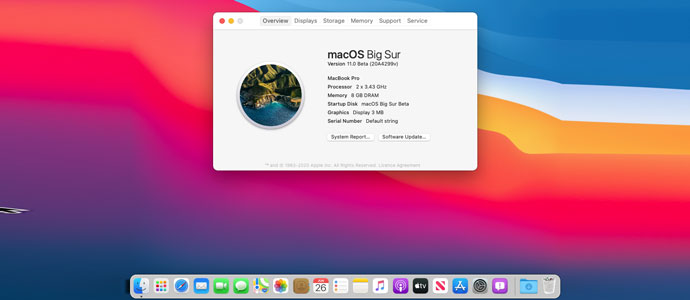
+ MacOS Sierra 10.12.
+ Code for VirtualBox.
– Step 2: You move the downloaded MacOS 10.12 Sierra file to the desktop or to the desktop. Right-click on the downloaded MacOS 10.12 Sierra operating system file (this will be displayed under the .rar file) to extract it => Then select “Extract Here“.
+ And you should activate “Virtualization” on the computer’s BIOS, laptop before you install it.
– Step 3: You find “VirtualBox” just installed on the machine and open this software. Next, click “new” located in the upper left corner.

– Step 4: You fill in the New field the following information:
+ Name: MacOS 10.12 Sierra.
+ Type: Mac OS X.
+ Version: Mac OS X 10.11 El Capitan (64 bit) or 12 Sierra.
+ Memory size: 4 GB (about 70% of your computer’s RAM).
+ Virtual disk file: MacOS 10.12 Sierra.vmdk.
– Step 5: After you have set up your computer, laptop emulator for your machine, you just need to edit a little more before installing MacOS on Windows. First, click “Settings“.
– Step 6: Section “Settings“you will see the”General” is located on the right, this item you just need to set everything to default (default).
– Step 7: Below the “General“you will see”Systemclick and adjust according to the information as below:

+ Select 2 CPUs (can choose more than 2 but depends on your computer’s CPU) then click “PAE/NX“.
+ System: You choose to turn on EFI and turn off Floppy. Next, make sure you have selected the Chipset as IHC9 (you can also choose PIIX3).
+ Graphics: You choose Video Memory to be 128MB.
+ Storage: Finally, select the file MacOS 10.12 Sierra.vmdk and make sure under Attributes, you set the Hard Disk to SATA Port 0. Once done, click OK.
– Step 8: Now you need to add code to VirtualBox with Command Prompt (cmd). It will be better & faster if you copy the following line of code into Notepad, then replace it in the displayed areas “Your VM Name” with the virtual computer name you set yourself.
2. Install a MacOS virtual machine on Windows 10 with VMWare
– Step 1: Install VMWare WorkStation
+ If you already have VMWare, you can skip this step. If not, install the software.
+ After the installation is complete, enter the key and please turn off the VMWare WorkStation software and then unlock the MacOS emulator function
– Step 2: Unlock emulation function on MacOS
First, close all virtual machine windows.

+ After extracting the file Unlock for VMware, find the file win-install.cmd and run it with admin rights to proceed with the installation.
+ After the above CMD screen disappears, it also means that the installation is complete.
– Step 3: Conduct MacOS emulation install MacOS virtual machine on Windows 10
Attention: Hard drive capacity at this time should be from 40GB to 150GB to be dedicated to a good iOS programming job now and in the future.

+ Open VMWare and install it.
+ On the VMWare window, choose to create a new virtual machine “Create a new Virtual Machine“.
Then choose the following:

>> See more:
What is Screen Time?? Must-know apps in MacBook.
Should you update your MacBook’s software?
Choose MacOS 10.15. The word Apple Mac OS X appears as a result of Unlocking in step 2 of installing a MacOS virtual machine on Win 10 using VMWare. Then proceed to name and select the location of the virtual machine.
+ Go here, choose Customize Hardware and select the ISO to the CD section. Check the computer belongs to Intel or AMD chip line to add content to the file “.vmx“.
+ macOS installation goes on”next“until the end.
+ Go to the directory where the virtual machine was originally selected, find the file with the extension “.vmx” open it with notepad and add the following code in the last line:
smc.version = “0“
+ Then Save and turn off notepad.
Note: Step to add content to the file “.vmx” is very important. If not add the right content to the file “.vmx“, OS X 10.? will be frozen during the installation process in the VMWare virtual machine.
+ Return to VMWare and proceed to Power On the virtual machine to install.
+ Use “Disk Utility” to proceed to partition the hard drive for Mac.

+ Just press “next“, “agree to the terms”, … and select the installation partition.
So we have shared how install MacOS virtual machine on Windows 10 right in the post above. Hope the above information will help you. Thank you for watching.
TechtipsNReview.com
Source: Instructions on how to install a MacOS virtual machine on Windows 10 simply
– TechtipsnReview