NOTE: Welcome to the Knowledge Sharing Blog! If you encounter any errors during use, such as error in download link, slow loading blog, or unable to access a certain page on the blog … please notify me. via Contact page. Thanks!
In the previous article, admin Kien Nguyen has very detailed instructions for you how to install Vietnamese for Windows 10 operating system already. And I see that article is quite interested in many of you, so to make it more convenient for you to Vietnameseize other Windows versions (Windows 7, Windows 8 / 8.1), in this article I will guide you. is detailed for you, and sure anyone can do it easily.
For those who are new to computers, using English will be a bit difficult, simply because they do not understand anything ? so the solution to using Vietnamese language is completely reasonable. At this time, later, when you have mastered it, it is not too late to switch back to English, right ?. Okey, in this article, I will introduce to you Vietnamese interface pack developed by Microsoft on Windows 7, Windows 8 and Windows 8.1 platforms.
How to install Vietnamese language interface packs for Windows 7, 8, 8.1
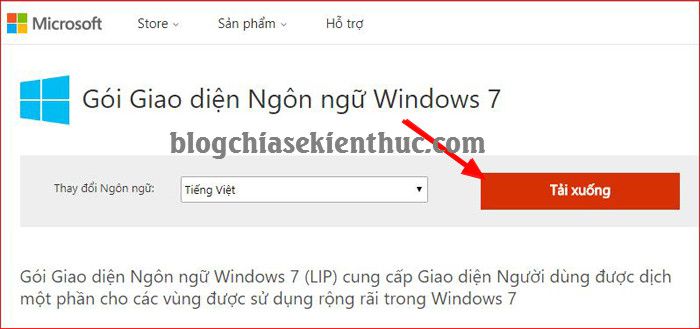
– Step 1: First, download the theme pack from the Microsoft homepage, select the theme pack corresponding to the Windows operating system you are using.
+ Windows 7 interface pack: Download here
+ Windows 8 interface pack: Download here
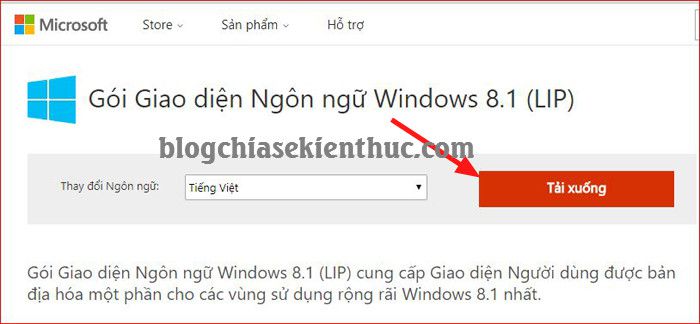
+ Windows 8.1 interface pack: Download here
In this tutorial I will guide you to install the language interface pack on Windows 7 operating system, but with Windows 8 or 8.1, you will also install the same thing.
– Step 2: Then press the button Tải xuống => Here you can choose 32 bit interface pack or 64bit interface pack to suit the Windows operating system you are using.
Note: If you do not know whether your computer is using a 32bit or 64bit platform, read this article again.

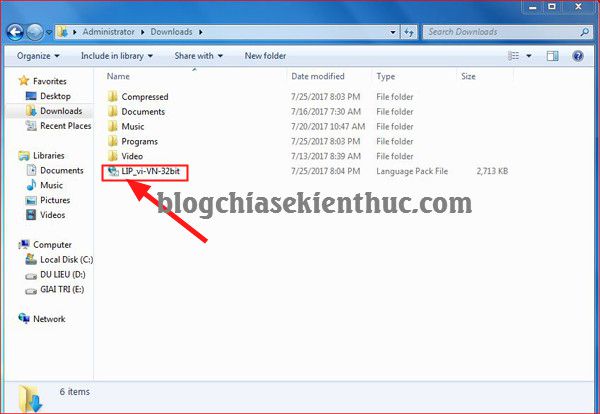
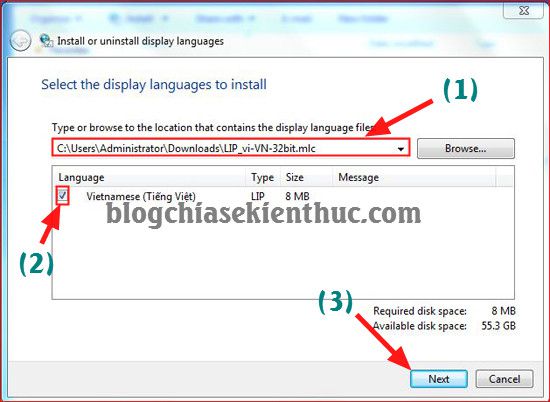
– Step 3: Double click on File lip-vi-VN that you have just downloaded.
– Step 4: Leave the default path selected Vietnamese (Tiếng Việt) then press Next.
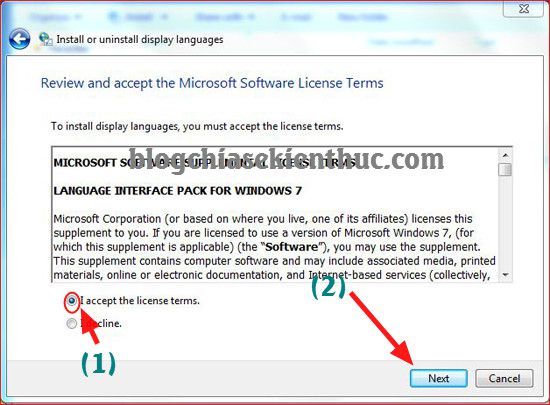
– Step 5: You tick I accep the license terms => then press Next to continue.
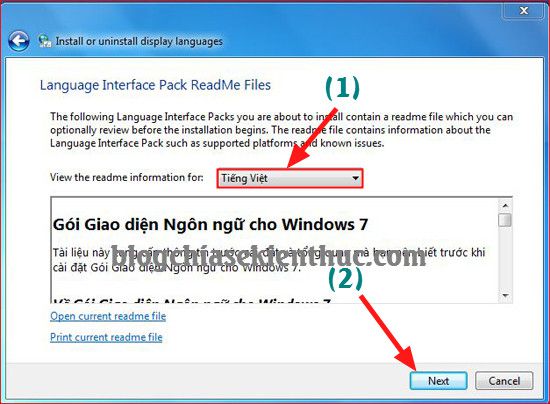
– Step 6: In the software service terms you choose as shown in the picture and then click Next to start the installation process.
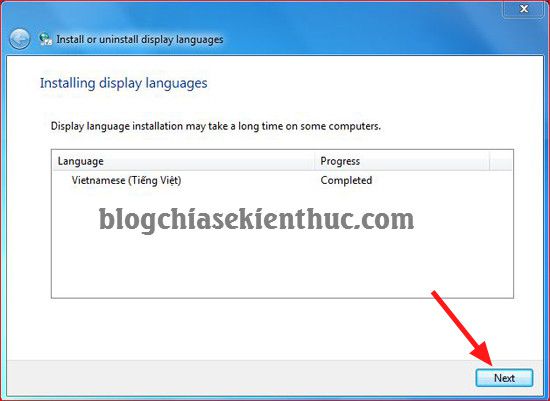
After Completed (Complete the process of installing Vietnamese interface pack on Windows, click Next.
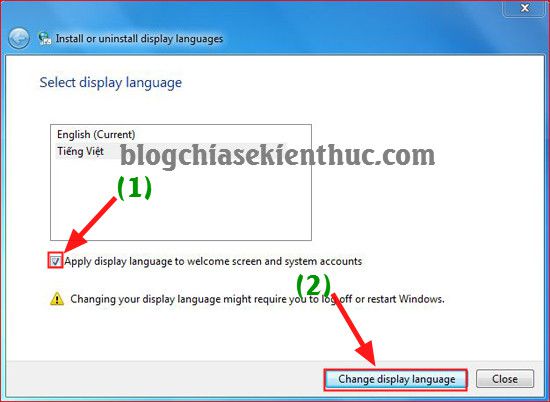
– Step 7: Continue to tick the box Apply display language to welcome screen and sytem accounts then click Change display language to agree to change language.
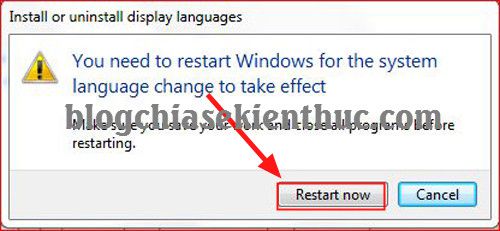
– Step 8: Next in the window Install or uninstall display languages you choose Restart Now to restart the computer and Updata Vietnamese package for windows.
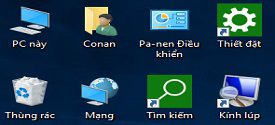
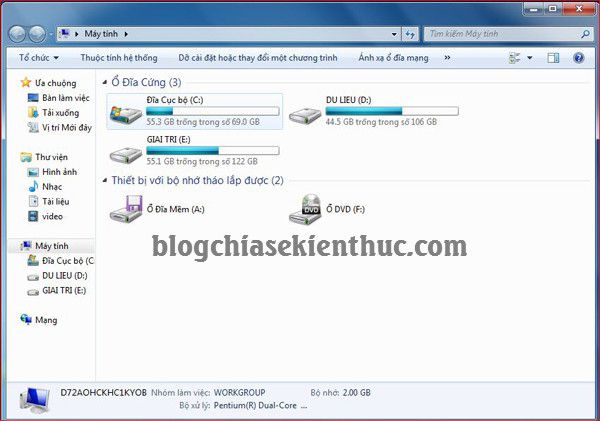
And here are our results. In the Computer window
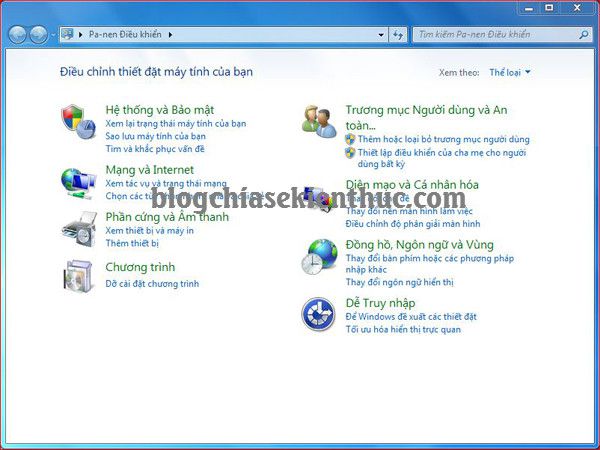
And this is the interface of the Control Panel.
Epilogue
Yes, the process Vietnamese language setting for computer running Windows 7, 8, 8.1 is finished. Now, almost the entire operating system has been converted from English to Vietnamese. This will be very useful for those who want to explore or fix computer errors but are not fluent in English. But it is also very talented for those who want to pursue IT majors ?
Hope this article will be useful to you. Good luck!
Collaborator: Luong Trung
Note: Was this article helpful to you? Don’t forget to rate, like and share with your friends and relatives!
Source: Instructions on how to install Vietnamese for Windows 7/8 / 8.1 computers
– TechtipsnReview


