
VnEdu LMS is an online learning and exam platform deployed in many schools with the aim of bringing convenience to teachers and students in online teaching and learning, and easier connection with parents. . Parents also use this VnEdu system to know their child’s learning situation, look up scores on VnEdu and students will conduct an online exam on vnEdu LMS with a quality online test system. The following article will guide teachers to install VnEdu LMS on computers.
Instructions to install VnEdu LMS on your computer
Step 1:
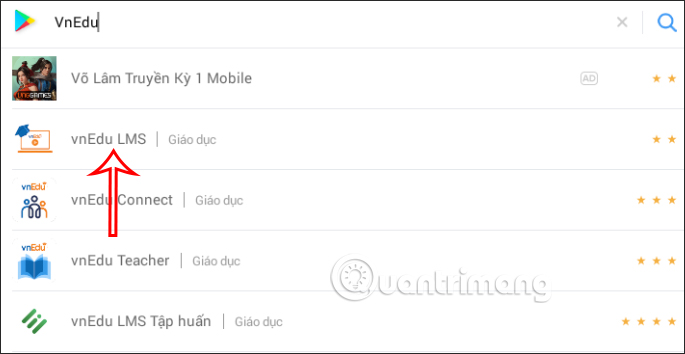
First of all we need to use Android emulators on the computer such as Bluestack, Nox App, .. Then at the interface you click on the CH Play icon or enter the keyword VnEdu LMS in the search bar to search for the application.
Step 2:
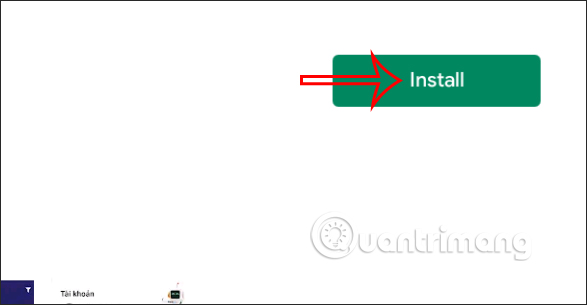
Switch to the new interface, user Click the Install button to install VnEdu LMS on the computer.
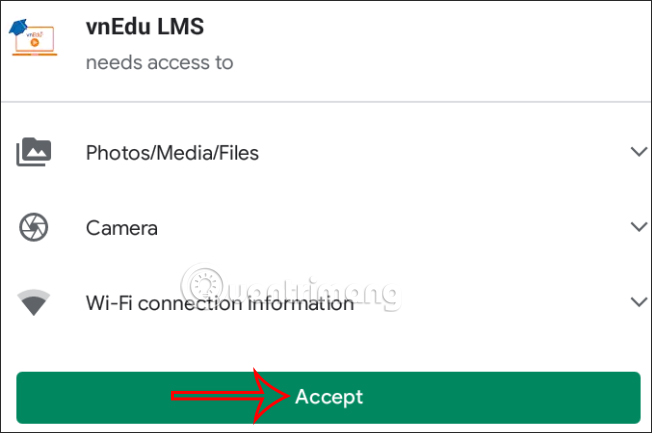
Now display the requirements before you want to install VnEdu LMS on your computer via emulator software. We Click the Accept button to agree.
Step 3:
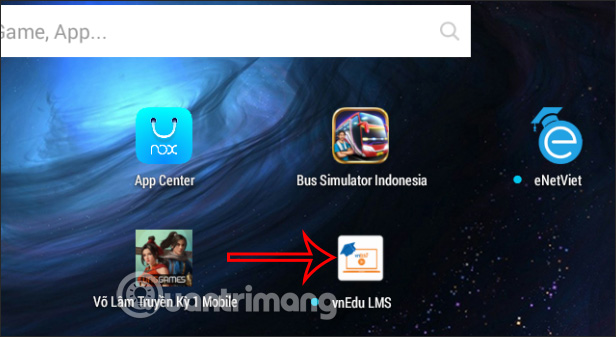
Wait for the installation to complete, we will see VnEdu LMS . icon displayed in the emulator’s interface.
Step 4:
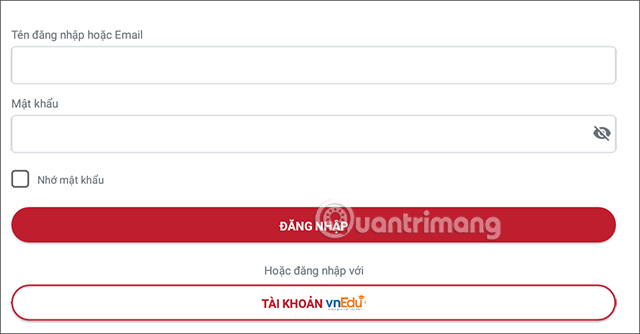
Finally we click on the utility icon. Now display the interface for you enter VnEdu LMS account information be provided.
Then teachers can use VnEdu LMS right on the computer with all the same features and management items as the VnEdu LMS version on the phone.
Source link: Instructions to install VnEdu LMS on your computer
– https://techtipsnreview.com/


