
In this article, TipsMake.com will show you how to install and experience Windows 11 on a VMWare virtual machine. This installation method helps you have a smooth running version of Windows 11 with an internet connection.
Instructions for installing and experiencing Windows 11 on VMware virtual machines
First, before installing Windows 11 on a virtual machine, you need to prepare the following:
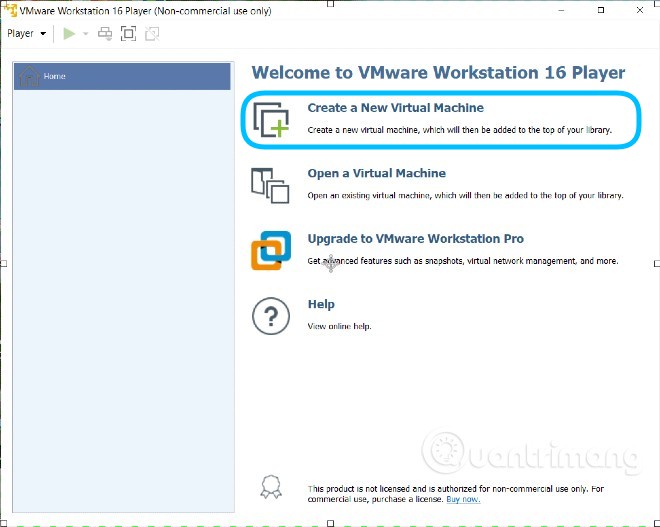
Step 1: First you open VMware Workstation 16 Player then choose Create a New Virtual Machine
Step 2: Choose Installer disc image file (iso)
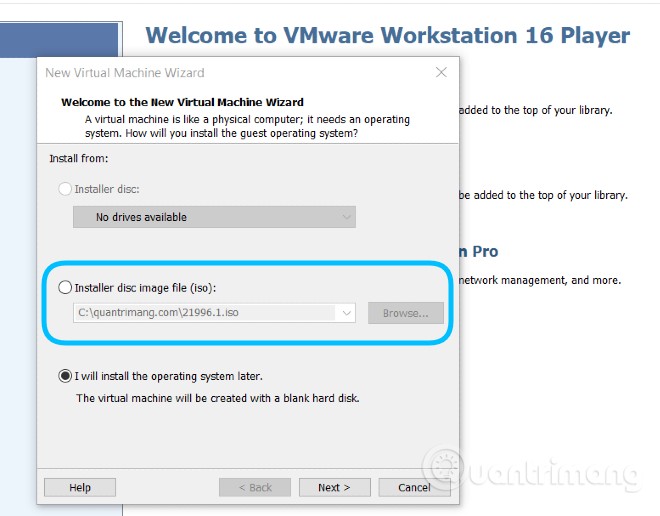
Step 3: Press Browse to find where you put the ISO file of Windows 11, select the ISO file and then press Open > Next
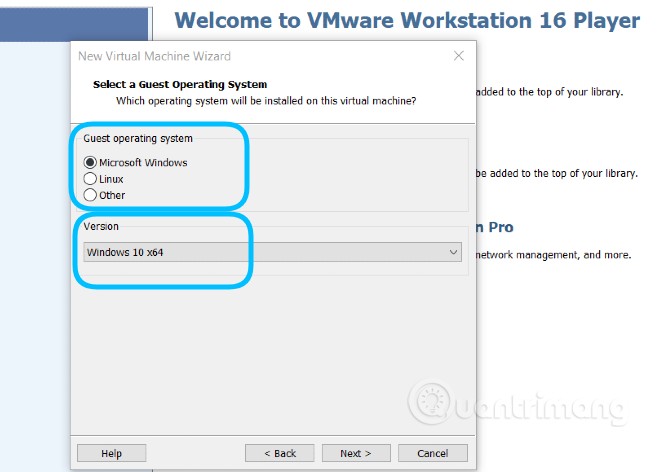
Step 4: In the new screen, you select Microsoft Windows in section Guest operating system and scroll down to select Windows 10 64 bit in section Verison
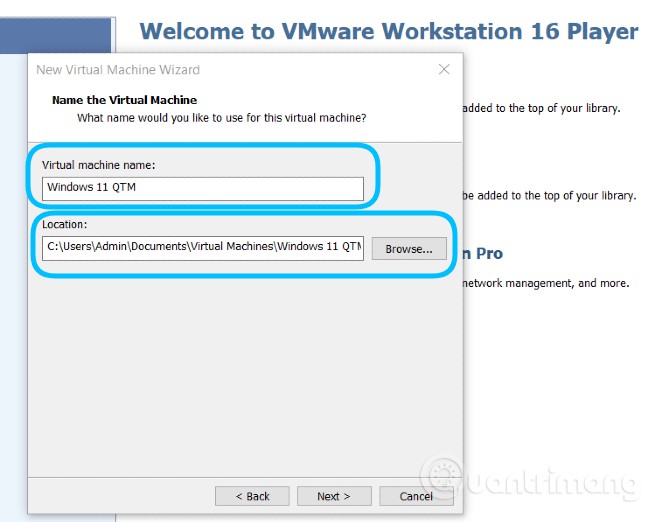
Step 5: Name the virtual machine and choose where to store it
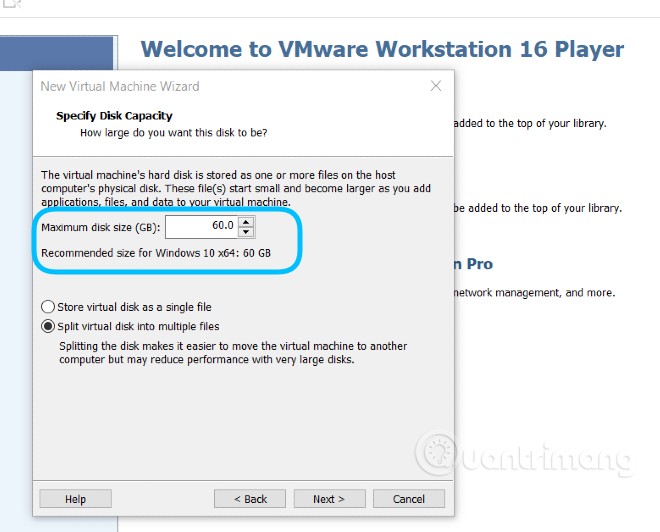
Step 6: Choose the space for the hard drive on the virtual machine
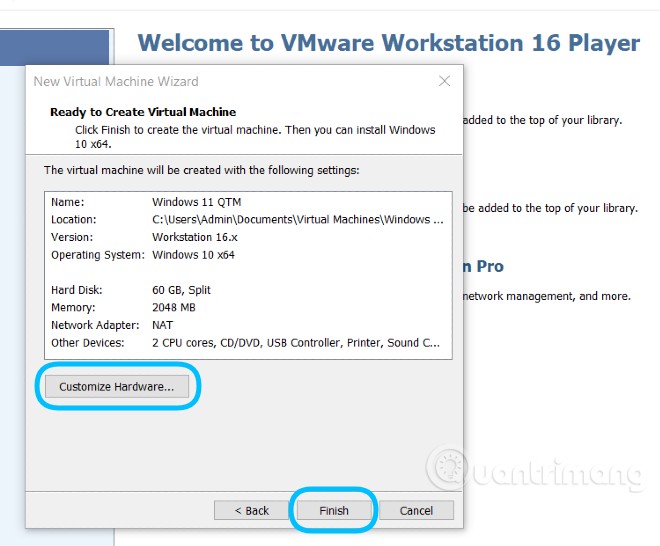
Step 7: Confirm the configuration, you can customize if you are not satisfied by clicking Customize Hardware… If it’s ok, press finish to complete the virtual machine configuration
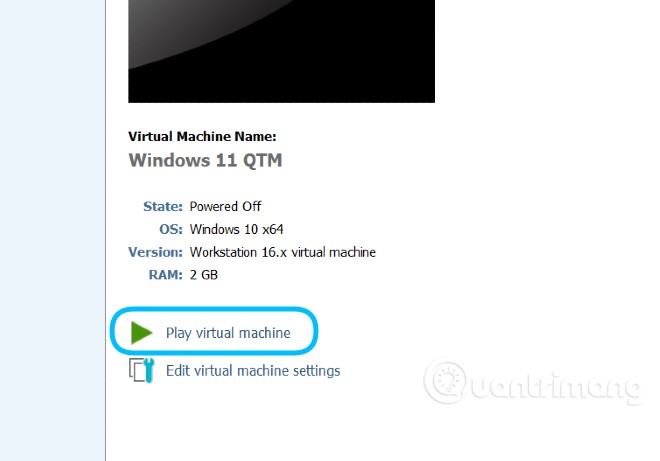
Step 8: On the interface of VMware Workstation 16 Player you press the button Play virtual machine to run the newly created virtual machine
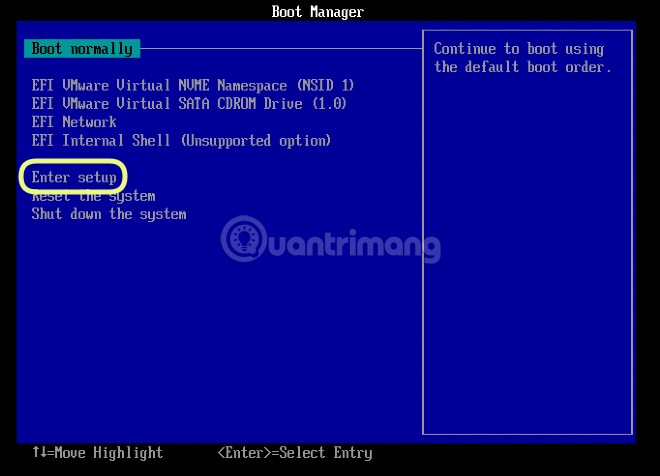
Step 9: You wait until the system displays the interface below
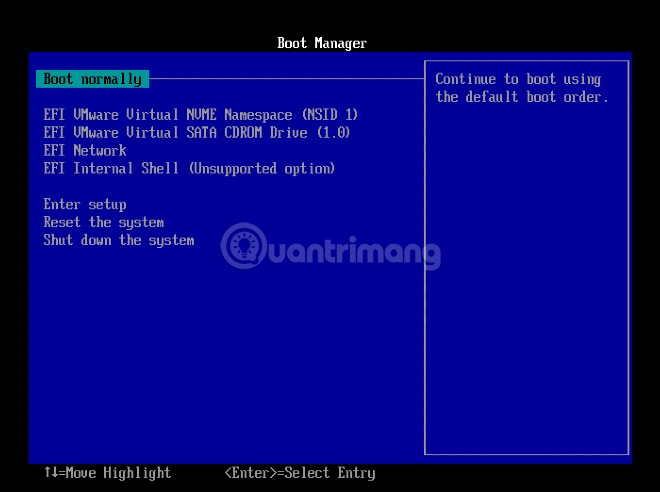
Step 10: In this interface, you use the down arrow key to move to the item Enter Setup then press Enter
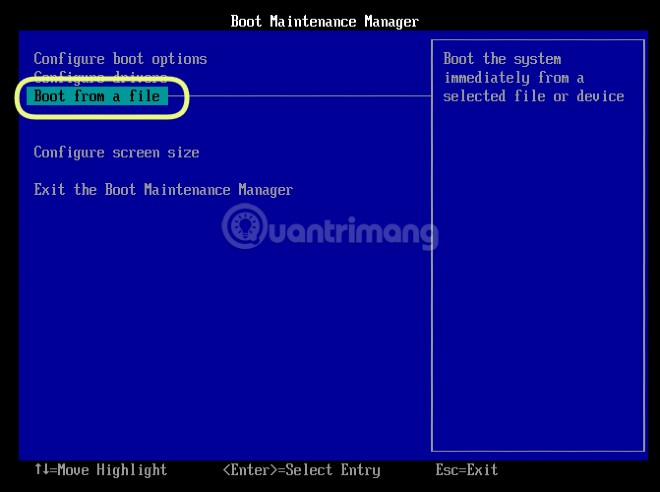
Step 11: Choose Boot From a file then press Enter
Step 12: Press Enter to select the first file

Step 13: Press Enter

Step 14: Choose BOOT then press Enter

Step 15: Choose BOOTX64.EFI then press Enter

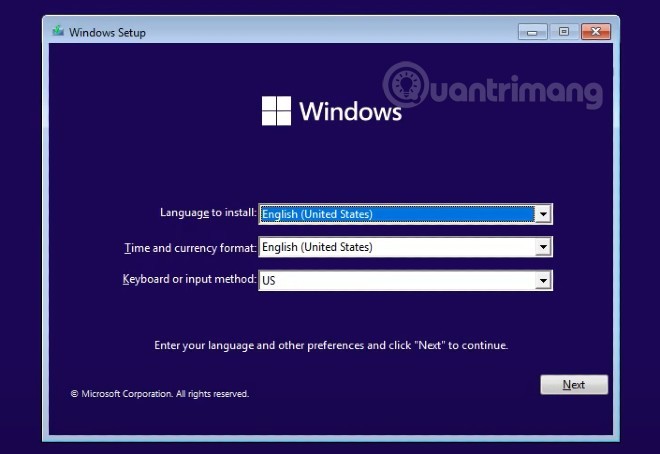
Step 16: After completing the above steps, the system will bring you to the screen to select the time, language and keyboard. When finished, press next to continue.
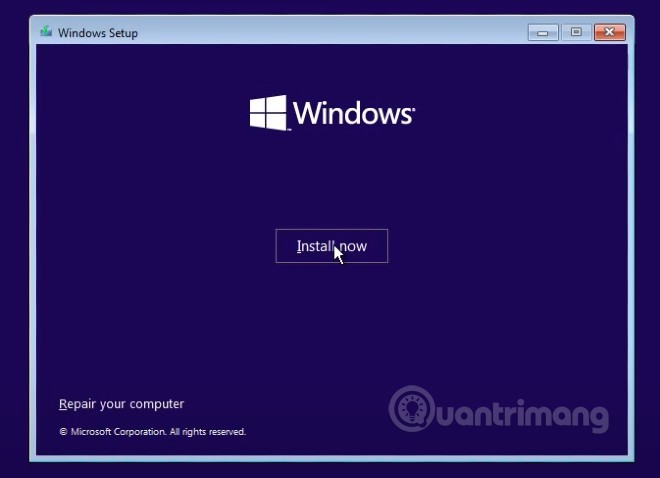
Step 17: Press the button Install now to start the installation
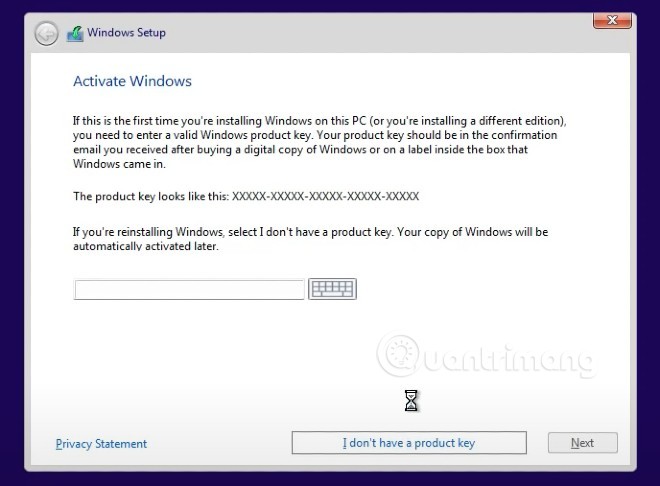
Step 18: In the interface to enter the product key you choose I don’t have a product key
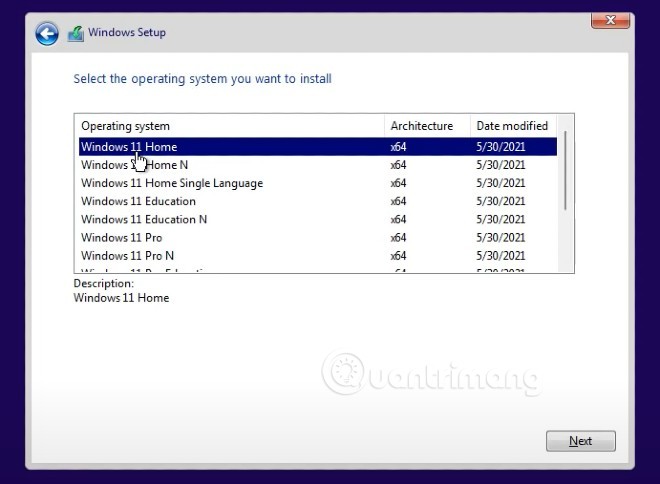
Step 19: On this new screen, you can choose the version of Windows 11 you want to install and then press next
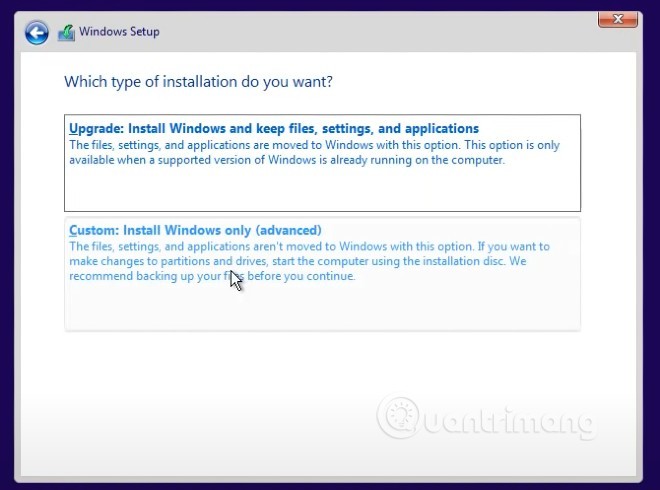
Step 20: In the next screen, you select Custom: Install Windows only (advanced). Note: This option may cause you to lose all data in the drive where you plan to install Windows 11.
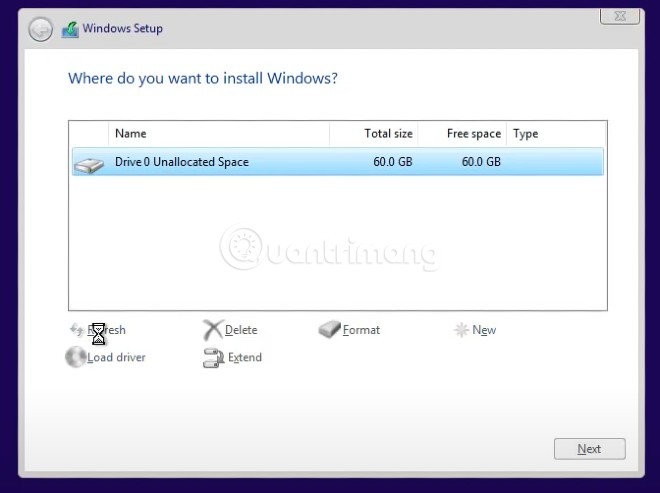
Step 21: Select the drive where you will install Windows 11. Here, you can use the drives (available partitions) or create a new drive to install Windows 11
Step 22: The installation will take place and you need to wait a short time before continuing

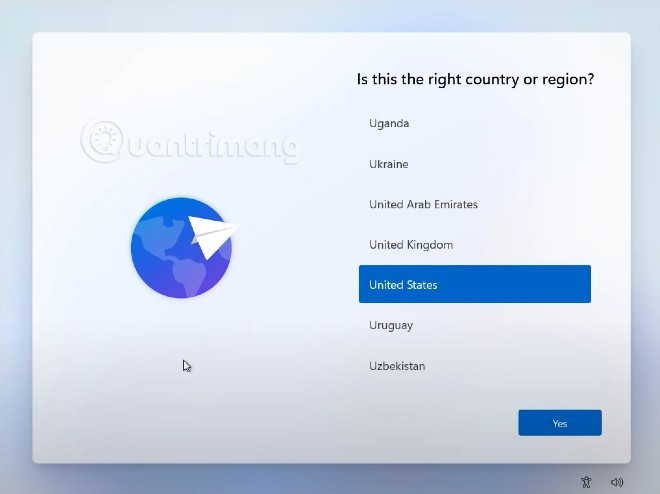
Step 23: After installing step 8, the machine will reboot and the welcome screen with the new basic settings of Windows 11 will appear. First, Windows 11 will ask you if this is your country or region? You can reset it if needed.
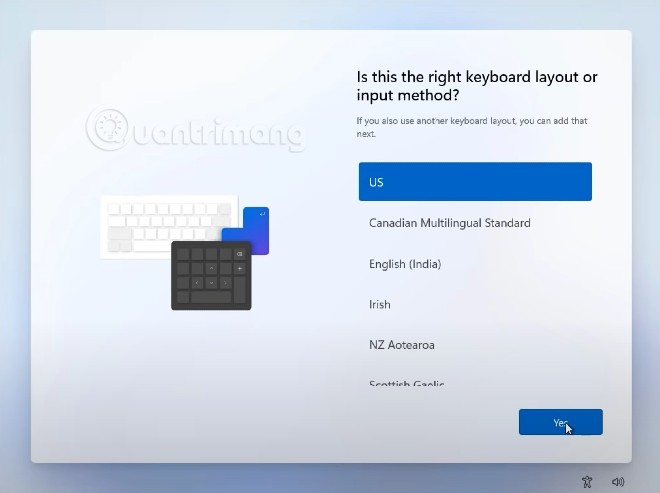
Step 24: Next is to set up the keyboard. When you have selected the main keyboard, Windows 11 will ask if you want to install an additional keyboard, press Add layout to add or Skip to skip depending on need.
Step 25: You have to wait for Windows 11 to check if there are any updates available.
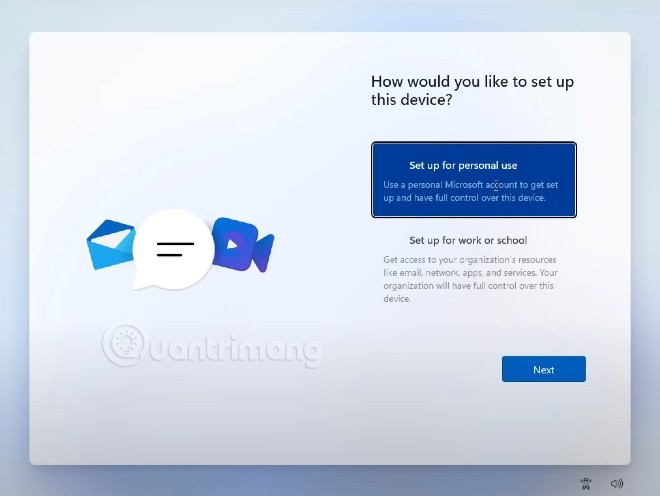
Step 26: At this screen, Windows 11 asks you to select the intended use of the device. There are two options: For personal use and For work or study, you choose according to your needs.
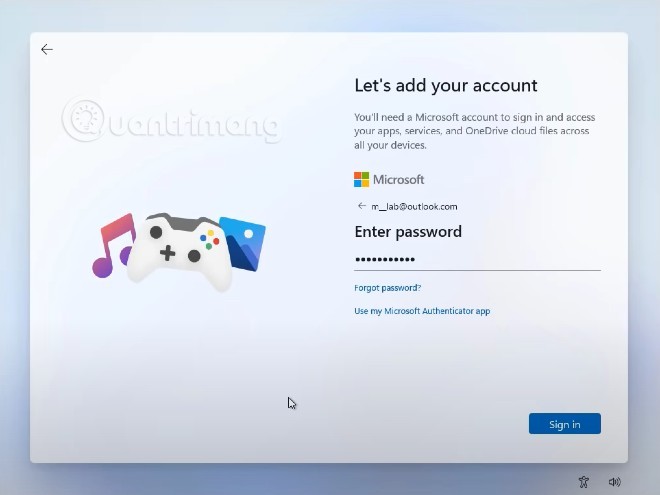
Step 27: In this step, you need to set up an account to log in to the device. Microsoft shows default login method with Microsoft account. However you can also change it by clicking Sign-in options
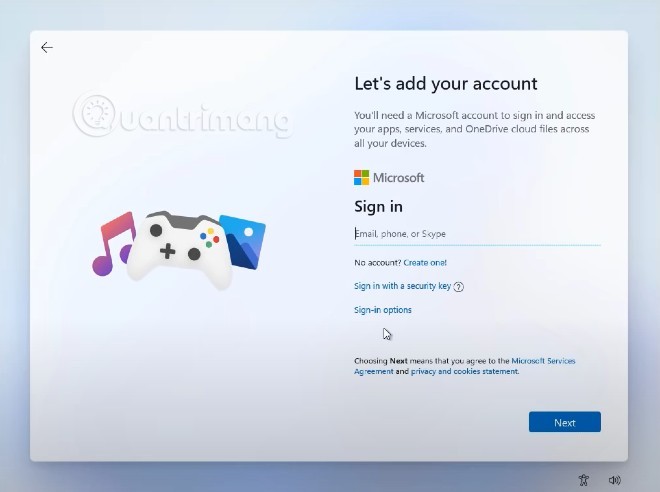
Step 28: In Sign-in options, you have three options: sign in with a security key (USB format), set up an offline account or use the forgot username function.

Step 29a: If you sign in with a Microsoft account, press back to enter your account and password.
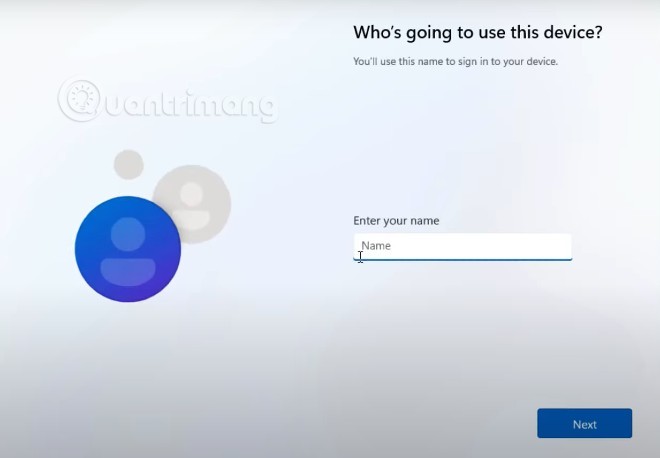
Step 29b: If you create an offline account for your device, you will have to set up a login username and password
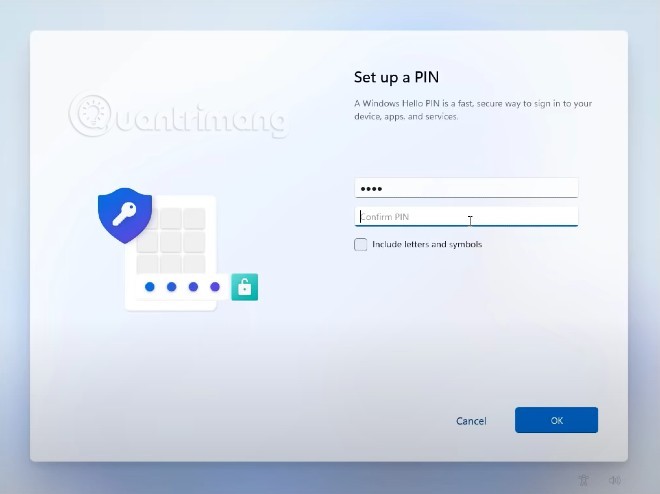
Step 30a: Set up a PIN for quick login to Windows 11 computers
Step 30b: This step is for those who sign in with a Microsoft account. Windows 11 will ask if you want to restore data from your old computer or do a completely new setup. You choose according to your needs.

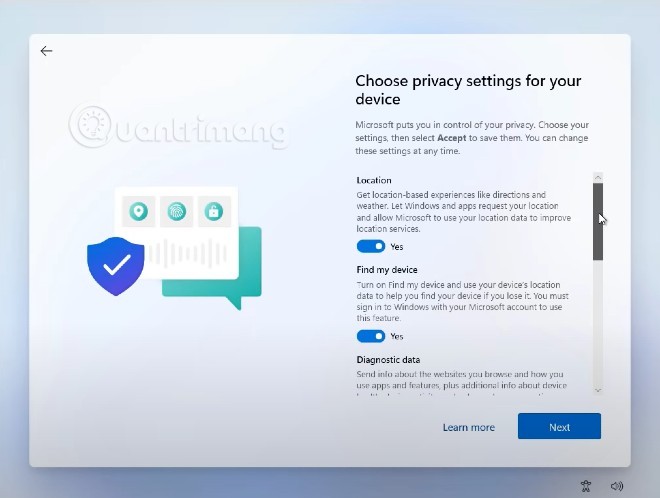
Step 31: Select privacy settings for the computer
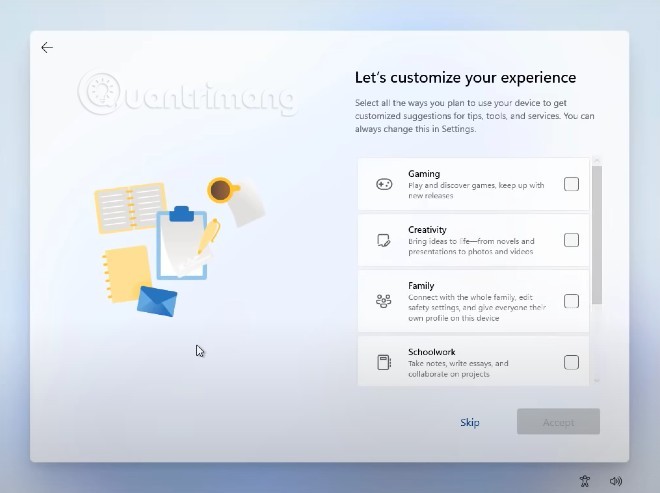
Step 32: Customize the experience
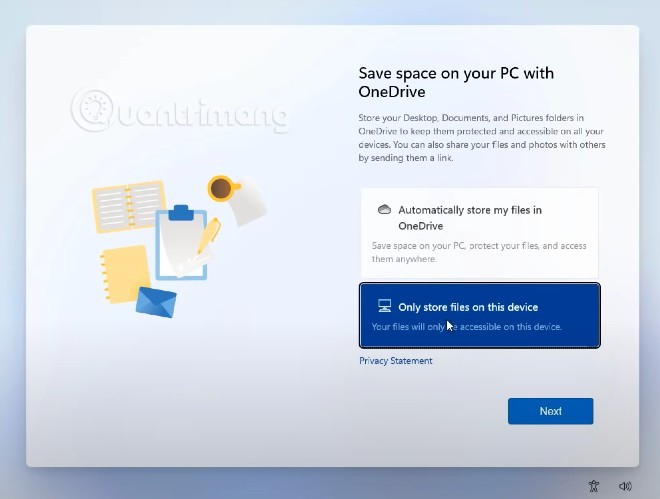
Step 33: Select storage. Here, Microsoft will ask you if you want to back up your data to OneDrive or just want to save it on your computer
After step 33 your computer will need a few minutes of setup and you will be greeted by the new look of Windows 11.

Video instructions for installing and experiencing Windows 11 on VMware virtual machine of Quantrimang.com:
Good luck!
Source link: Instructions to install Windows 11 on a virtual machine, install Windows 11 on VMware
– https://techtipsnreview.com/


