
NOTE: Welcome to the Knowledge Sharing Blog! If you encounter any errors during use, such as error in download link, slow loading blog, or unable to access a certain page on the blog … please notify me. via Contact page. Thanks!
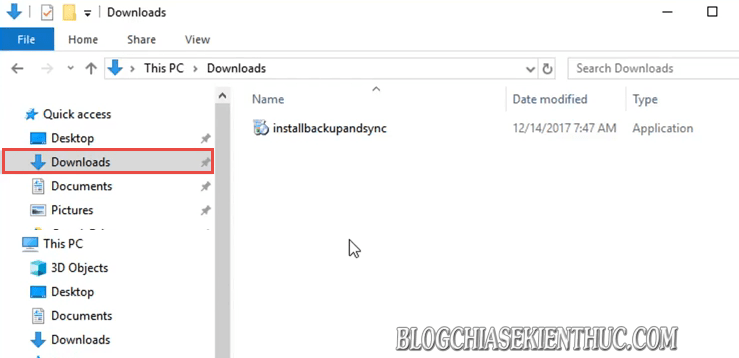
By default on web browsers, when you download files from the Internet to your computer, those files will automatically be saved in the drive’s Download folder. C.
And if you forget to clean up the downloaded files in this folder for a long enough time, then C drive will certainly be occupied a lot, and if your C drive space is too little. then it will certainly affect the performance of the computer.
To overcome that situation, in today’s article I will share with you a tip to set up the mode. automatically delete files in the Download folder on Windows 10. The place is considered the hub between the computer and web browsers. Helps your computer always have enough free space to run smoother and more stable.
Read more:
Set to self-destruct files in the Download folder of Win 10
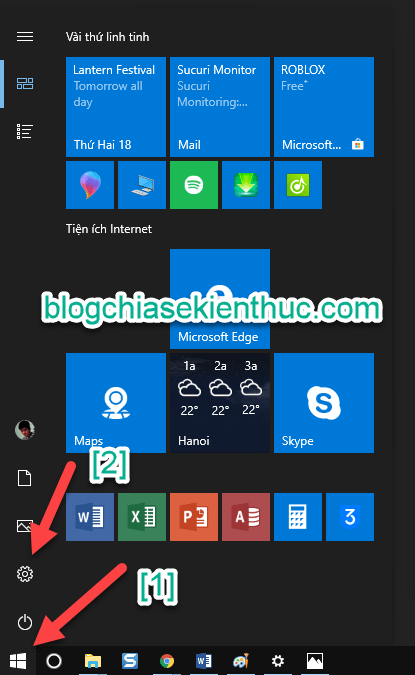
+ Step 1: First you click on the button Start on Windows 10, and select the icon Settings as shown below.
Or You can quickly use the key combinations Windows + I
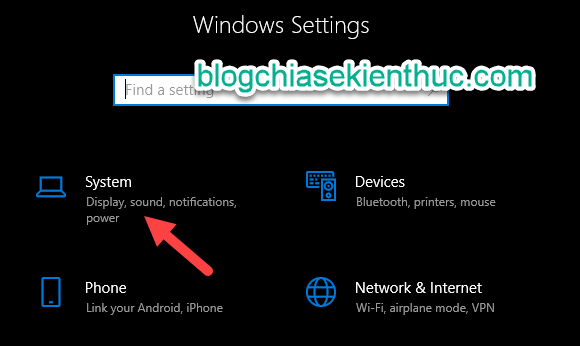
+ Step 2: Then at the dialog box Settings => you click System.
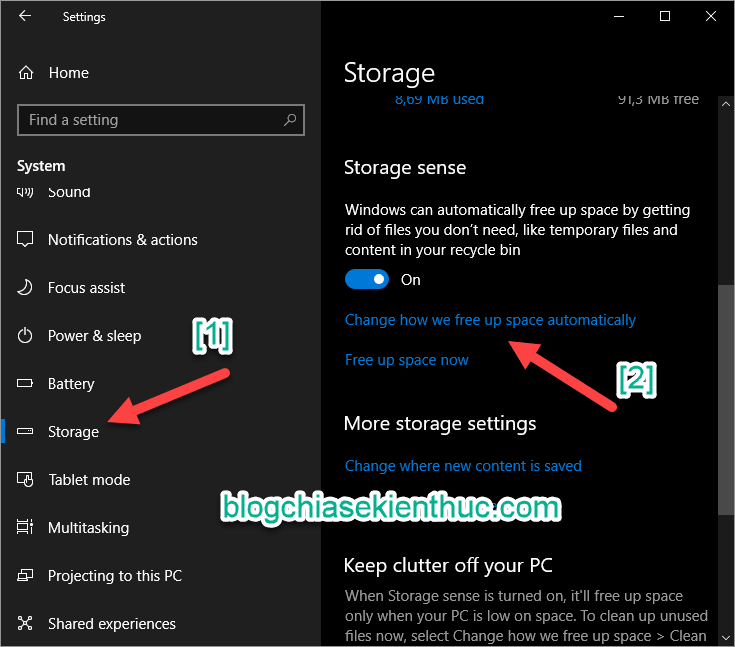
+ Step 3: Next, you choose Tab Storage => then click on Change how we free up space automatically.
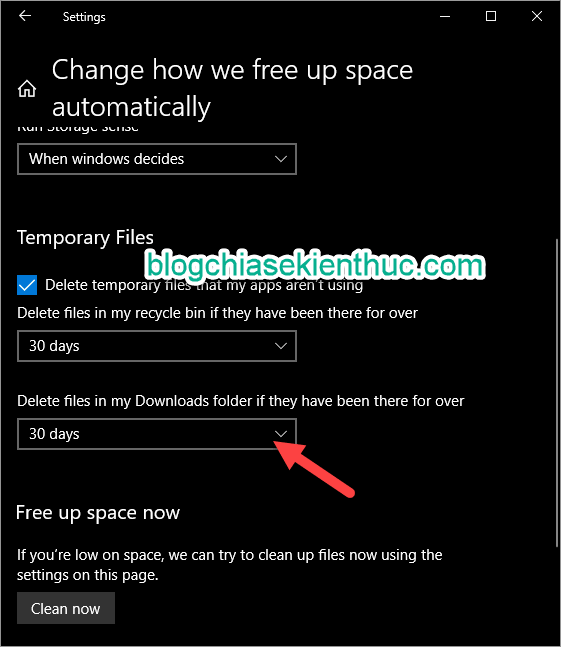
Here you go to the section Delete files in the Download folder that have been…. Then choose the number of days to automatically cancel the file. Minimum of 1 day and maximum of 60 days.
Here I will 30 date is deleted once.
Ok that’s it. It’s very simple to enable automatic deletion of files in folders Download of Windows 10 operating system to free up storage space on your C drive already.
Note: For important files, after downloading, you should back up to drive D or E, to avoid losing files by Windows automatically deleting in the Download folder.
Epilogue
Well, here is how to set it up automatically delete files in the Download folder of Win 10 also done. Hope the little tip in using Windows 10 today will be useful to you.
Good luck !
Kien Nguyen – techtipsnreview
Note: Was this article helpful to you? Don’t forget to rate, like and share with your friends and relatives!
Source: Set to automatically delete files in the Download folder on Windows 10
– TechtipsnReview


