
Maybe I don’t need to introduce too much about Microsoft Word anymore. Because anyone who has used a computer knows it is a great word processor and word processor. BUT…
Have you ever thought that it is possible to USE WORD TO CREATE CALENDAR?
And of course, there is a suggestion that there will be a tutorial :D, in this article blogchiasekienthuc
#first. How to create your own calendar with Word manually (for those who are persistent :D)
Perhaps creating a calendar yourself from A to Z in Microsoft Word is relatively time consuming and… a little more energy than using the built-in templates,.
But if you want a complete design for your calendar, you will think… make it from scratch to look good. Okay then, let’s start implementing 🙂
+ Step 1: First, open the Word application and create a Table in Word by going to the . tab Insert => and choose Table.
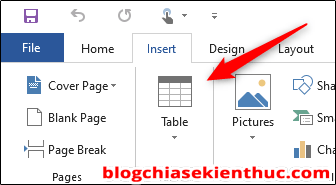
A drop-down menu will appear, move the mouse pointer to select the number of rows and columns in the table. For the calendar, you choose a size of 7×7 (that is, 7 rows and 7 columns).

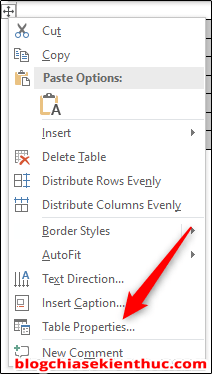
+ Step 2: We adjust the height of the cells in the table, by selecting the icon in the top left corner => Right click on that icon.

Right click => and select Table Properties as shown below…
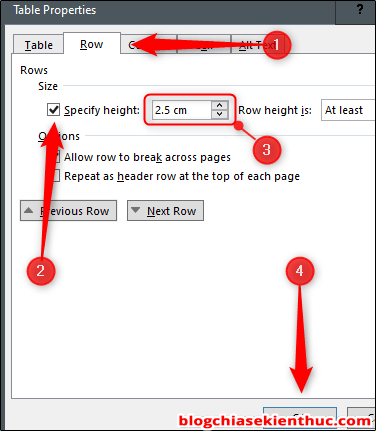
+ Step 3: Window Table Properties will appear, you click on the tab Row => and choose Specify Height => and enter the height you want. In my opinion, you should choose about 2.5 cm, but you can adjust it to fit your needs.
Note: If you don’t see the unit is
cmwhich isinchesthen please set to use cm units in Word first!
=> Then press OK when finished.
+ Step 4: Next, we’ll make adjustments to the top two rows. Select the top two rows by highlighting them.

Do the same as adjusting the height of the table above, but changing to 1.5cm is reasonable in my opinion.

You can also click, hold the row and move to get the right height. This method is a bit manual

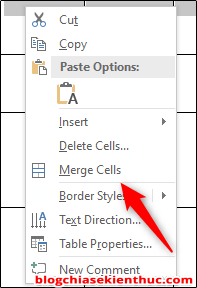
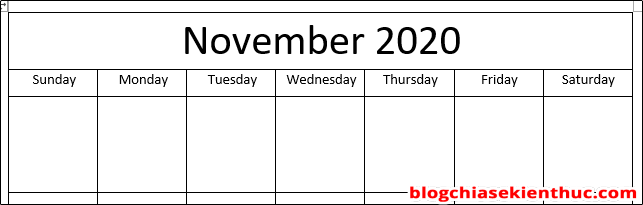
+ Step 5: Next, we will enter the Month name for the table. Please scan and select (black out) the first row..

Then right click => and select Merge Cells.
Now proceed to enter Name, Month and Year

In the second line, we enter the names of the days of the week.
Finally, we enter the date in the remaining cells.
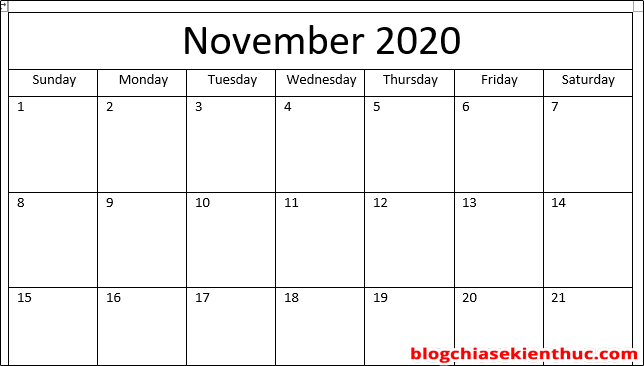
Attention: If start creating a calendar for a new month or new year. You should refer to the date of the previous month, the previous year to know if the month you are entering has 28, 29, 30 or 31 days. For example, January 2021 will have 31 days,…
If you do not have time, want to create a calendar in the style of “instant noodles”, please switch to option 2 😀
#2. Using templates available to create a calendar in Word
Word has a lot of beautiful built-in calendar templates that you can use easily.
Perform:
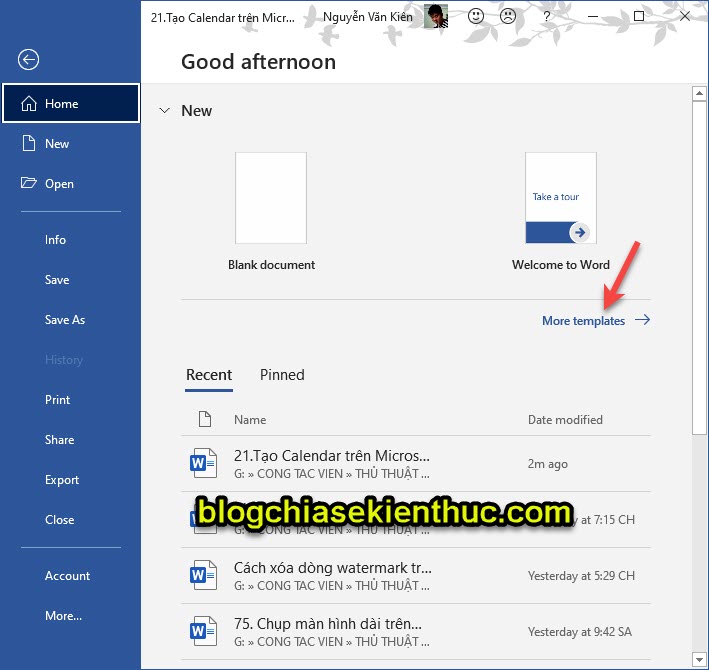
+ Step 1: You open Microsoft Word => click on File => then select New. You continue to click More template as shown below to display the search bar..
+ Step 2: In the search box, enter keywords Calendar to find calendar templates
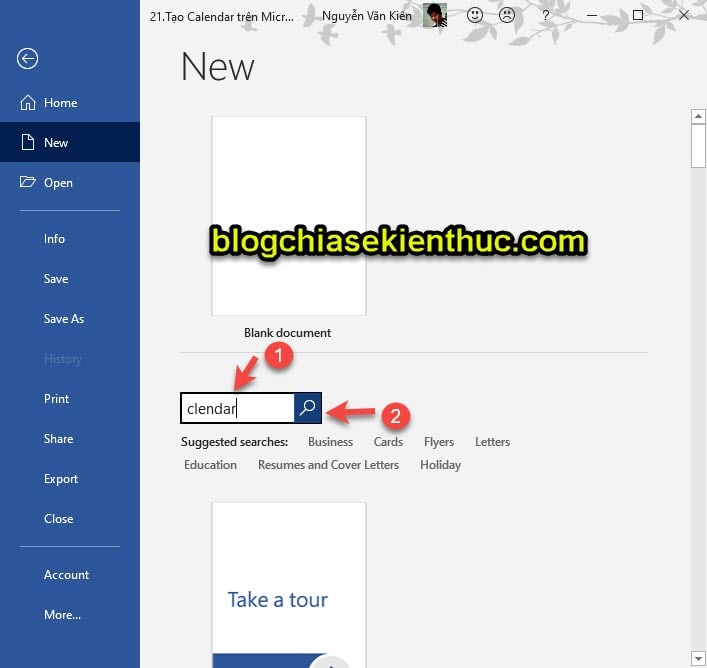
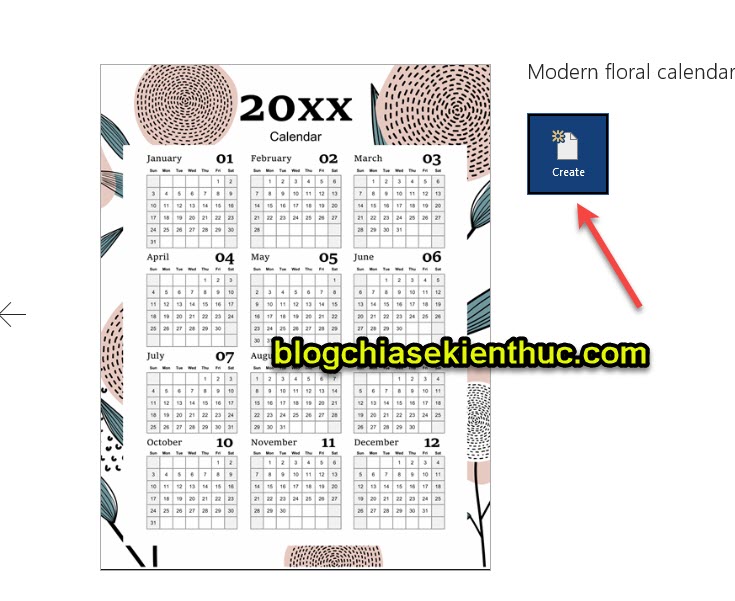
+ Step 3: Choose a calendar template that you like (there are many to choose from).
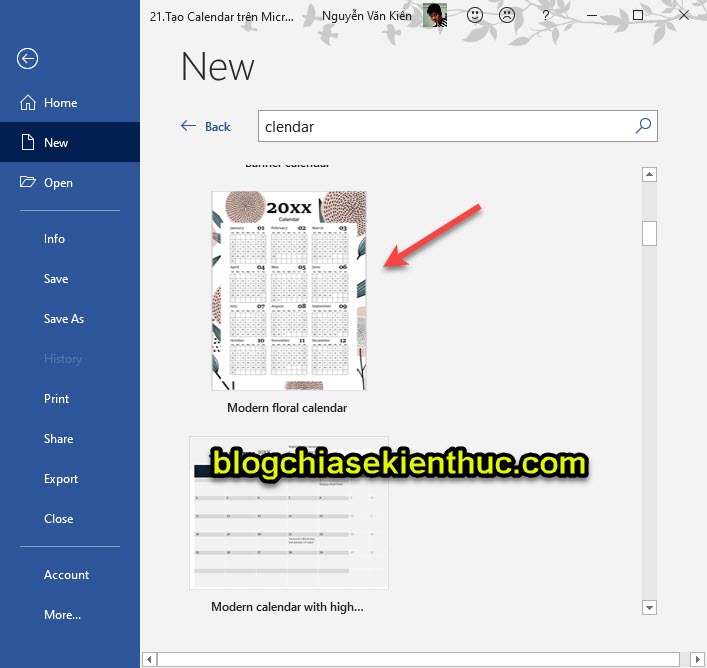
Click on the template you want to use => then select Create beside.
+ Step 4: After creating it, you can customize the font, font size, text color or change the background image for the calendar… depending on your preferences.
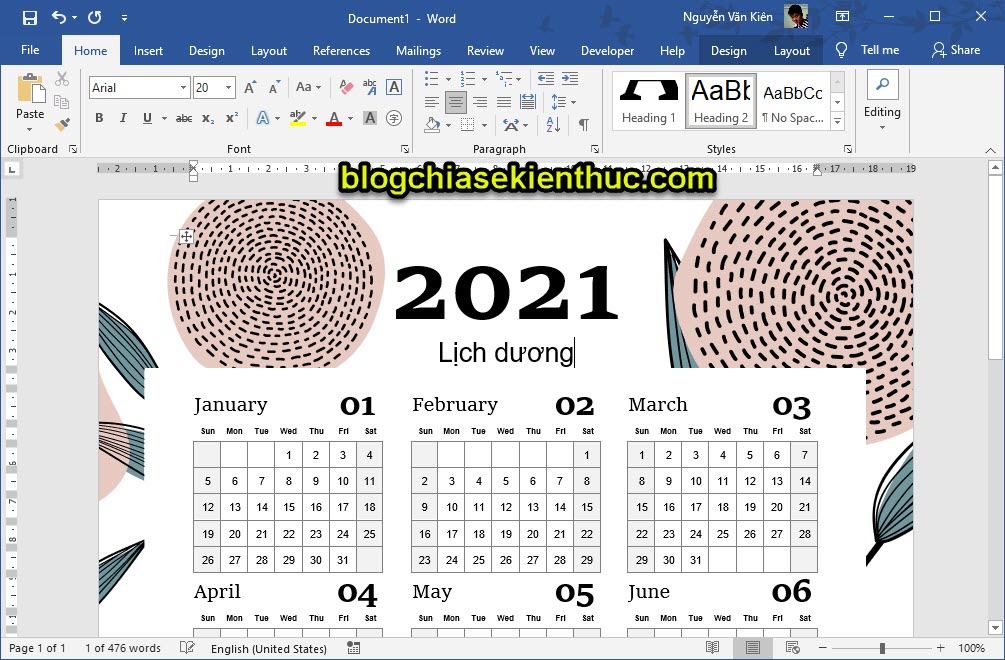
Microsoft Word lets you design more, from diagrams to brochures, with Microsoft’s design toolset.
If you need a simple design and don’t have the time to invest in learning complex design software like Photoshop, you can absolutely do it in Word.
#3. Epilogue
Yes, above this is 2 How to create your own calendar in Word It’s so simple that I think anyone can do it. Hope this little tip is helpful to you.
Don’t forget to visit the blog every day to learn more interesting knowledge
CTV: Nguyen Hong Khanh – techtipsnreview
Note: Was this article helpful to you? Don’t forget to rate the article, like and share it with your friends and family!
Source: Sharing 2 very interesting ways to create your own calendar with Word applications
– TechtipsnReview