
The number of newly launched hosting services is increasing, giving users more options to find the right service for their needs. Bloom is an extremely new hosting service, which integrates a lot of other interesting features, besides the basic storage feature.
As soon as a user successfully registers for a Bloom account, you immediately have 30GB of free storage space on the service. Bloom uploaded files can be classified into many categories such as music files, specific contact numbers, etc. to help you manage them faster. Besides with Bloom we can create notes, view the monthly calendar, play games, etc. a lot of different options. The following article will guide you how to store data on Bloom.
Instructions for online storage on Bloom
Step 1:
Users access Bloom’s homepage by following the link below. At the homepage interface we press select Get started to proceed with registration.
https://bloom.sh/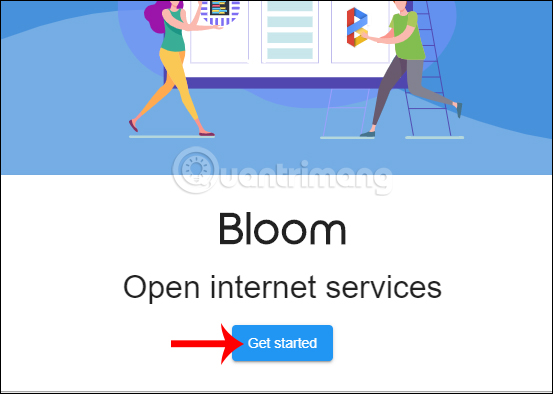
Step 2:
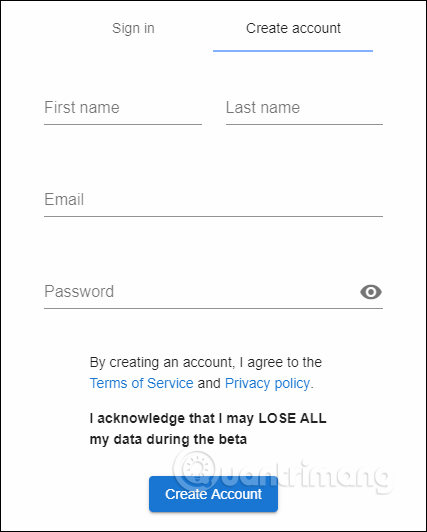
Display the interface to create a Bloom account. We Fill in all the information requested and then press Create Account below.
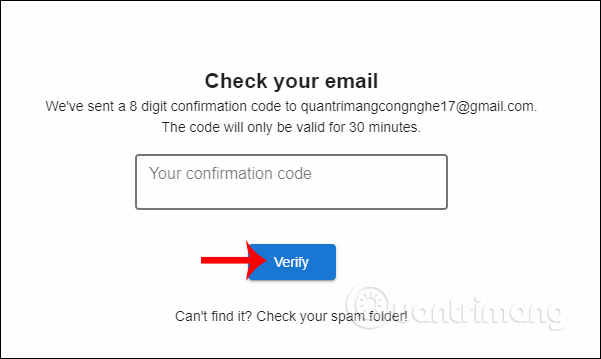
Bloom asks users enter the confirmation code emailed to the website’s interface within 30 minutes, then Click Verify to complete the registration. The verification code has 8 characters.
Step 3:
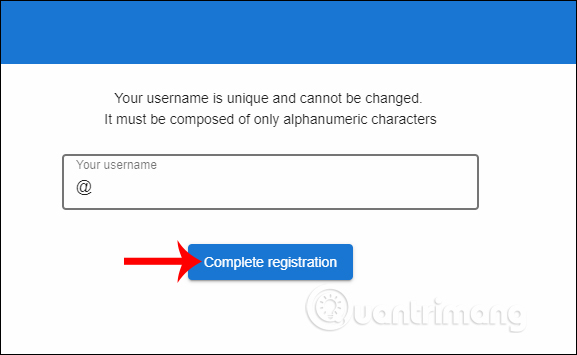
Next enter username then press Complete registration to complete the registration.
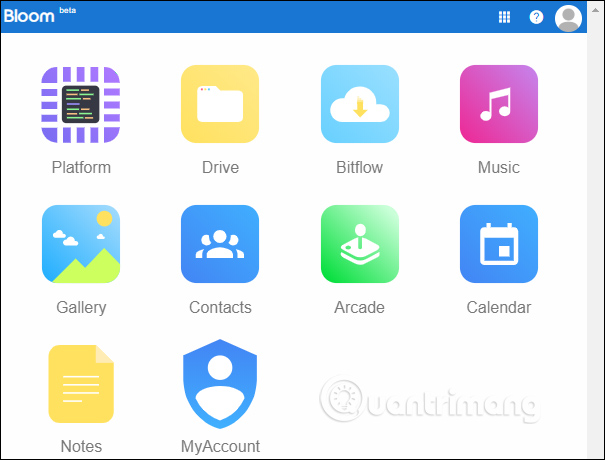
Soon you will see the main interface of the service. Display the interface with all the tools that Bloom provides, including data storage.
- Platform: Stores network and IP address information.
- Drive: Store your personal data.
- Bitflow: Download files directly and save them on Bloom.
- Music: Stores audio files.
- Gallery: Store your photo collection.
- Contacts: Store contacts.
- Aracede: Play games on Bloom.
- Calendar: View the date.
- Notes: Create notes on Bloom.
- MyAccount: Change personal account information.
To data saving we click Drive item.
Step 4:
In the storage section, Bloom has created many folders for us to upload data by type, such as Books, Documents, Games, Music, Picture, etc.
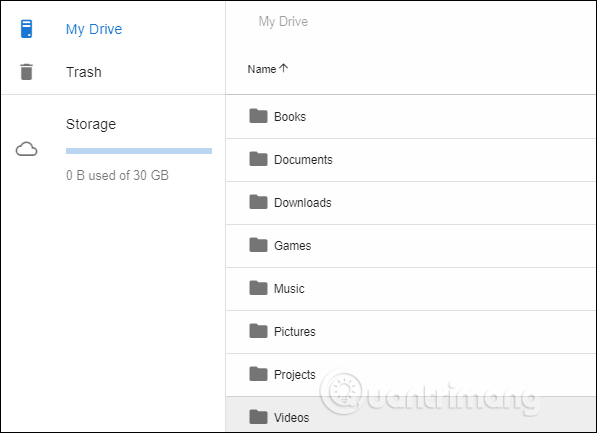
To upload new data we click on New icon in the right corner of the interface. Then display 2 file download options including, Folder to create a file download folder and File upload to download each file individually.

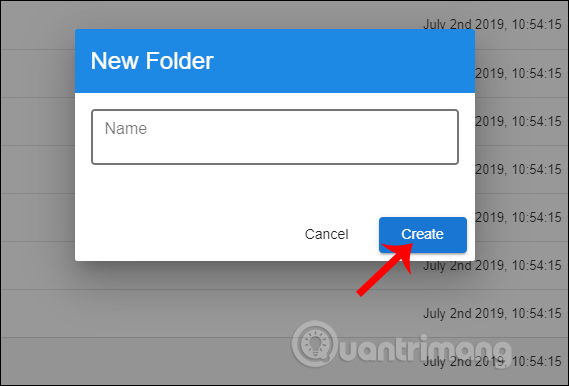
Step 5:
Display interface to create archive folder file individually for each user.
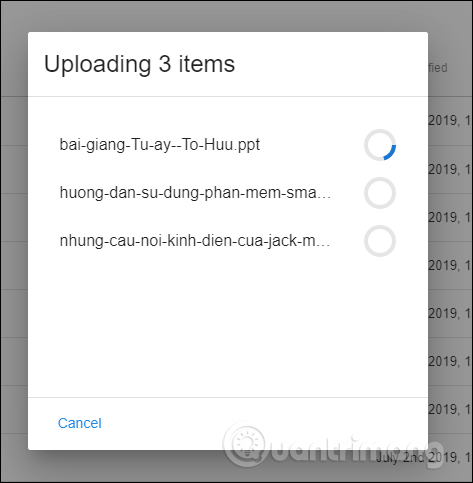
To download individual files, you just need to select the files you want to store on Bloom. The file download process takes place immediately after that.
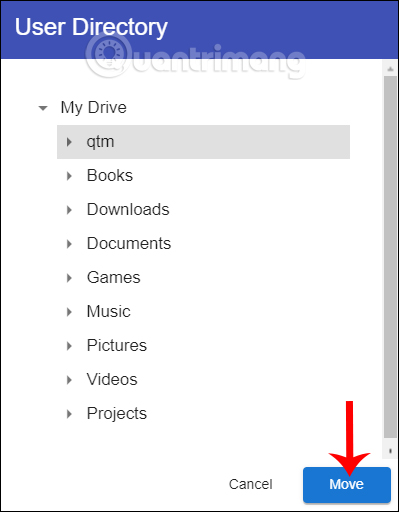
In case the user wants move individual files into folders If it is fixed, click on the file, then click on Move icon to move files.
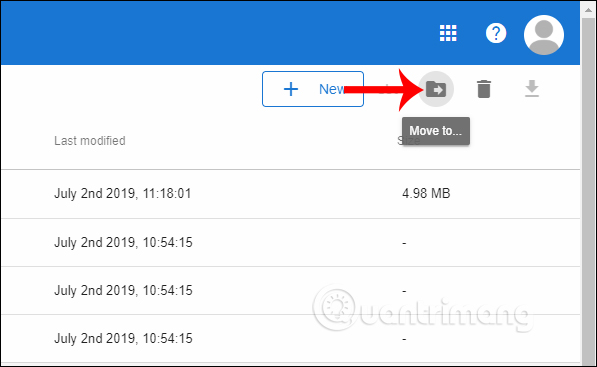
Displays folders for you to choose to move files to. Click the folder and then select Move to move.
Step 6:
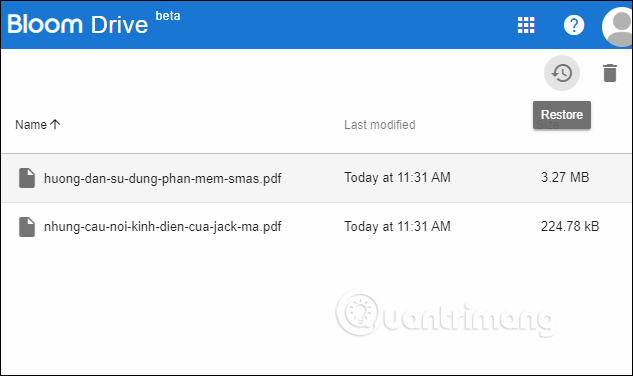
There are also many other options for data stored on Bloom. Section Trash will save the files that we delete from the storage interface, get it back or delete it permanently when needed.
Step 7:
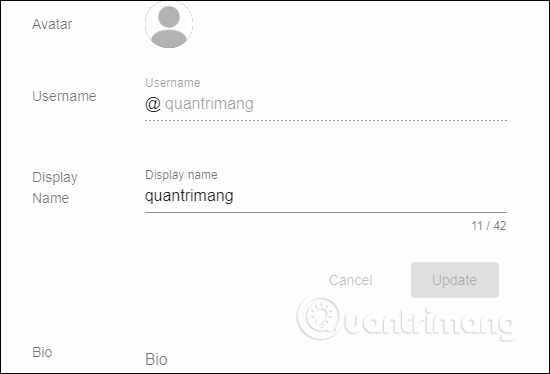
To check personal information on Bloom we click on My Account. At this interface, the user changes back to the avatar. The Username part you are not allowed to change, only the display name. You can also add information about yourself if you want.
When you have finished changing your information press Update to save.
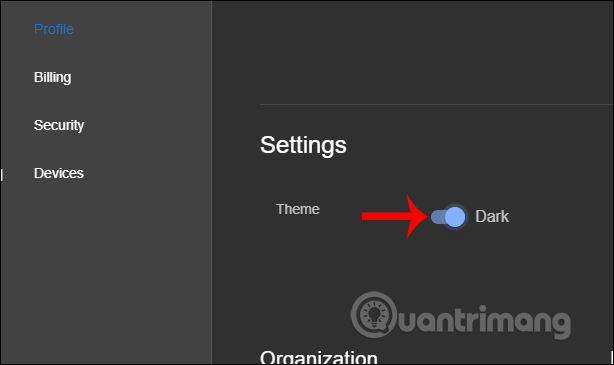
Bloom support us use black backgroundby switching from Light to Dark mode.
With other features of Bloom, users only need to follow the service’s request. The steps to use are as simple as when you use the data storage feature on Bloom. Note to users, Bloom is currently still in the testing process, so there may be errors during use.
Wishing you success!
Source link: How to store data on Bloom for free
– https://techtipsnreview.com/


