
By default, when printing a document on Google Sheets, it will print all the content displayed on the document. However, there are many cases where you only want to print an area in that Google Sheets data sheet, but not the entire content in the file. Just like Excel prints an area, with Google Sheets we also have the option to print an area of data, only printing the content that the user has zoned. Setting up the print area selection on Google Sheets to use is also simple and guided in the article below.
Video tutorial for printing a selection of data in Google Sheets
Instructions to select the printing area on Google Sheets
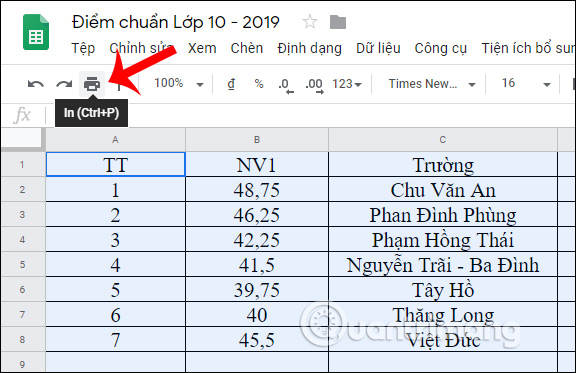
Step 1:
The user opens the Google Sheets data sheet that wants to print and then zone the data you want to print the content. Then click on print icon as shown below.
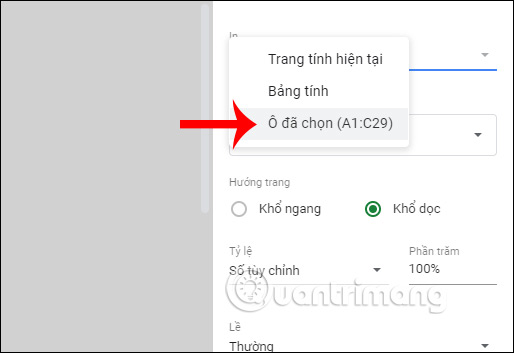
Step 2:
Display the print page setting interface. In Print item The user clicks on the drop-down arrow select the data area that you have zoned before. Now the preview interface on the side only displays the correct data area that we have selected.
Step 3:
Next choose Page Orientation mode vertical or horizontal, depending on the data area you want to print, part Margin also need to readjust or tap Custom numbers to manually enter the size for the printed page margins.
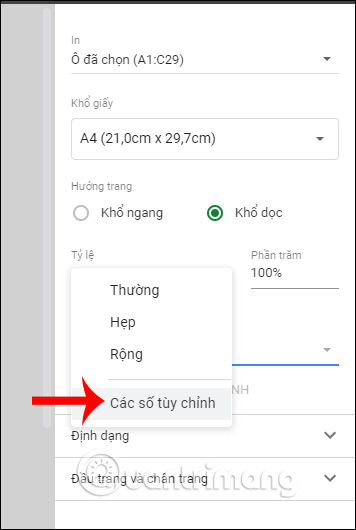
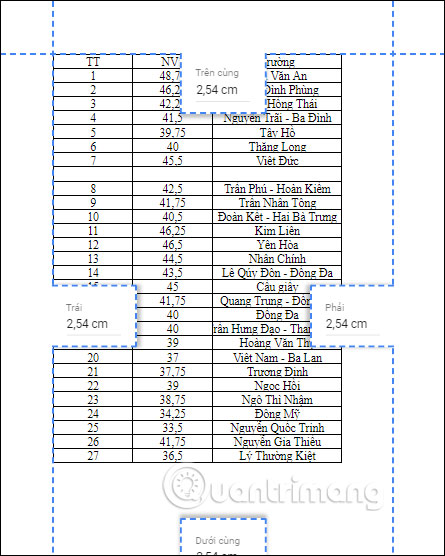
Then the printed page is simulated as shown. We enter the margin size directly into this interface to adjust it according to your intentions.
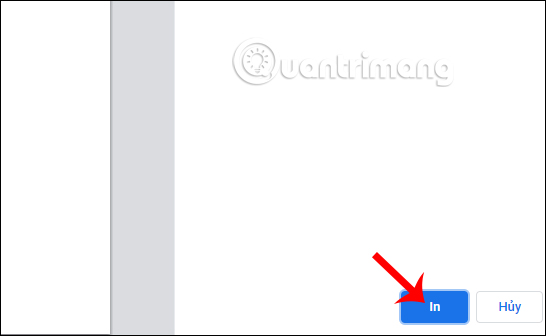
Step 4:
After you have finished adjusting the printed page, press Next above. Final press Print to print the Google Sheets document is done.
See more:
Source link: How to select a print area on Google Sheets
– https://techtipsnreview.com/


