When we move into a new home, we often want to arrange things as we please. The same is true of the switch to a new desktop environment. Visibility and ease of use are of great concern for any user working on a computer system. The pointer size, along with many other visual features, is one such thing. You certainly want it to match your screen size, text size, and monitor settings.
Note: The commands mentioned in this guide are on an Ubuntu 18.04 or Ubuntu 20.04 LTS system.
Resize cursor on Ubuntu via GUI
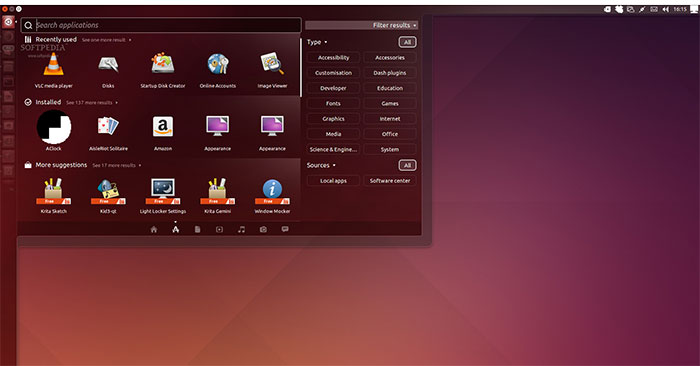
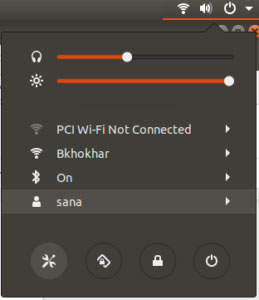
Ubuntu allows you to resize the pointer through the utility Settings. You can access the widget Settings via Ubuntu Dash or by clicking the down arrow in the top right corner of the screen, then clicking on the settings icon:
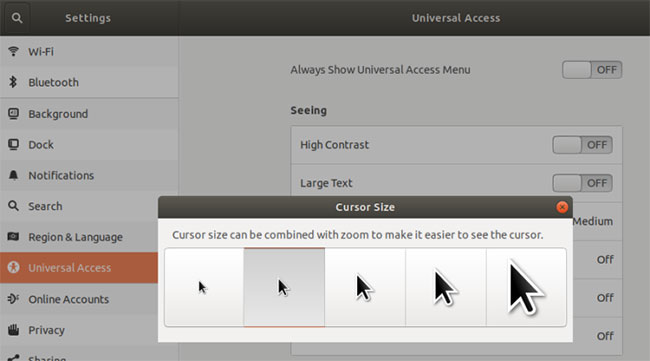
Utilities Settings will show the WiFi dashboard by default. Select a tab Universal Access from the left, then click Cursor Size in column Seeing. You can choose a pointer size from a list of 5 available sizes.
Resize cursor on Ubuntu via command line
Open Ubuntu Terminal via Dash or by pressing Ctrl + Alt + T. Enter the following command to get current cursor position:
$ gsettings get org.gnome.desktop.interface cursor-size24 is the default pointer size, in pixels, for the Ubuntu desktop. The following pixel values correspond to the dimensions you see in the Graphics Settings widget:
- 24: Default
- 32: Medium
- 48: Large
- 64: Bigger
- 96: The biggest
You can resize the cursor from these options with the following command:
$ gsettings set org.gnome.desktop.interface cursor-size [sizeInPixels]Reboot your system for these changes to take effect.
Through this article, you learned how to resize the cursor to whatever size suits your preference via the GUI and the command line.
Hope you are succesful.
Source link: How to change cursor size on Ubuntu desktop
– https://techtipsnreview.com/