
For YouTubers or those who often have to create video editing, video making software or video editing software is a very necessary tool. DaVinci Resolve is a professional editing software, full of tools to change movie content as well as color correction and effects for movies. In the latest version of DaVinci Resolve 16, Blackmagic Design is aimed at YouTubers, adding a lot more features for YouTube video makers.
The DaVinci Resolve interface has a very professional dark background color, a dual Timeline bar that allows users to see the entire video in progress above and the editing area below, easier to observe the content. Other video editing tools such as Import, Trim video, audio mixing, color mixing are also fully provided by DaVinci Resolve. The following article will guide you how to install DaVinci Resolve software.
Instructions for installing DaVinci Resolve on PC
Software installation configuration requirements:
- Operating System: Windows 10.
- RAM Memory: Requires 4GB of RAM.
- Hard disk space: 2GB of free space or more.
- Processor: Intel Dual Core processor or higher.
Step 1:
DaVinci Resolve currently has the latest version 16. Users access the link below and then click Download button at the top of the interface to start downloading the software.
https://www.blackmagicdesign.com/products/davinciresolve/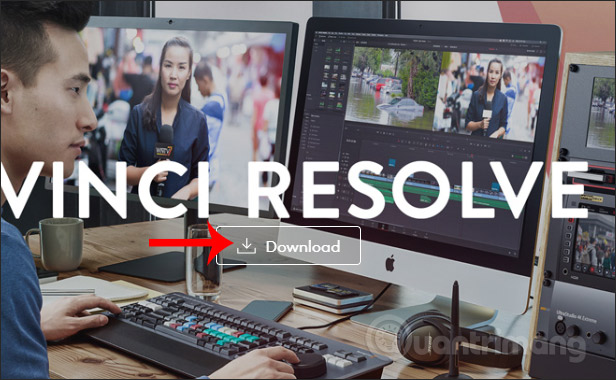
Step 2:
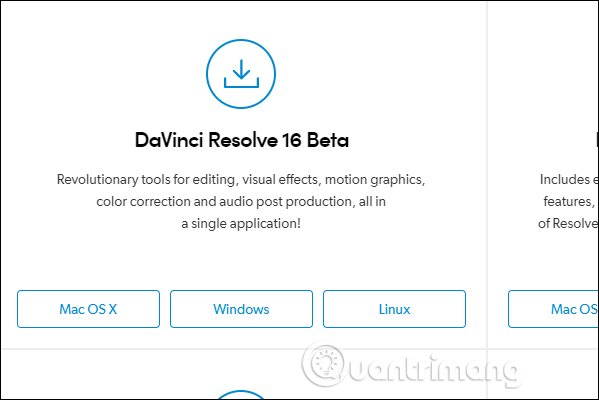
Next there are 2 different versions for us to download. To download the free version of DaVinci Resolve, click DaVinci Resolve 16 Beta then select the operating system you are using.
Step 3:
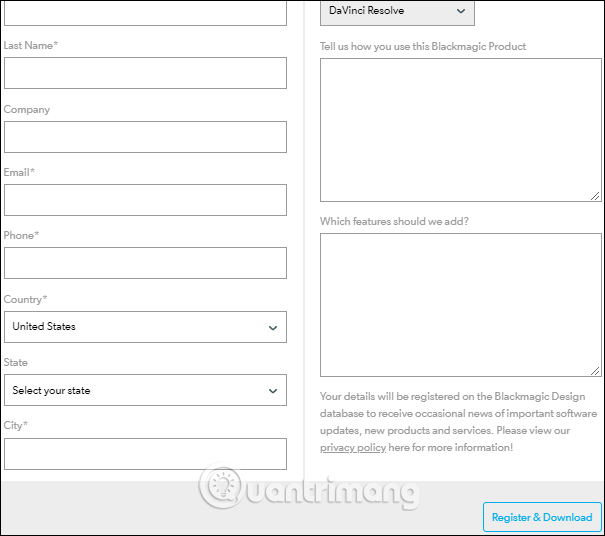
Next to the site that asks the user Fill in all the information are required to be marked with * as shown below. After filling in, click Register & Download button in the bottom right corner of the registration interface.
Step 4:
Then the DaVinci Resolve installation file is downloaded with zip format.
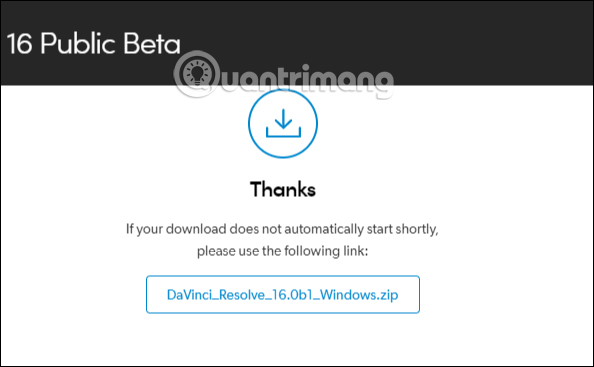
You use proceed Extract the DaVinci Resolve zip file.
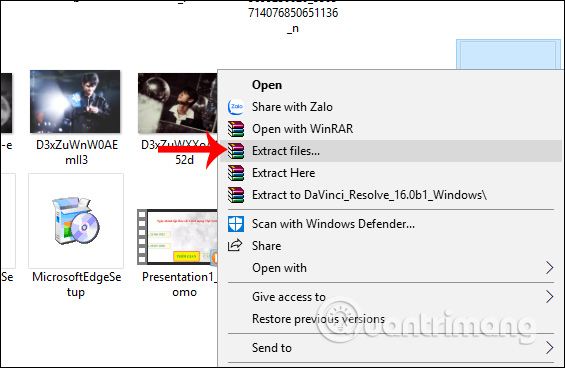
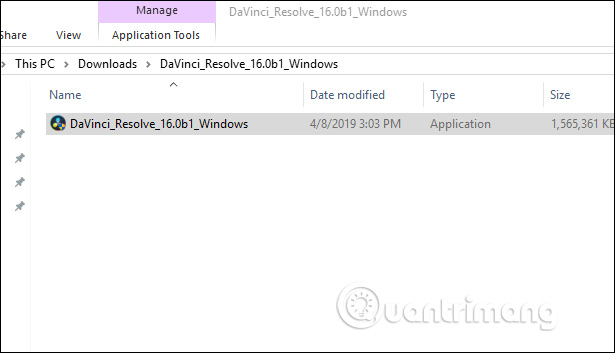
Step 5:
Open the folder after extracting and then click on the DaVinci Resolve software installation file.
Then display the interface of the content that needs to be installed to be able to use DaVinci Resolve, including software. DaVinci Resolve automatically selects the necessary installation tools, press Install to install.
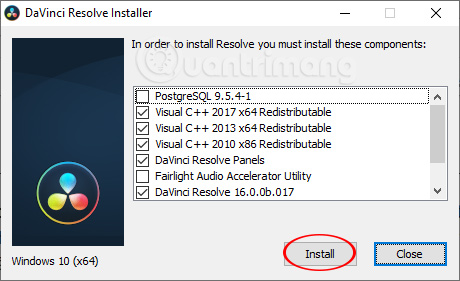
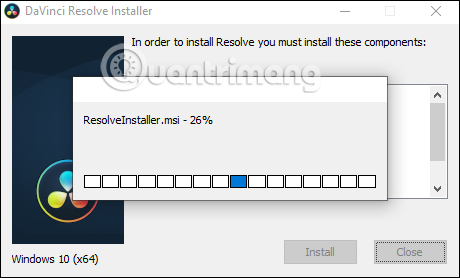
Soon after, the process of installing other support tools takes place.
Step 6:
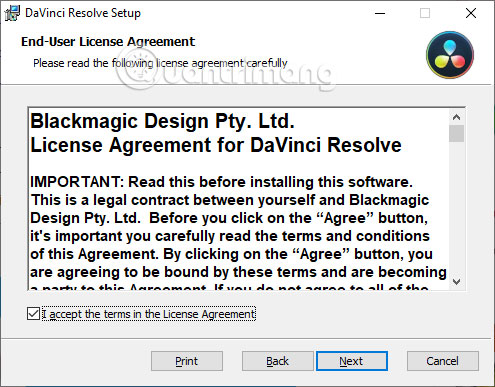
Click on the box to agree to the terms and then click Next to continue the software installation process.
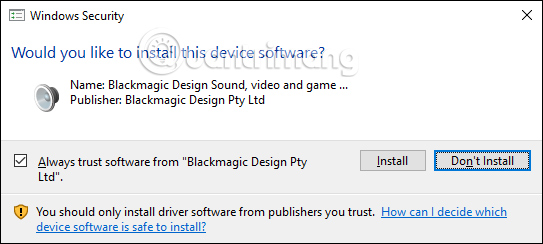
During the installation process, if you are introduced to install some software, Click Don’t Install to not install.
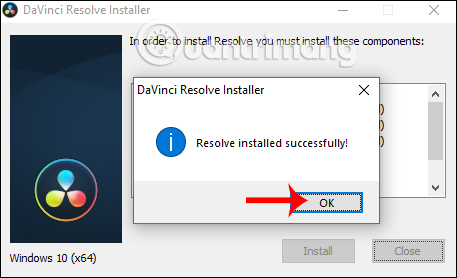
When the installation of DaVinci Resolve is completed, users will receive a message as shown below.
Step 7:
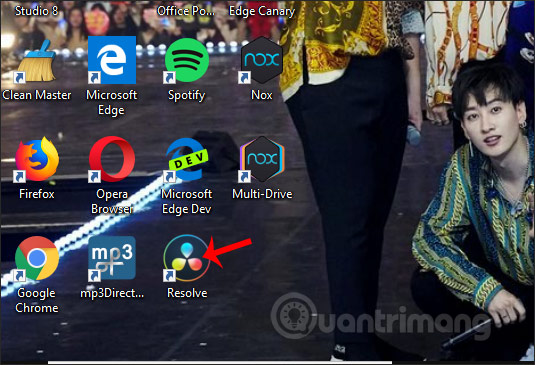
Return to the computer screen interface, click DaVinci Resolve icon as below to start the software.
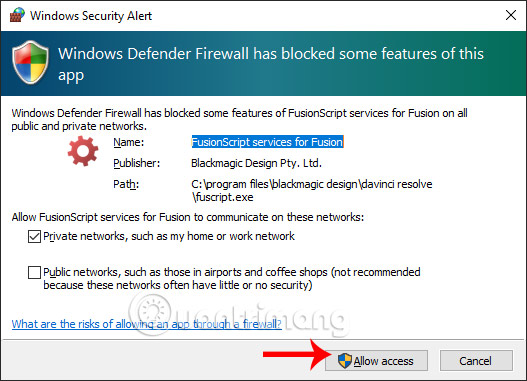
If Windows Security interface is displayed, then Click Allow Access to consent to access.
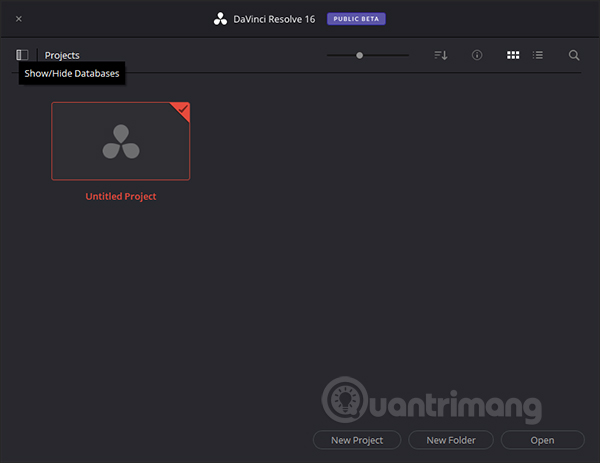
As a result, users will see the first interface of DaVinci Resolve software with the video projects that we have made. Click Show/Hide Databases icon to display more file handling menus.
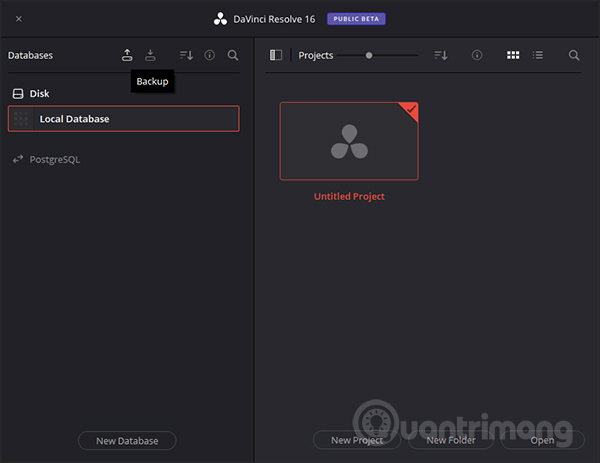
The data on DaVinci Resolve will be backed up for you to restore when needed.
So you have installed DaVinci Resolve software on your computer with very simple installation steps. The selection of installation tools that support additional DaVinci Resolve we leave as the interface to ensure that the use of DaVinci Resolve is not problematic.
Wishing you success!
Source link: How to install DaVinci Resolve, professional editing software
– https://techtipsnreview.com/


