
In addition to popular cloud storage services such as Google Drive, OneDrive, etc., there are now many new storage websites such as UsersDrive. UsersDrive is basically similar to other storage services, allowing us to upload data with unlimited formats. In particular, UsersDrive also free to store large data up to 20GB for each file upload. As soon as you successfully create a UsersDrive account, you will immediately have 195GB of free storage space, which is rare in most hosting services.
Security mode is also focused by UsersDrive, when we have the option to create a password for the file, or delete the file after 12 days when you share the file. If the number of people accessing the file we share increases day by day, there will be more opportunities to make money from that shared link. The following article will guide you how to store data on UsersDrive.
Instructions for cloud storage on UsersDrive
Step 1:
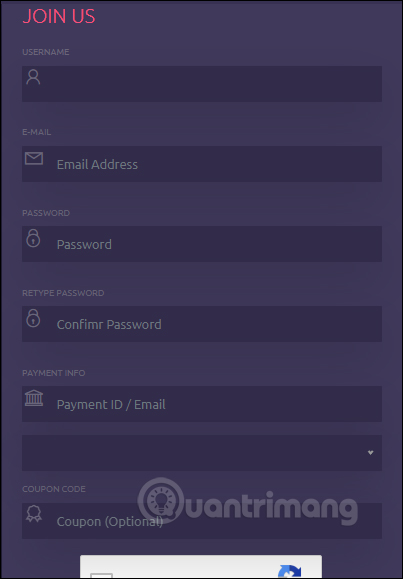
Users access the homepage of UsersDrive by following the link below to create an account. You should register for a UsersDrive account to use more features.
https://usersdrive.com/register.htmlIn the registration section there is an additional form of payment (Payment ID/email address) to pay you from each shared link accessed or downloaded. If not, you skip it. Click Register to create an account.
Step 2:
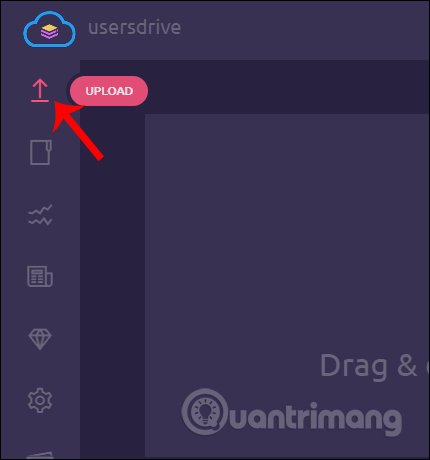
Right after that we access the main interface of UsersDrive. At the page interface we click Upload icon in the toolbar on the left side of the interface.
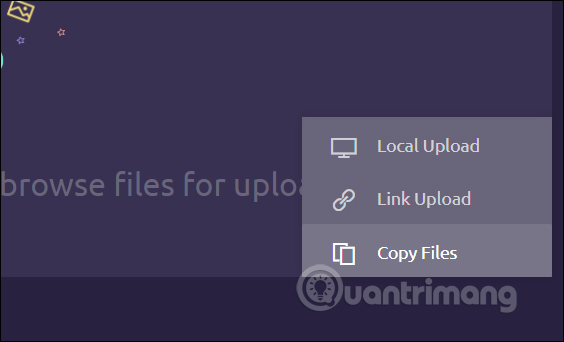
Next you click blue plus icon then choose how to upload data, including Local Upload, Copy Files, Link Upload.
Step 3:
If you choose Local Upload then users only need to drag and drop the file to be stored into the interface. With Copy Files Press Ctrl + V or Paste in the right-click menu to load the copied file.

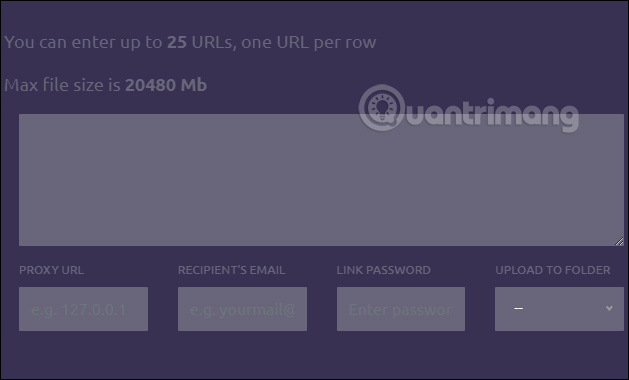
If you choose Link Upload then enter the file URL into the interface, up to 25 URLs and one row apart.
Step 4:
In the file upload waiting interface below, there are additional entries for the recipient’s email address (Recipient email), password protection (Link password), file storage folder (Upload to folder), download more files (Add more) ).
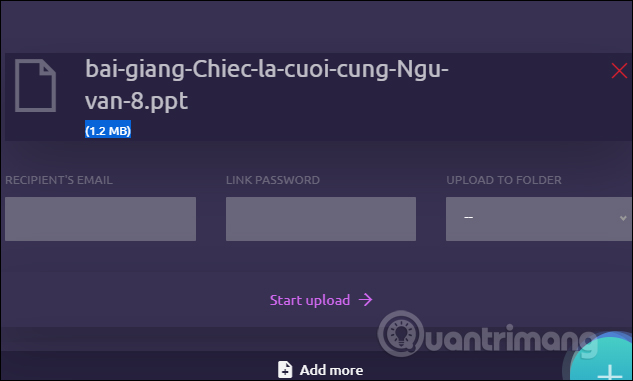
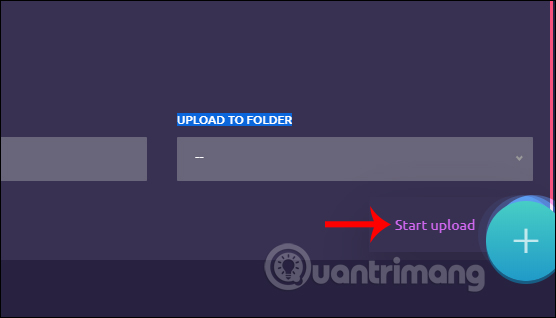
Click on Start upload and wait for the file to be uploaded to the UsersDrive service.
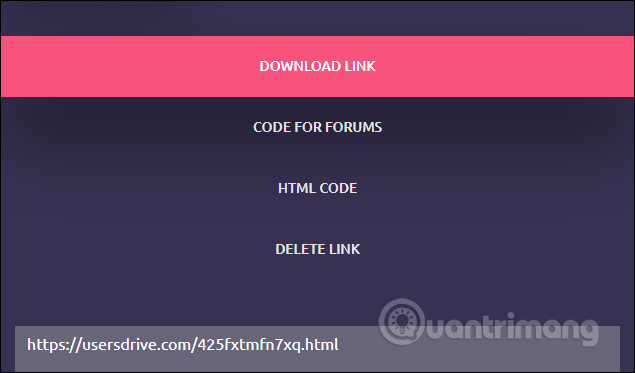
Step 5:
When the file download is finished, you will receive the sharing link along with the embed code shared on the forum, the HTML code, the link to delete the file and the direct download link.
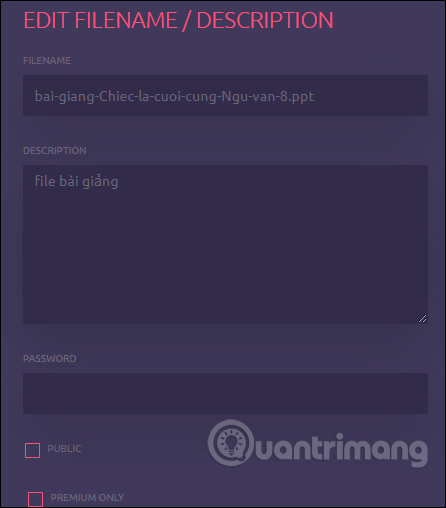
In this interface we click pen icon to edit the download file as well as the shared link.
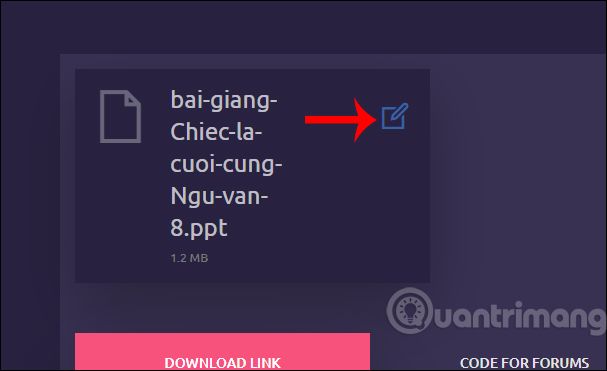
Display the interface to edit the content for the file, including the file name, add a description for the file, select the public mode for the file. Done changing press Save to save.
Step 6:
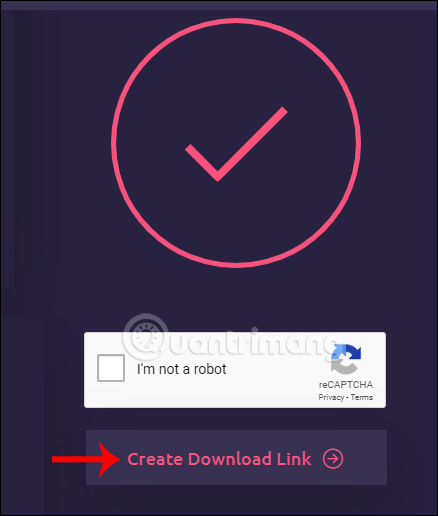
Now you send the file link to others and they need to wait 12 seconds (with an account) or 17 seconds (without an account) to download the file. Click select I’m not a robot and then click Create download link to download files.
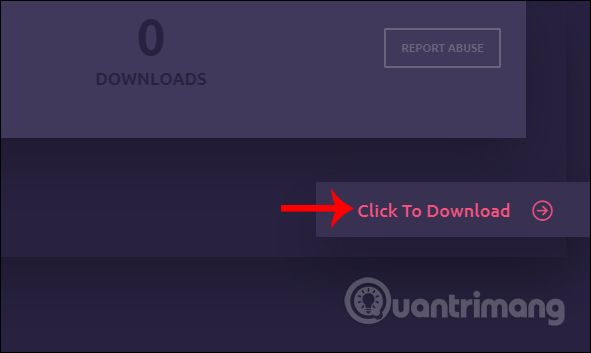
Click next Click to Download to download files to your computer.
Step 7:
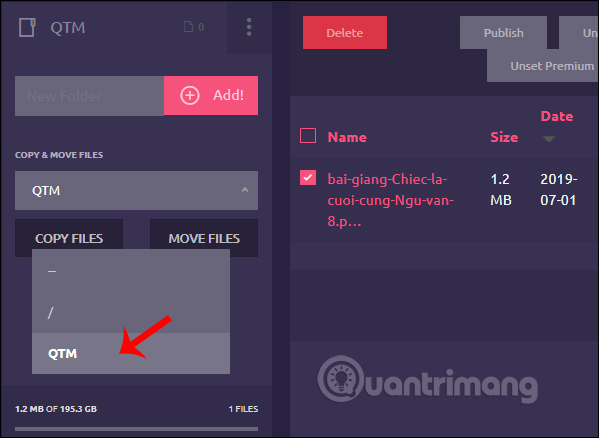
At the UsersDrive interface we click on File Manager icon to check all uploaded files, used storage space, or create a new folder.
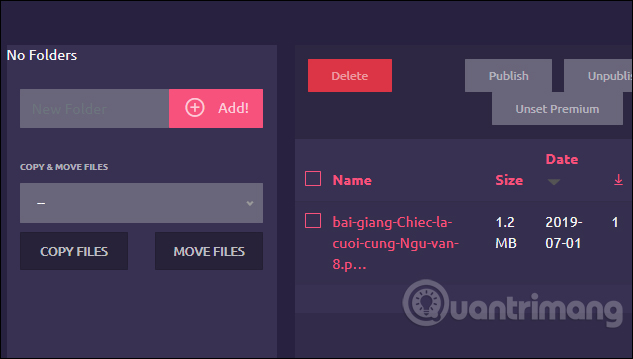
To create a new folder you just need to enter the name of the folder you want to create then tap Add button to create is okay.

To move the file to your own folder, select the file and then in the Copy & Move files section, click on the folder you want to move or just copy the file.
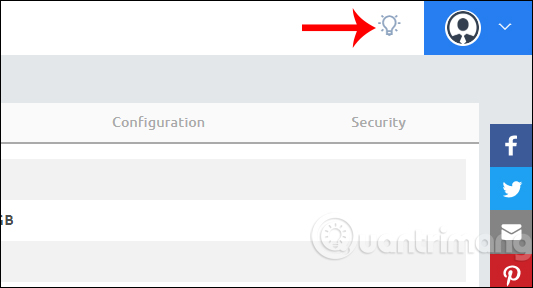
Step 8:
To switch to light background interface users only need turn off the light The top right corner is fine.
UsersDrive is not only a cloud storage website, but also has an option to share links to make money from that shared link. All uploaded files or shared files, the total number of people accessing the file are clearly summarized by UsersDrive for you to track.
Wishing you success!
Source link: How to instantly get 195GB of data storage on UsersDrive
– https://techtipsnreview.com/


