
When teaching on Microsoft Teams, teachers will need to split the screen so that students can both follow the lecture, and the teacher can manage students according to the list on Teams, or adjust some settings. settings such as watching students raise their hands in Microsoft Teams, for example. Just like splitting the screen on Zoom or splitting the screen on Google Meet, teachers can completely separate 2 screens on Teams to teach and easily manage students. The following article will guide teachers to split the screen on Microsoft Teams for teaching.
How to split the screen when teaching on Microsoft Teams
Step 1:
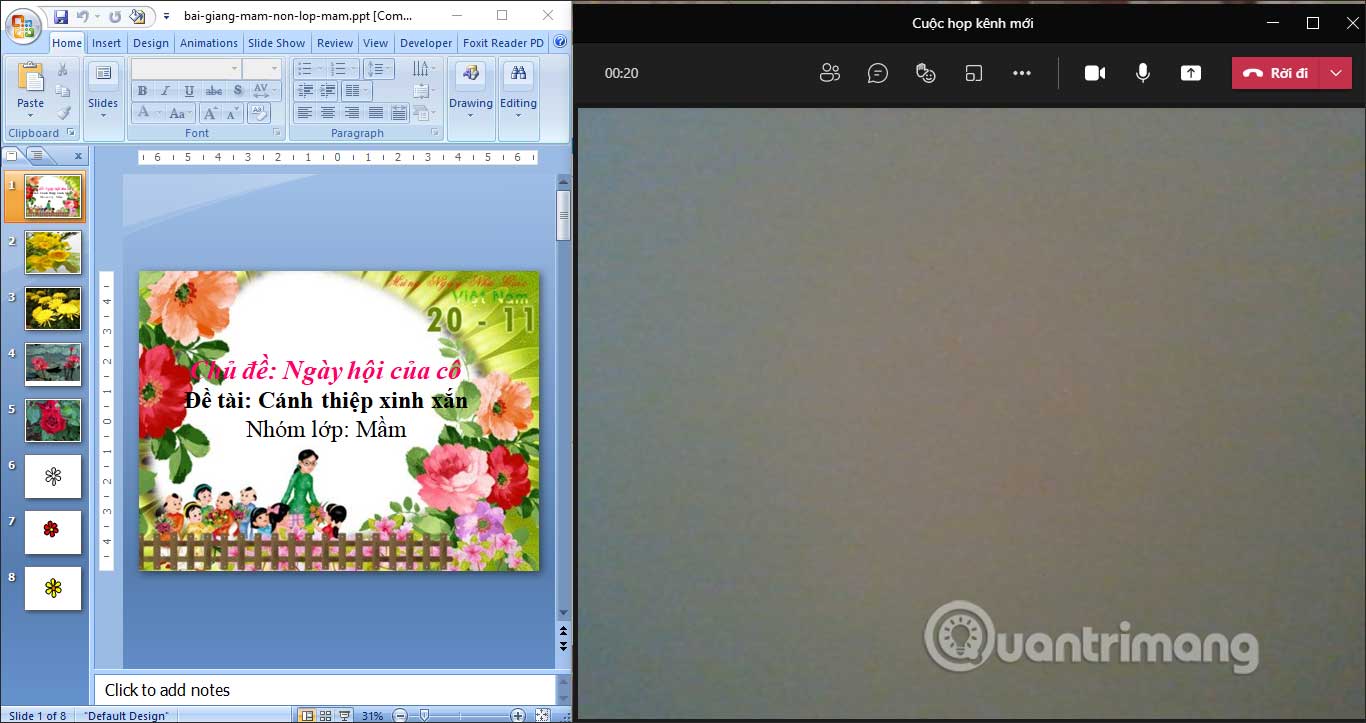
First, the teacher creates a class on Microsoft Teams as usual. Later Open the PowerPoint slide you want to show the lecture on for students to follow. Results 2 programs displayed on the screen as below.
Step 2:
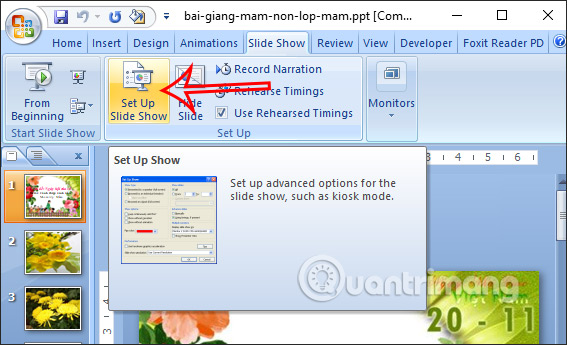
At the interface on PowerPoint, click on Slide Show then tap Set Up Slide Show to adjust.
Step 3:
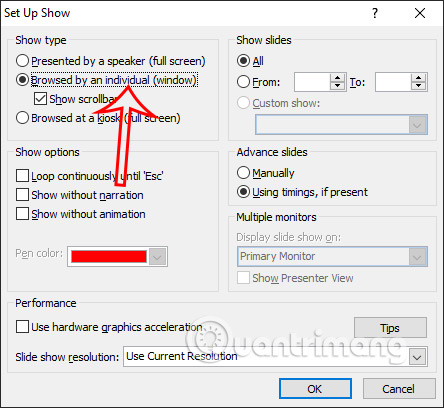
You will choose Browsed by an individual (windows) to choose to share content in a window on Microsoft Teams.
Step 4:
Open a video call in Microsoft Teams. At the interface we click screen sharing icon on Microsoft Teams. Then tap Window then choose PowerPoint slides to show.

Step 5:
Right after that, the PowerPoint slide will be framed in color as shown below.
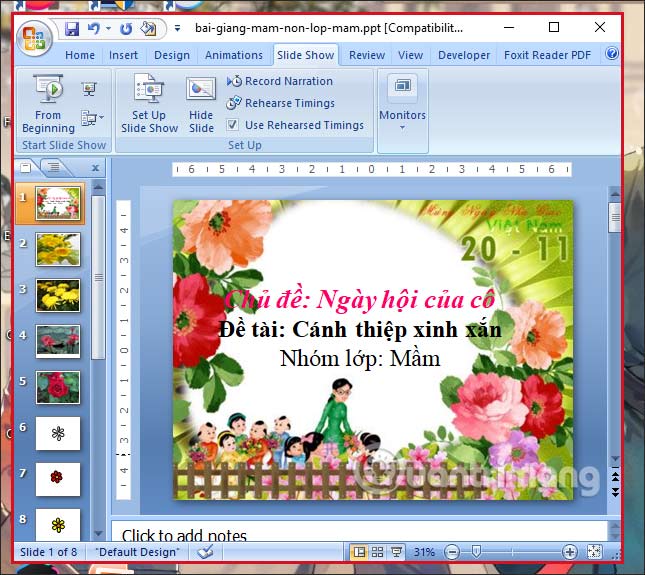
Students will only monitor the content displayed in this frame, even if the teacher opens other software or other content on the computer that overlaps the PowerPoint slide, students will not be able to see it.

Step 6:
To manage students on Microsoft Teams and present slides, teachers open the Microsoft Teams interface and then click on the participant icon. Then you can manage students very easily.
If you want to enlarge the PowerPoint presentation screen for students to see better, just drag the color frame.

Source link: How to split the screen when teaching on Microsoft Teams
– https://techtipsnreview.com/


