If you are a lover of lego pieces, you should not ignore Bricklink Studio software, create and design lego pieces right on your computer for free. Bricklink Studio software will provide you with all the tools to design the logo model you want. The following article will guide you how to use Bricklink Studio to assemble a free logo.
Instructions for using Bricklink Studio for free
Step 1:
First of all, visit the link below to download the tool to your computer and then install it as usual.
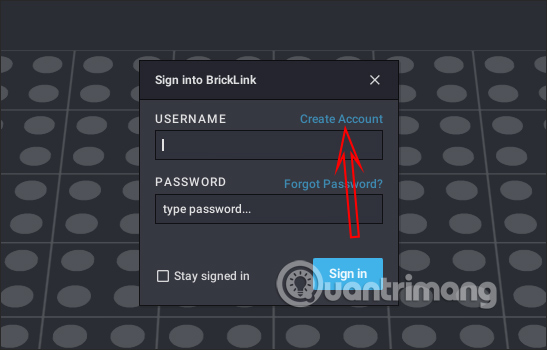
https://www.bricklink.com/v3/studio/download.pageIn the interface of the software, you look at the top right corner Click Sign in then click on Create Account to create an account.
Step 2:
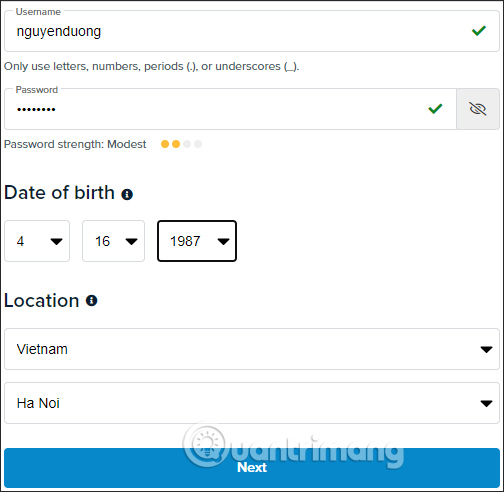
You will then be taken to the website interface to create an account or visit the link below to enter the account registration page.
https://www.bricklink.com/v3/register/main.pageAt this interface you Enter full account information to proceed with creating an account. After successfully creating an account, log back into the software on your computer and you’re done.
Step 3:
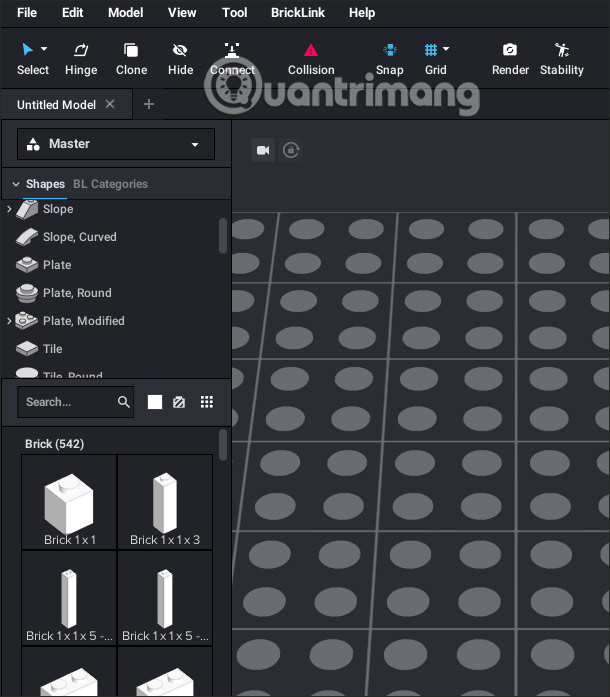
In the software interface on the left edge of the screen you will see the original puzzle pieces about 542 with different forms for you to freely choose to assemble. The puzzle pieces are divided into many themes such as Plate, Technic, Bar, Door & Window… So you can create a lot of models with different shapes.
Step 4:
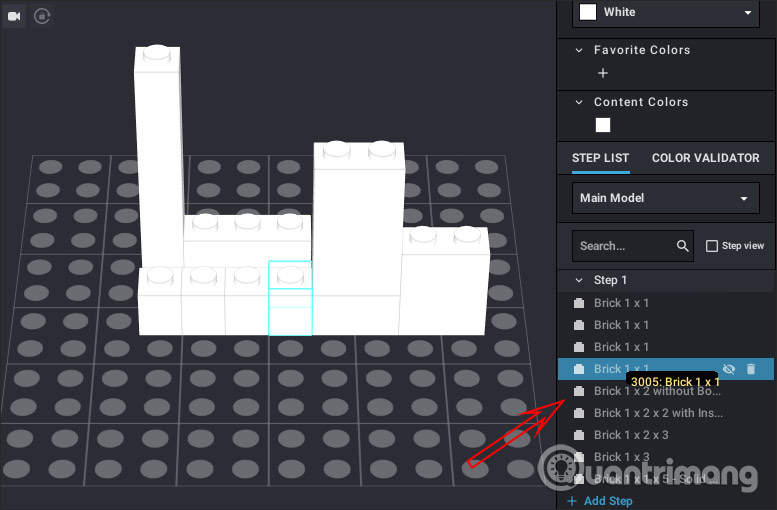
First you choose select the logo puzzle piece and drag it to the main interface to put them together. To the right is a list of the pieces you’ve used. Just hover your mouse over the puzzle piece in this list and it will appear in the puzzle next to it.
Step 5:
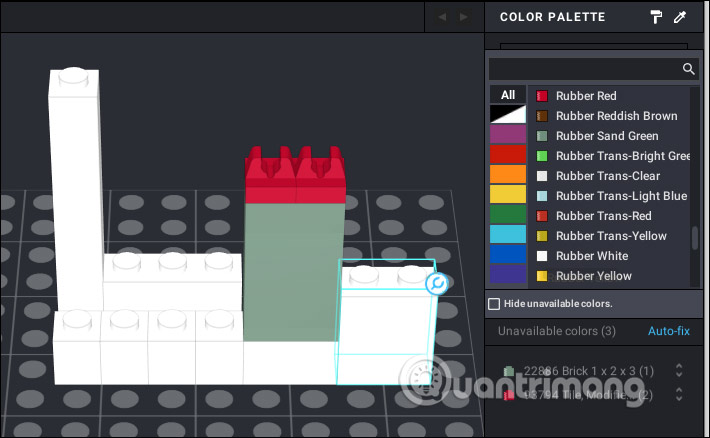
If you want Choose a color for each puzzle piece then you look to the right at Color Palette we click on the icon to select. Click on the logo piece and select the color you want.
You can choose the main color gamut, then choose the color below.
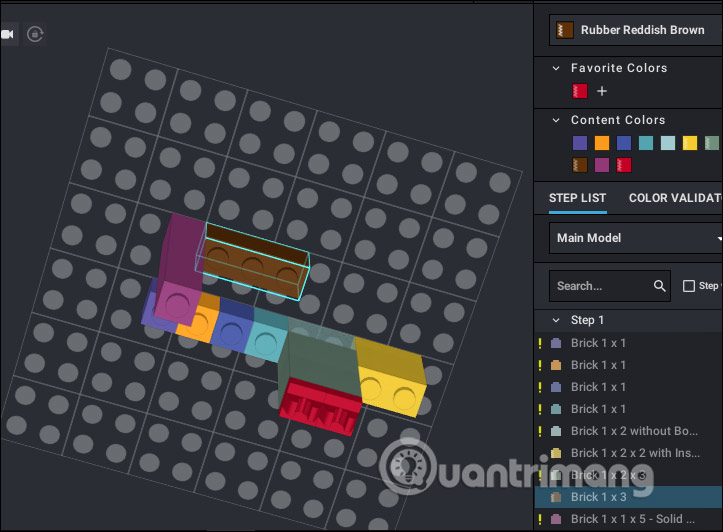
To change the angle of view, use the right mouse button to rotate and the middle mouse button to adjust the height and position of the model.
Step 6:
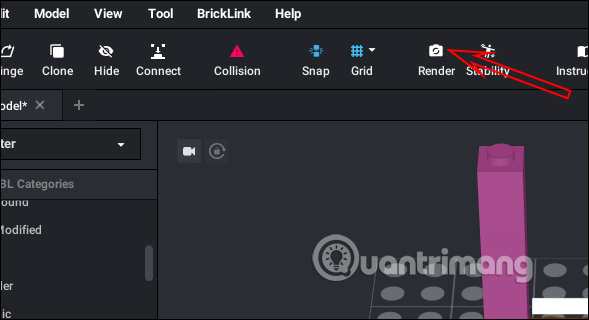
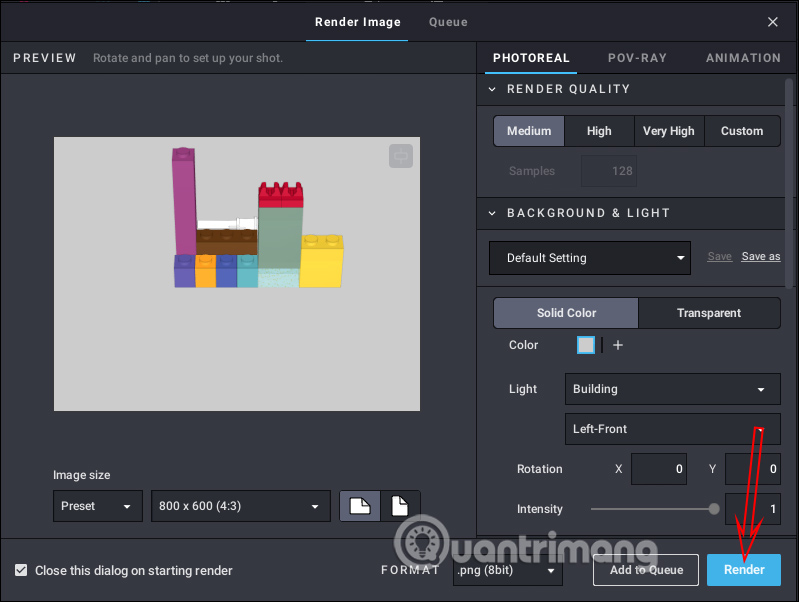
To render model Once you’ve finished your work, click Render option at the top of the interface.
Now display the model rendering parameter interface that you just assembled. By default The resolution for the model is 800×600. If you increase the resolution, the rendering time will take a lot of time, especially if you use many pieces for the model.
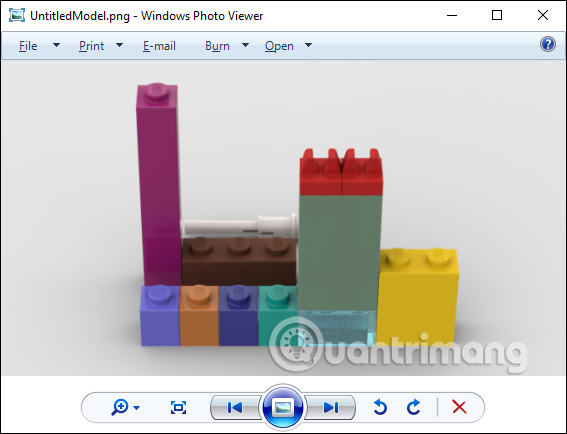
As a result you will get the model image as below.
Source link: How to use Bricklink Studio to assemble lego for free
– https://techtipsnreview.com/


