Windows 7 computers allow you to set up printers on a LAN and in the same HomeGroup. Sharing a printer over a LAN so that many computers and devices can print documents is a necessity and shows users convenience. So, GhienCongListen will guide how to install printer via LAN Win 7 and how to fix the problem of not connecting the printer for you in the article below.
How to install printer over LAN Win 7
Before you begin to install a printer over the Internet, you need to determine what type of printer you are using and with what Windows operating system.
Advertisement
- The printer you just bought will usually come with a disc to install the driver, you just need to insert the disc into your computer and install. If you bought a printer that did not come with a driver installation disc, you will have to go online to download the driver for that printer.
- For the printer to work properly, check if your Windows is 32bit or 64bit.

There are many ways to install a printer via LAN Win 7, you can follow the following instructions to quickly share the printer over the network:
Advertisement
Step 1: Download the driver suitable for your Windows operating system, then click on the downloaded file, select Run as Administrator.
Step 2: Select the path and extract the file.
Advertisement
Step 3: Use the USB port to connect the printer to the computer. Then press Startselect Devices and Printers.
Step 4: Select Add printer to be able to add a printer.
Step 5: Double tap Add a local printer.

Step 6: Click to select the connection format as USB, then select next.
Step 7: Click select Have Diskthen select Browse…, then find the unzipped driver file of the printer, select OK.
Step 8: Select the printer in use, press next. Then give the printer a name or use the default name, press next. Then wait for the computer to install the driver for the printer.

Step 9: At this point, you will have 2 choices:
- Do not share this printer: do not share the printer over the LAN.
- Share this printer so that others on your network can find and use it: Share printer over LAN. You tick this option, enter the name in the Share name, press next.
Step 10: The printer installation is complete, you can test print by selecting Print test pagefinally click select finish.

Share printer via WiFi Win 7 – HomeGroup
This article has shown you how to install a printer via LAN Win 7 really becomes simple and easy to use. And the way to share again is via WiFi Win 7 with HomeGroup, you can have an effective way to install the printer via LAN Win 7 as follows:
Step 1: On the computer that is connected to the printer, click the Windows (or Start) icon, then select Control Panel.
Step 2: Search and select HomeGroup in the search bar in Control Panel.
Step 3: Select Printers then press Save changes.
Step 4: Then go back to Control Panel, find and select HomeGroup in the search bar.
Step 5: Select Install Printer.

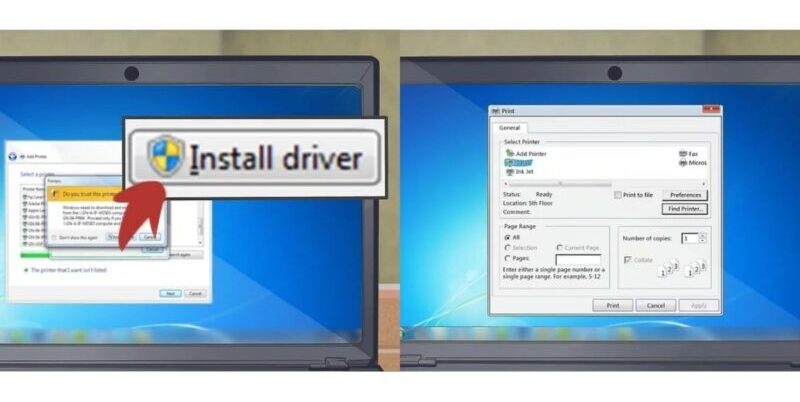
Step 6: Select Install Driver when a dialog box appears if you need to install the printer driver.
Step 7: Access the printer as if it were manually connected using the print dialog from any program. 
Print test page when connected
Once we have applied the way to install the printer via LAN Win 7, we should start printing the test page when the connection is successful, the purpose is to see if there is an error or not.
Step 1: Click the Start button on the main screen and select Devices and Printers.
Step 2: Find the name of your printer to connect and click it.
Step 3: Press select Printer Properties.
Step 4: Finally, you choose Print Test Page from a tab with a general title.

Fix the problem of not connecting the printer on Win 7
Once you have completed installing the printer via LAN Win 7 and have connected the printer via LAN on Win 7, you will probably encounter some errors from time to time. You can refer to the instructions below to fix these errors:
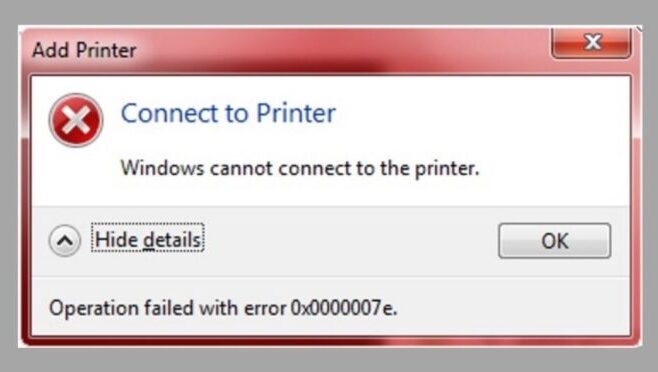
- Windows cannot connect to printer error.
Step 1: Access the path “C:Windowssystem32 or C:Windowssystem64” and select the file “mscms.dll”.
Step 2: Copy the selected file to “C:Windowssystem32spooldriversx643” if you are using Win 7 64bit, to “C:Windowssystem32spooldriversw32x863” if you are using Win 7 32bit.
Step 3: Restart the computer, printer and perform the operation of connecting the printer via LAN as usual.

- Connect the printer to Windows
Printers on a computer network can connect to a computer via the Internet, WiFi, or can connect directly using a USB port on that computer network.
Add Printer Wizard is a Windows program accessed from Devices and Printers in the Control Panel. When you select Add Printer, the system will automatically search for the printer available in the network, then it will pop up and you can proceed to print.
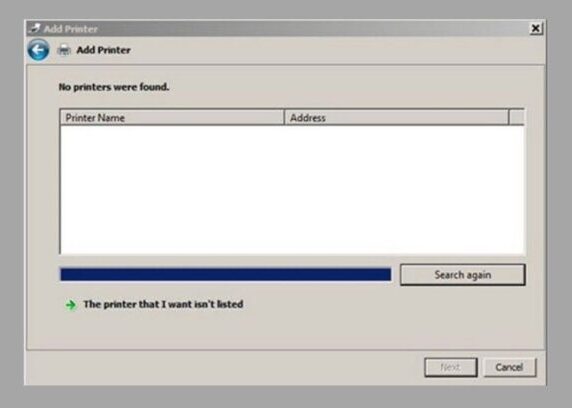
The first step you need to do is to check that the printer and computer are on the same network and that printer sharing is enabled. If the printer is not listed in the Add Printer Wizard or cannot connect when the name is clicked.
Now you select the link named “The printer that I want isn’t listed”. In the next window, you will be given the option to add a local printer or add a printer from a wired, wireless network or connect via a Bluetooth printer. You should use the second option.

- Add a printer not in the list
Add Printer Wizard has a Find a printer by name or TCP/IP Address section (searches for printers by name or TCP/IP address).
With the Select a printer by name option, you need to enter the printer name in the form: \COMPUTERNAMEPRINTERNAME.
- COMPUTERNAME is the hostname that can be found via Control Panel > System and Security > System for Win 7.
If the name of the printer is hidden and cannot be connected, try using the last option of Add a printer using a TCP/IP or hostname. To do this requires a static IP address of the printer. When you go to Control Panel, select Printersright-click the printer to view, click Printer Properties and choose Ports.
Finally, you type the IP address in the HostName or IP Address field, it will automatically appear in the PortName, select next to automatically connect.
Above are the ways to install the printer via LAN Win 7 that we provide for you. So you won’t have to worry about sudden problems with printer sharing over LAN anymore. With a simple, easy to understand and highly effective way to install a printer via LAN, Win 7 will be very useful to you.
See more:
Hope the above article will bring a lot of interesting information to you. Please Like and Share to support TechtipsNReview.com to continue to develop and always have more good articles.
Source: How to install a printer via LAN Win 7 in just one note
– TechtipsnReview


