
When installing and setting up Windows10, the system will ask to select language, you can change it later. The article will guide you how to change the language system and add a language for the default system on Windows 10.
When to change Windows 10 system language?
Most people will never need to change the language after the initial Windows setup. But there may be some situations where you want to do this. Such as:
Maybe a relative or friend from another country is visiting and wants to use your computer. The article recommends that you create a new standard user account for them and change the account language based on their preferences.
This is also very useful if you are learning a new language and want to practice by having your computer elements appear in the new language. The icons and button positions will be the same in all languages.
If you bought an old computer set up in a language you don’t understand, you can use these tips to change the system language. However, if the previous user didn’t erase their data, it’s probably better to factory reset Windows 10 to start using the new machine.
Way change the system language on Windows 10
If you recently moved to another region or are using a device with the incorrect language configuration, you do not need to reinstall Windows 10. You only need to change a few settings to set the system language. become correct.
Disable language synchronization
When you use a Microsoft account on Windows 10, the language settings sync across devices. In case you plan to change the language and region settings for only one computer, you should turn off the sync settings for these settings before making any changes to prevent the new profile from overwriting the settings. on other devices.
To disable language sync on Windows 10, follow these steps:
1. Open Settings.
2. Click Accounts.
3. Click Sync your settings.
4. In section Individual sync settings, turn off the switch Language preferences.
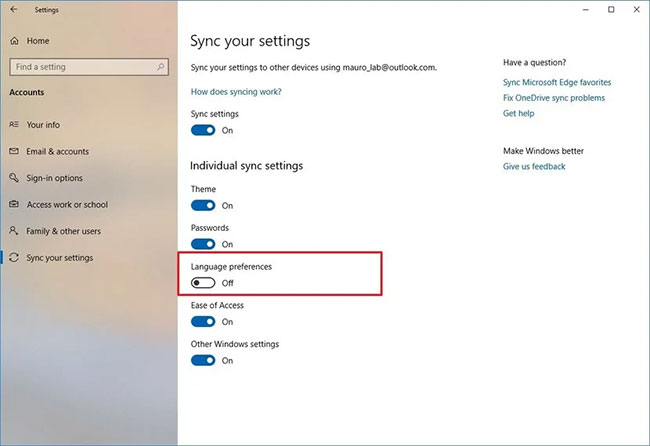
When you complete the steps, you can change the language settings without affecting the settings on other devices.
Change the system language
To change the system language on Windows 10, close any running apps and then follow these steps:
1. Open Settings.
2. Click Time & Language.
3. Click Language.
4. In section Preferred languages, click the button Add a preferred language.
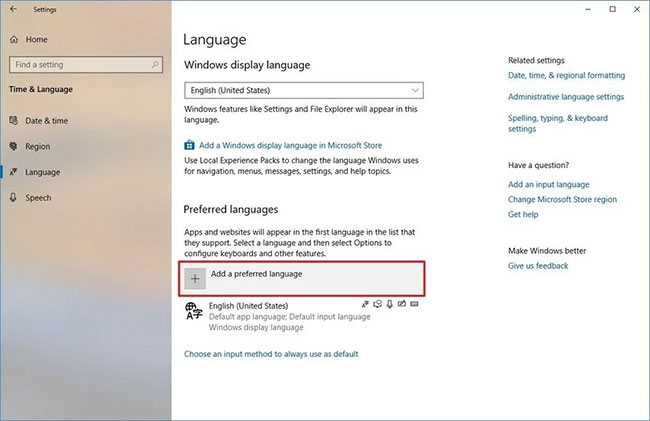
5. Search for the language you want on Windows 10.
6. Select the language pack from the results.
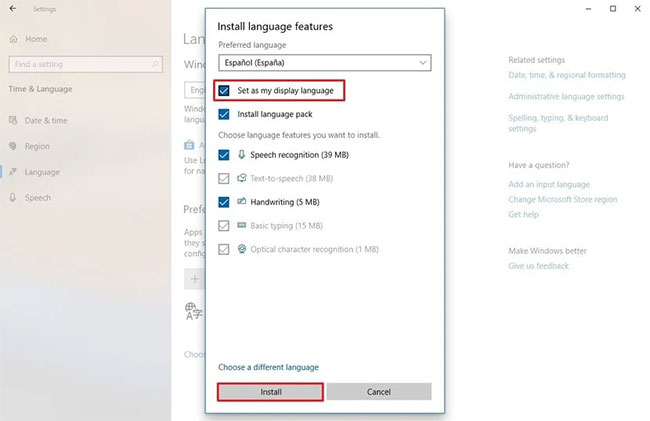
7. Click the button Next.
8. Check the option Set as my display language.
9. Check the option Install language pack.
10. Select or remove additional language features, if necessary.
11. Click the button Install.
12. Click the button Yes, sign out now.
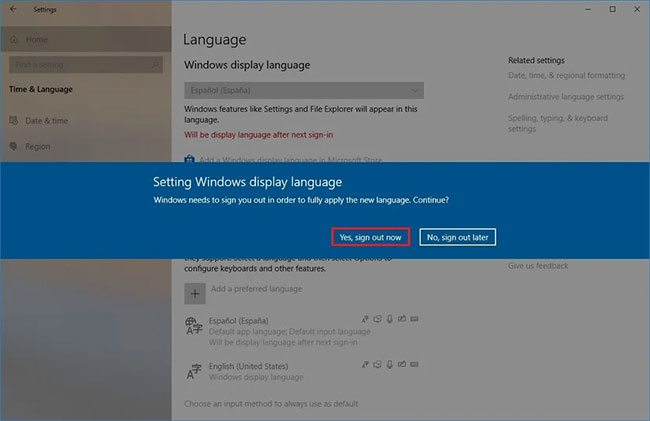
13. Sign back in to your Windows 10 account.
After you complete the steps, the language will change throughout the Windows 10 experience. The new changes will be reflected in the Sign-in login screen, Settings apps, File Explorer, Desktop, apps, browser and website you visit. Also, depending on the new settings, Windows 10 might prompt you to review your privacy settings.
Change the regional settings
If you changed the system language because you are in a different region, you also need to update the regional settings.
To change the local area settings on Windows 10, follow these steps:
1. Open Settings.
2. Click Time & Language.
3. Click Region.
4. Use the drop-down menu Country or region to select the geographical location, if it is different from the current setting.
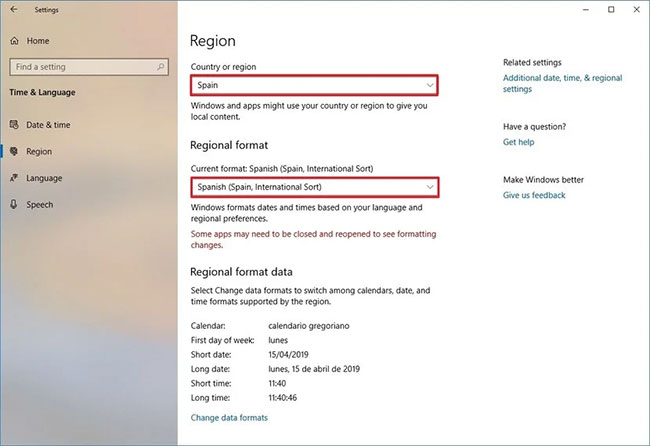
5. In section Regional format, use the drop-down menu to choose the correct format for the date and time, if it is different from your region.
6. Click Language on the left panel.
7. In section Related settings On the right side, click on options Administrative language settings.
8. In the tab Administrative, click the button Copy settings.
9. In section Copy your current settings to, choose the option Welcome screen and system accounts and New user accounts.
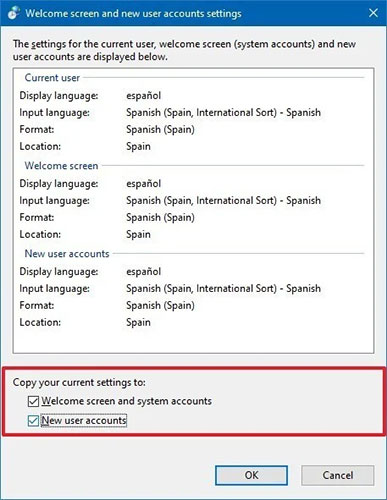
10. Click the button OK.
11. Click the button OK once again.
12. Click the button Restart now.
When you complete the steps, the device will display the exact area settings for your physical location.
Usually, you will never need to change or install additional languages. The ability to adjust these settings is often useful for small and large organizations, with users with different language preferences.
Also, this feature will be useful in situations when you are moving to a different region and want to match the local settings, or when purchasing a new computer shipped from another country, as it is. not available where you live.
Remember that when you change the language settings, you may lose your ability to use Cortana, as this digital assistant is not supported in most regions.
How to delete language on Windows 10
Delete ngolf language tYes Language Preferences
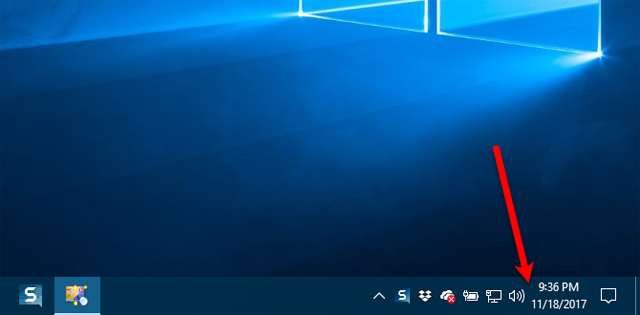
When there is more than one language on the computer, the easiest way to access the language settings is to click on the language indicator on the Taskbar and click on Language preferences.

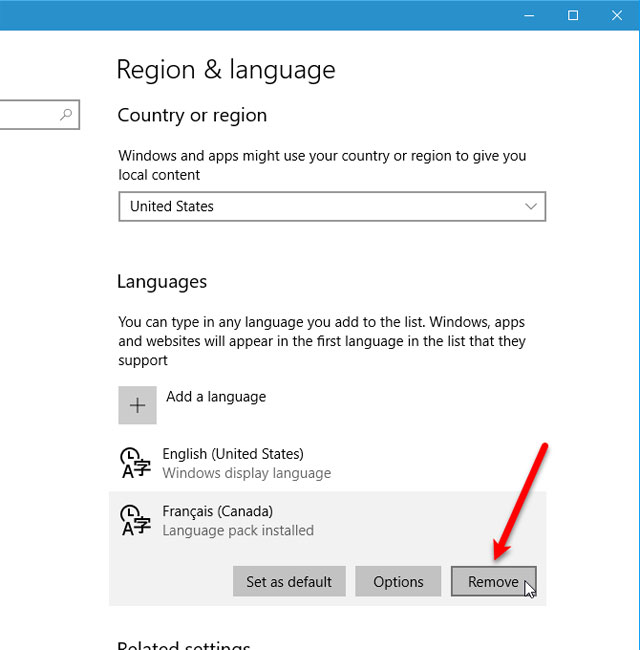
If the language you want to delete is the system default language, select another language as the default language. You don’t need to log out and back in again to apply changes. In case the language you want to remove is not the default language, click on it on the screen Region & language and then click Remove.
If there is only one language on the computer, the language indicator will be removed from the Taskbar.
Removed gvomiting ngolf language
If you do not intend to use that language anymore, you can delete it. Note that reinstalling language packs comes up with a lot of problems after uninstalling them, so you should consider before removing the installation package.
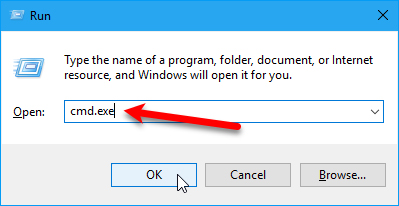
To remove the language pack, press the key Windows + R to open the dialog box Tremor, type “cmd.exe“into the box Open and press OK.
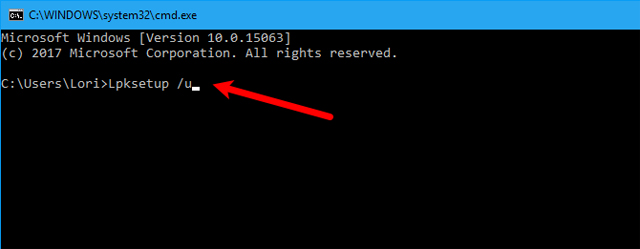
At the prompt in the Command Prompt, type the following command and press Enter:
Lpksetup / u
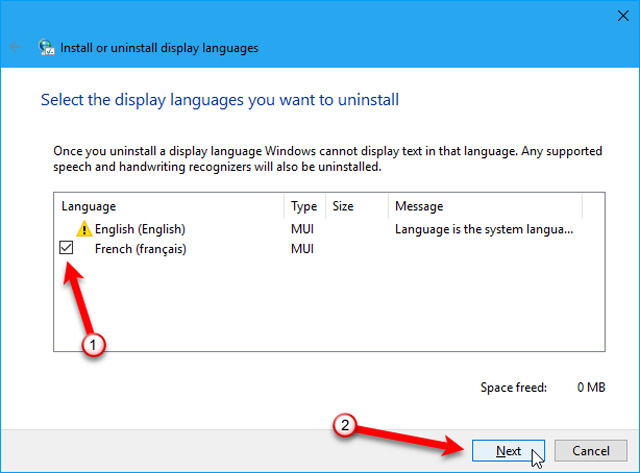
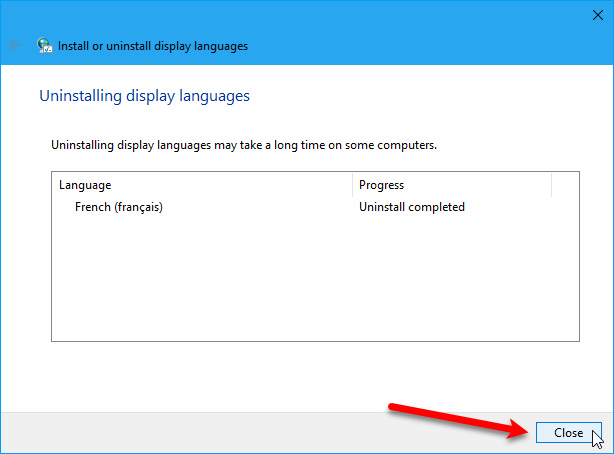
After entering the command, dialog box Install or uninstall display languages will display, check the language you want to uninstall and click next.
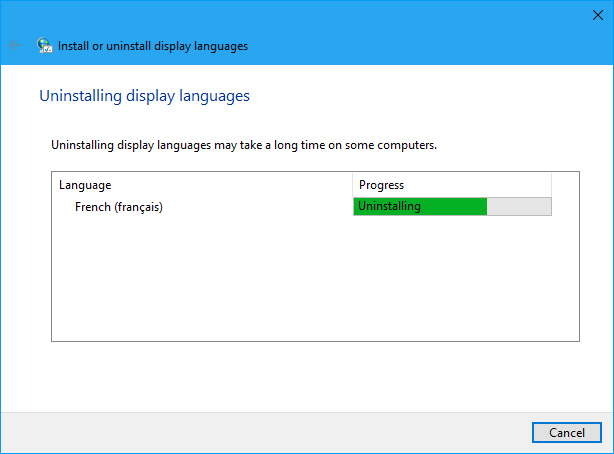
The uninstall process is displayed.
To close the Command Prompt window, type “exit“at the prompt or click the X in the upper right corner.
Restart your computer to complete the uninstall process.
Wish you all success
See also: Vietnamese for Windows 10
Source link: How to change the language system in Windows 10
– https://techtipsnreview.com/


