
NOTE: Welcome to the Knowledge Sharing Blog! If you encounter any errors during use, such as error in download link, slow loading blog, or unable to access a certain page on the blog … please notify me. via Contact page. Thanks!
Before learning how to compress and decompress Zip files with the Powershell tool, we need to learn a little bit about what is Powershell first?
Well, to put it simply, Powershell is a Microsoft command line tool, designed to replace the CMD tool, helping you to use your computer through the command line, if you know how to use it, it will Save time for your job very well.
You can read more about the following articles that have applied the Powershell tool very effectively:
And in general, the way to compress and decompress the Zip files I introduced below will also be done entirely by the command line, but not too difficult as many of you think, just type the correct command.
I. Instructions to compress files by command in Powershell
#first. Compress a file with the Powershell command
I will write the command line syntax for you to understand most easily.
Compress-Archive -LiteralPath ‘
‘ -DestinationPath ‘‘
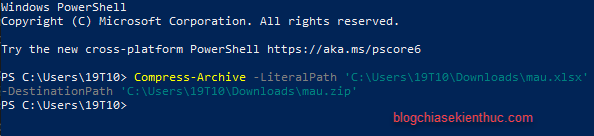
The illustration above is an example I want to compress a file named mau.xlsx => to file mau.zip
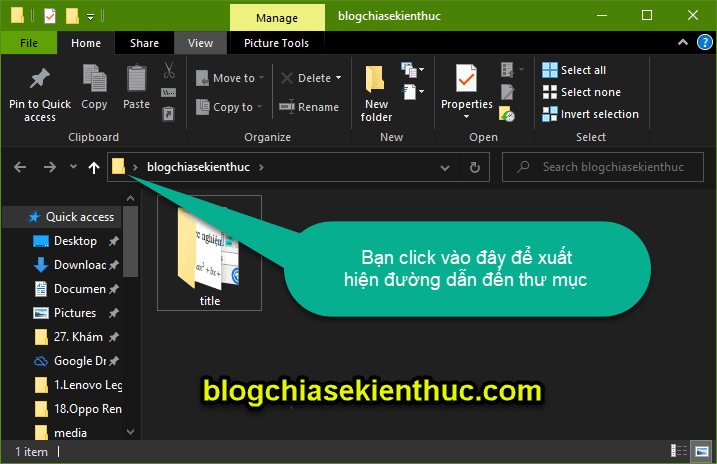
Tips: If you do not know how to get a quick link then here, I will show you the simplest one.
And this is the result.

#2. Compress multiple files with the command in Powershell
If you want to compress more files, you can use the command line as below, just add the diacritic , and the path is ok. Specifically, as follows:
Compress-Archive -LiteralPath ‘
‘ ,‘‘ -DestinationPath ”‘

The picture above is an example I want to compress two files anh1.jpg and anh2.jpg => into a file anh.zip
# 3. The command to add files to the Zip file is available
If you accidentally left a file that you need to put into an existing archive, the Powershell command prompt will also support the addition with a command -update. As follows:
Compress-Archive -LiteralPath ‘
‘ -Update -DestinationPath ‘path to the zip file you want to add’
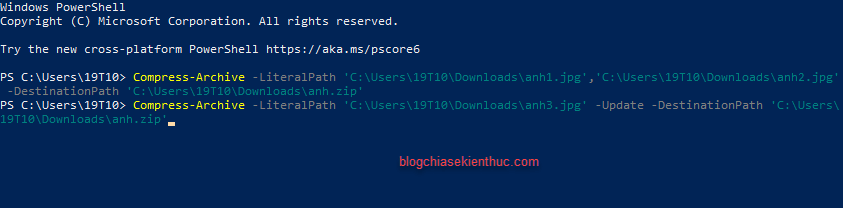
The picture above is an example I want to add files anh3.jpg file anh.zip just compressed above.
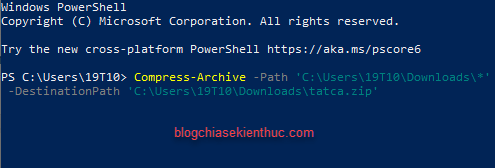
# 4. Compress multiple file formats into one archive with the Powershell command
In a folder with different types of files and folders, if you want to compress all of them, just add a stamp * behind the folder containing them, but replace it -LiteralPath Fort -Path Alright.
Or If you want to compress files of some kind of file format in the folder, you can also use the * to replace the file name.
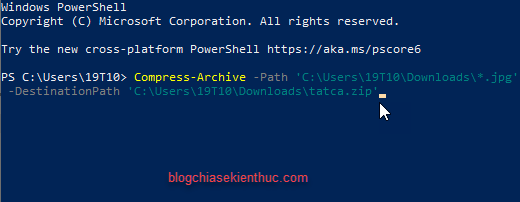
For example, in the folder with formats like * .mp4, * .mp3, * .jpg, * .txt, now I just want to compress the files with the format as *.jpg Then I will use the command line below:
# 5. Only compress the files in the folder containing both the Folder and File
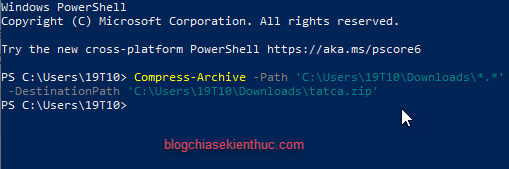
And in a folder there are many different files and folders, but you only want to compress those files to use *.* to rename all the files you want to compress.
This means that this command line only compresses files, not compressed folders in the same Folder with File.
II. Instructions to extract files by command in PowerShell
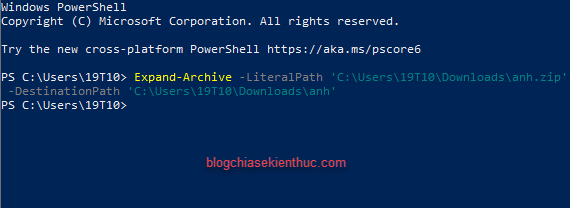
The way to unzip is also quite simple, you use the following command line syntax:
Expand-Archive -LiteralPath ‘
‘ -DestinationPath ‘‘
III. Epilogue
So I have very detailed instructions with you How to compress and decompress zip files with the Powershell tool On Windows operating system okay, all above operations are done by using commands, so remember to type correctly to run it.
For the average user, it seems quite difficult, because the commands are difficult to remember, and the user is too familiar with the traditional compression and decompression methods, but why not change the wind to experience new things. but ?
Hope this article is useful to you, wish you all success!
Read more:
CTV: Truong Quang Nhat – techtipsnreview
Note: Was this article helpful to you? Don’t forget to rate, like and share with your friends and relatives!
Source: How to compress and decompress * .Zip files using a command in PowerShell
– TechtipsnReview


