
If you’re using a touch screen PC running Windows 11, and using a stylus to work, you’ll probably need the Pen menu as well. This menu provides Windows 11 users with shortcuts to quickly activate some essential applications, suitable for the operation of a stylus user. This article will show you how to activate the Pen menu icon on the Windows 11 taskbar to use it most conveniently.
First, right-click an empty area on the taskbar and select “Taskbar Settings“.

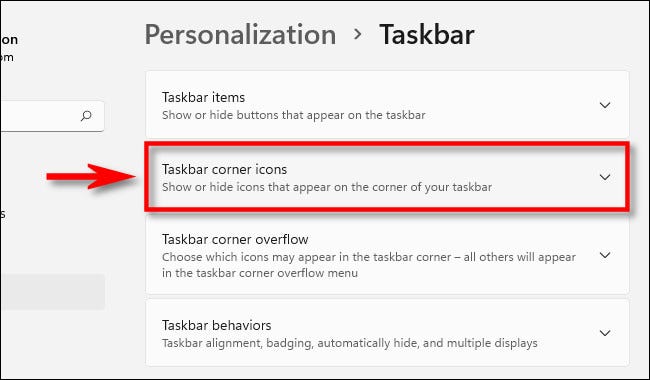
This will take you to the taskbar settings screen in the Settings app. Here, the code opens the menu “Taskbar Corner Icons” by clicking on it.
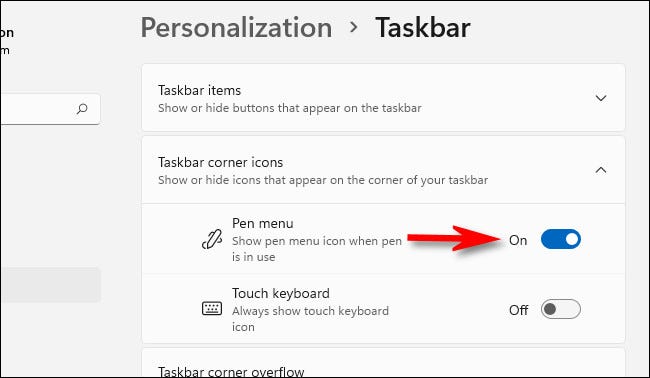
When the menu “Taskbar Corner Icons“expand, you find the item”Pen Menu, then press the corresponding toggle switch to switch it to the “On“.
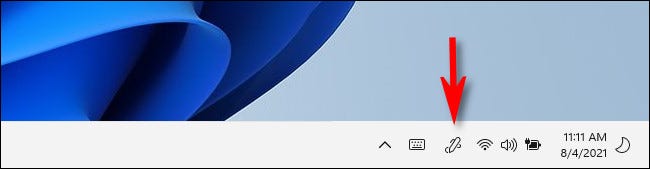
The next time you activate your stylus on Windows 11, you’ll see a small pen icon appear on the taskbar, in the lower-right corner of the screen. It looks like the pencil is drawing a squiggly line, like the screenshot below. This is the Pen menu icon.
If you click the Pen menu icon on the taskbar, a small menu will open, which contains shortcuts that let you quickly launch Microsoft Whiteboard, Snip & Sketch, pen settings, and some stylus help in the Tips app.
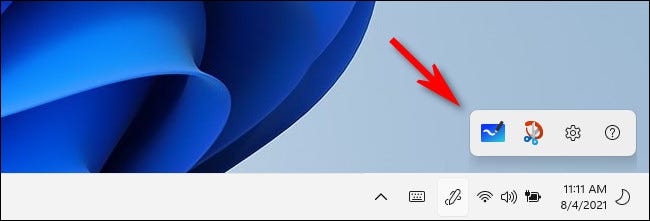
If you click the gear icon in the Pen menu, you can also select “Edit Pen Menu” and customize up to 4 app shortcuts for quick access when needed.
In case you don’t need to use the Pen menu anymore, you can also hide it easily. First, right click on the taskbar and select “Taskbar Settings“.
On the taskbar settings screen, select “Taskbar Corner Icons, then toggle the switch next to “Pen Menu“about status”Off“.

Source link: How to display the Pen Menu icon on the Windows 11 taskbar
– https://techtipsnreview.com/


