
Sometimes, a job requirement or a specific use situation forces you to “clean” all the data stored in the hard drive on your Windows 11 PC. Then, instead of choosing to manually delete folders, which is very time consuming and incomplete, you should immediately think about formatting the hard drive. This will not only completely erase the data on the hard drive, but also keep it in the most optimal ready-to-use state,
Find out how to do it right here.
Format the hard drive on Windows 11
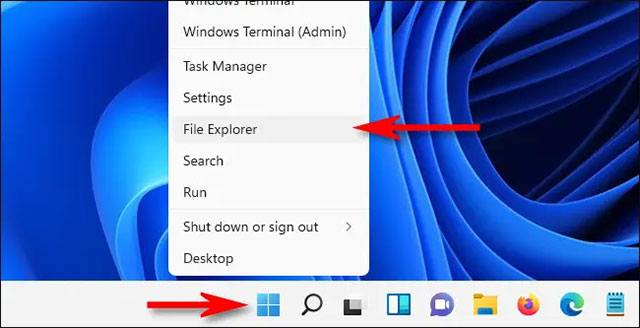
First, open File Explorer. by clicking the folder icon on the taskbar at the bottom of the screen. Or you can right click the button Start and select “File Explorer“.
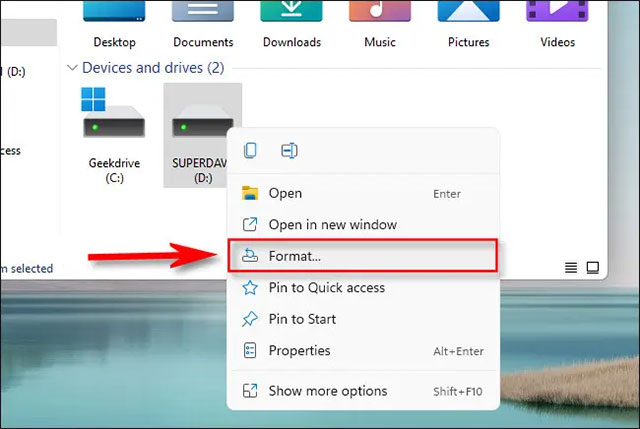
On the File Explorer window that opens, click on the item to “This PC“. Immediately, the list “Devices and Drives” will appear, which lists all available hard drives and storage devices on the system. Right click on the hard drive you want to format and select “Format” in the menu that appears.
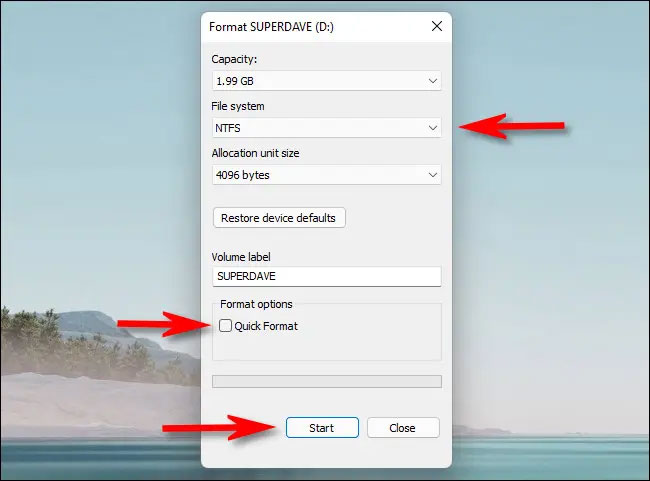
Window “Format” will open, which contains options for how you want to format the hard drive. We will look at each item in detail below.
- Capacity: This will be the data capacity of the hard drive after it is formatted. Formatting takes up a small amount of raw hard drive space due to the way the file system works.
- File System: A file system is a data structure that tells the operating system how to save/load files to or from the hard drive. Depending on the size of the hard drive, your options will be FAT, FAT32, NTFS, or exFAT. In general, you will want to choose NTFS if the hard drive is only used with Windows. If you want the hard drive to be readable and writable on your Mac as well, choose exFAT.
- Allocation Unit Size: This is the basic block size used by the file system when you format the hard drive. In general, you rarely need to modify this setting, so use the default allocation unit size (usually 4096 bytes for NTFS) when selecting File System.
- Volume Label: This is the name of the hard drive in File Explorer.
- Format Options (Quick Format): If the hard drive is working fine, you can choose “Quick Format”, perform a quick and high-level format process. The data remains on the hard drive but all references to it are lost, so it will be overwritten. In other words, Quick Format means removing and creating a new FAT so that the storage drive can be reused. However, the old data persists until it is recorded. If the drive hasn’t been written, someone else can find out what’s stored on it, using one of the data recovery tools. If you don’t select Quick Format, Windows will check each sector of the drive with a low-level format that takes longer, but will also completely erase all traces of old data.
Once you have selected the options you want, click “Start” to begin the formatting process.
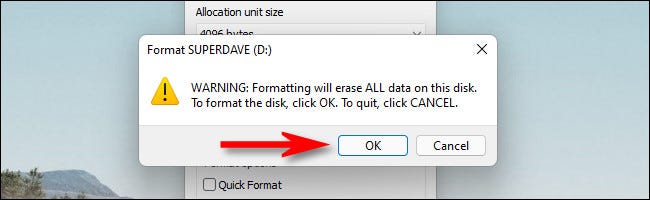
Immediately, Windows will display a warning with the content “Formatting will erase ALL data on this disk”. Click “OK” if you are ready to clean the hard drive.
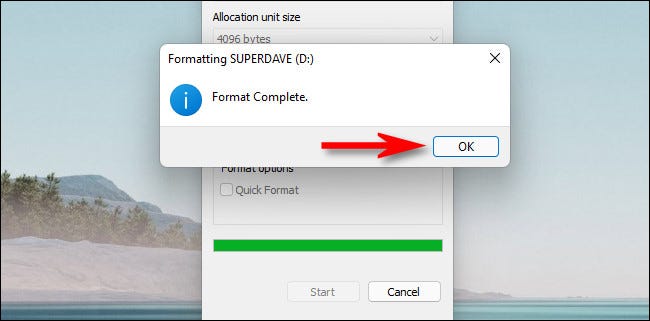
While the format is in progress, you will see a small window appear showing the current process. When it’s done, you’ll see another notification window pop up. Click “OK”.
Repeat the above process with the other hard drives you want to format. Hope you are succesful.
Source link: How to format the hard drive on Windows 11
– https://techtipsnreview.com/


