
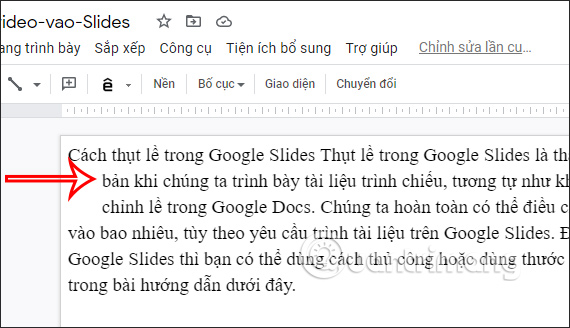
Indenting in Google Slides is a basic operation when we present a slide show, similar to when you adjust the margins in Google Docs. We can completely adjust the indentation margin, depending on the document presentation requirements on Google Slides. To indent Google Slides, you can use it manually or use the margin ruler in the tutorial below.
Quick guide to indenting Google Slides
To quickly indent in Google Slides, you can use the mouse pointer to adjust.
Place the cursor at the beginning of the line you want to indent afterward press Shift + Enter to select only that line perform the operation. If you omit this shortcut operation, the default will select all text. Right after that you press the Tab . key to indent only that line. We continue to indent with other lines according to the previous operation.
How to indent Google Slides with a ruler
Adjusting Google Slides margins with a ruler will be more professional and accurate instead of using the mouse and Tab key.
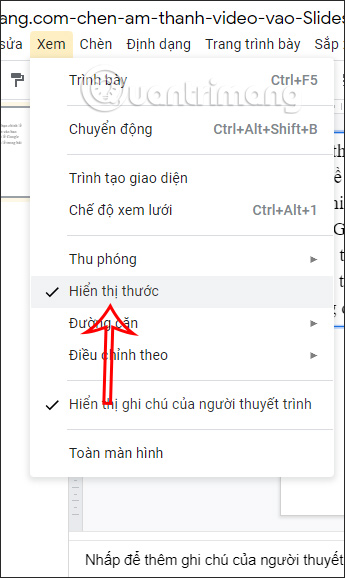
Step 1:
At the interface on Google Slides you click View section already enable the option Show rulers for use in Google Slides.
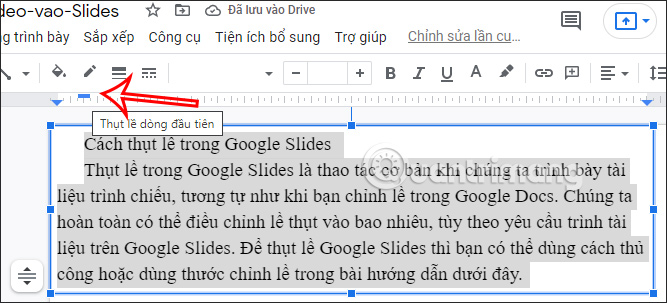
Step 2:
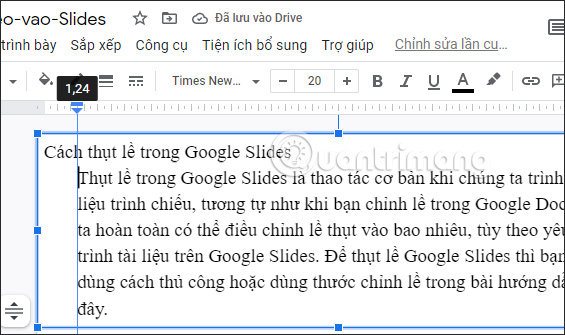
Then at the Google Slides interface, a ruler bar will be displayed. In the toolbar you will see a blue indent adjustment icon, with blue horizontal bar to adjust the margin for the first line and green triangle for left indent.
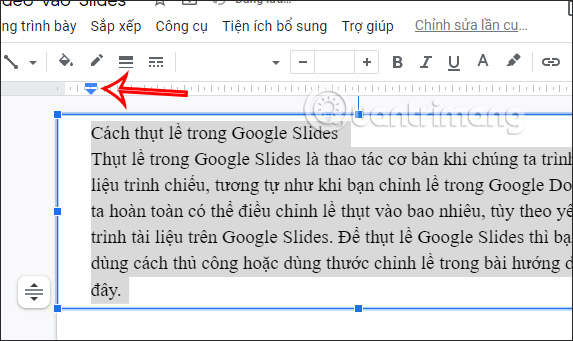
If you highlight full text and just move the blue horizontal bar then first line in each paragraph will be indented.
If use green triangle then the entire highlighted paragraph will be indented.
Similarly, you can highlight any line of text to indent that line or the entire text in that line.
Depending on what your indentation requirements are, we have a choice of 2 ways to indent in Google Slides.
Source link: How to Indent in Google Slides
– https://techtipsnreview.com/


