
Hyper-V is a Microsoft product used to perform hardware virtualization. In today’s post, let’s Make tech Learn how to install Hyper-V on Windows Server 2019!
Install Hyper-V on Windows Server 2019
System requirements:
- Computer x64 (64-bit) and CPU with Intel XD bit (Execute Disable bit) or AMD NX bit (No-Execute bit).
- Enable Intel XD bit or AMD NX bit on BIOS settings.
On CUI settings, set up as follows.
1. Run Powershell as admin and install Hyper-V.
Windows PowerShell
Copyright (C) Microsoft Corporation. All rights reserved.

# install Hyper-V with admin tools
PS C:UsersAdministrator> Install-WindowsFeature Hyper-V -IncludeManagementTools

Success Restart Needed Exit Code      Feature Result
------- -------------- ---------      --------------
True    Yes            SuccessRest... {Hyper-V, Windows PowerShell 用 Hyper-V ...
WARNING: You must restart this server to finish the installation process.

# restart computer to apply changes
PS C:UsersAdministrator> Restart-Computer -Force
On the GUI settings, the settings are as follows.
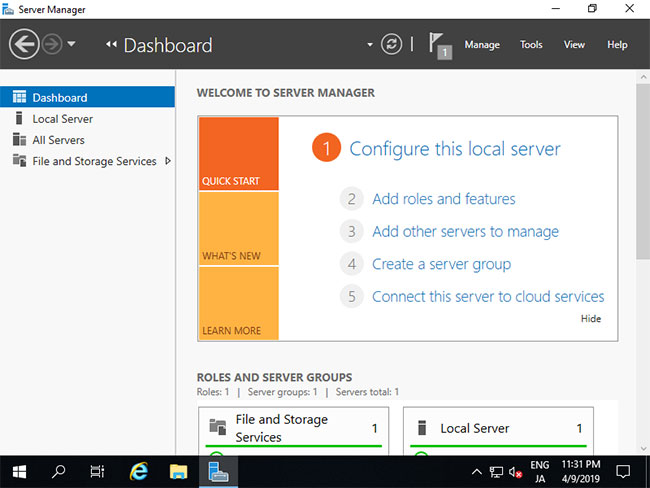
2. Run Server Manager and click Add roles and features.
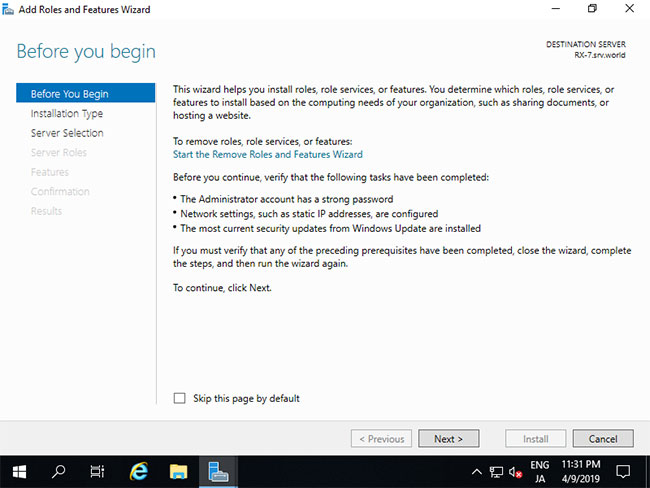
3. Click Next.
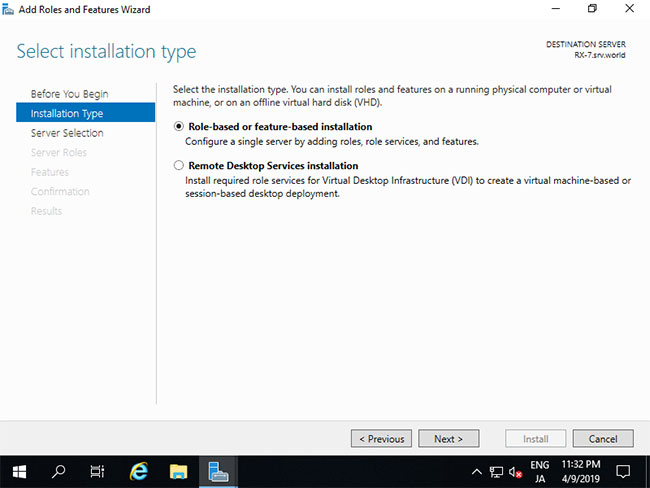
4. Select Role-based or feature-based installation.
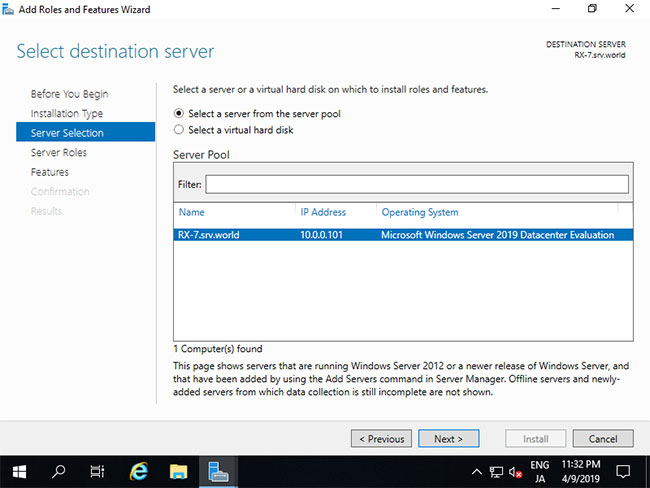
5. Select the host you want to add services to.
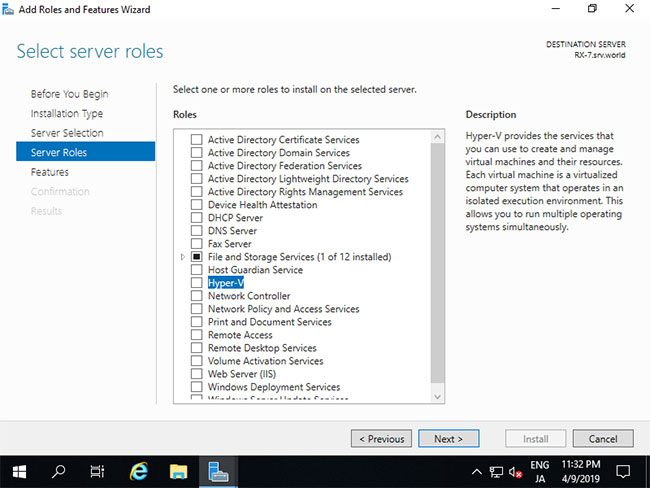
6. Check the box Hyper-V.
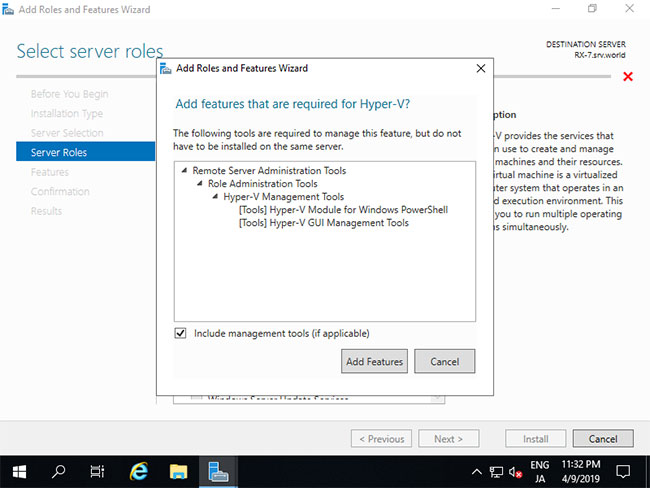
7. Additional features required to add Hyper-V. Click the button Add Features and move on next.
8. Click the button next.
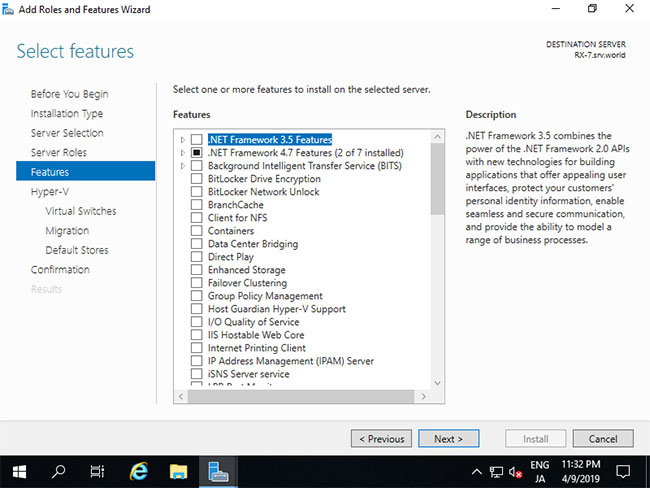
9. Click the button next.

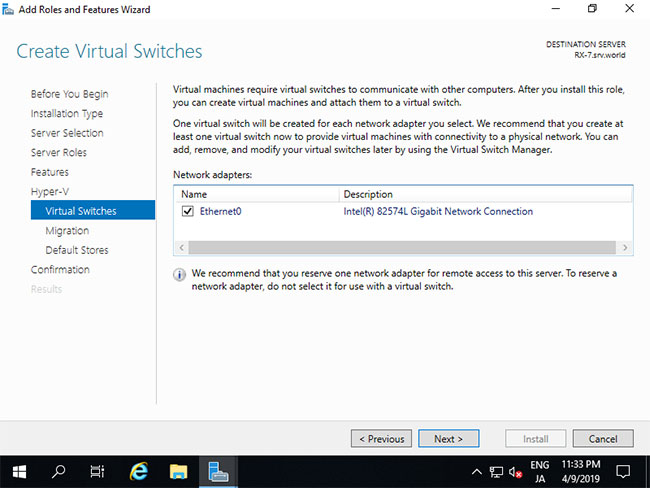
10. This is the creation part Virtual Switches. Choose a network adapter for it.
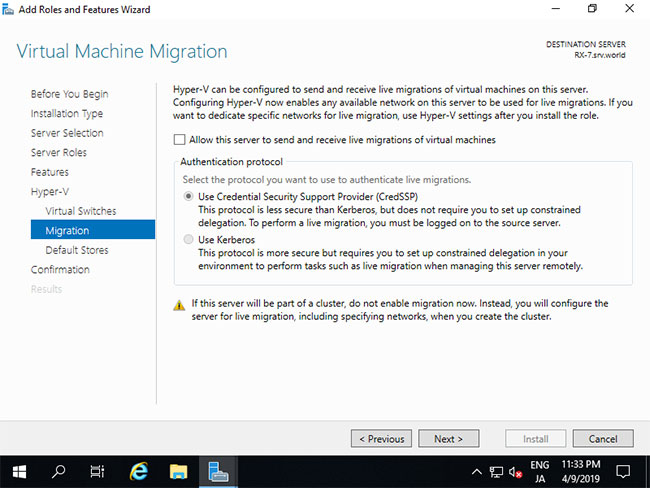
11. Here is the part Virtual Machines Migration. In this example, keep the default options and keep pressing Next.
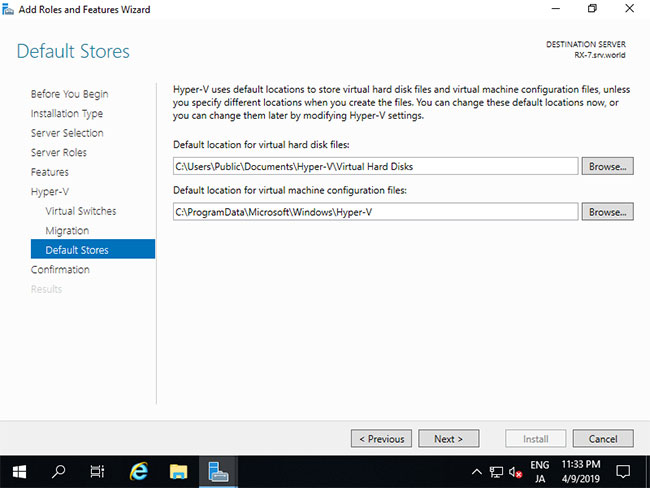
12. This is the part that specifies the configuration location of the virtual machine. In this example, keep the default options and keep pressing next.
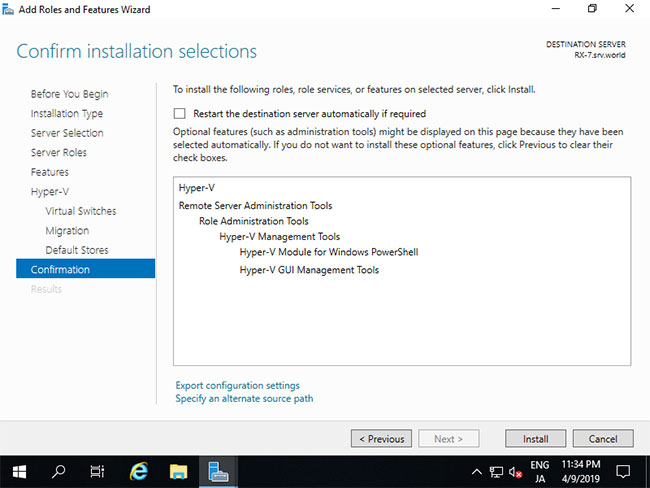
13. Click the button Install to start the installation.
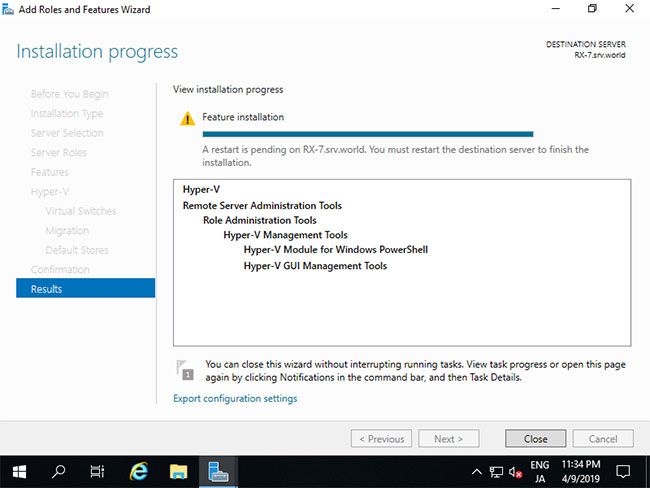
14. After finishing the installation, click the button Close and restart the computer.
Create virtual machines
On the CUI configuration, set the following:
1. Run Powershell with admin rights and configure:
Windows PowerShell
Copyright (C) Microsoft Corporation. All rights reserved.

# confirm network adapter names
PS C:UsersAdministrator> Get-NetAdapter

Name                      InterfaceDescription                    ifIndex Status       MacAddress             LinkSpeed
----                      --------------------                    ------- ------       ----------             ---------
Ethernet0                 Intel(R) 82574L Gigabit Network Conn...       6 Up           00-0C-29-C7-54-1A         1 Gbps

# create a virtul switch
PS C:UsersAdministrator> New-VMSwitch -Name "Bridge01" -AllowManagementOS $True -NetAdapterName "Ethernet0"

# confirm
PS C:UsersAdministrator> Get-VMSwitch

Name     SwitchType NetAdapterInterfaceDescription
----     ---------- ------------------------------
Bridge01 External   Intel(R) 82574L Gigabit Network Connection

# create a directory for virtual machines
PS C:UsersAdministrator> mkdir E:Virtual_Machine

# set VM name and others
PS C:UsersAdministrator> $ParentDir="E:Virtual_Machine"
PS C:UsersAdministrator> $VMName="Win2k19"
PS C:UsersAdministrator> $Switch="Bridge01"

# create a virtual machine
PS C:UsersAdministrator> New-VM -Name $VMName `
-MemoryStartupBytes 8GB `
-Generation 2 `
-NewVHDPath "$ParentDir$VMName$VMName.vhdx" `
-NewVHDSizeBytes 50GB `
-Path "$ParentDir$VMName" `
-SwitchName $Switch

Name    State CPUUsage(%) MemoryAssigned(M) Uptime   Status             Version
----    ----- ----------- ----------------- ------   ------             -------
Win2k19 Off   0           0                 00:00:00 Operating normally 9.0

# change vCPU count
PS C:UsersAdministrator> Set-VMProcessor $VMName -Count 4

# add SCSI controler
PS C:UsersAdministrator> Add-VMScsiController -VMName $VMName

# set install image
PS C:UsersAdministrator> Add-VMDvdDrive -VMName $VMName `
-ControllerNumber 1 `
-ControllerLocation 0 `
-Path 'C:UsersAdministratorDocumentsWin2019_EN-US_190906-2324.rs5.iso'

PS C:UsersAdministrator> $DVDDrive = Get-VMDvdDrive -VMName $VMName

# set virtual DVD first boot device
PS C:UsersAdministrator> Set-VMFirmware -VMName $VMName -FirstBootDevice $DVDDrive

# start the virtual machine
PS C:UsersAdministrator> Start-VM -Name $VMName

# after this, refer to [13] to install OS
On the GUI configuration, the settings are as follows.
2. Run Server Manager and open Tools> Hyper-V Manager.

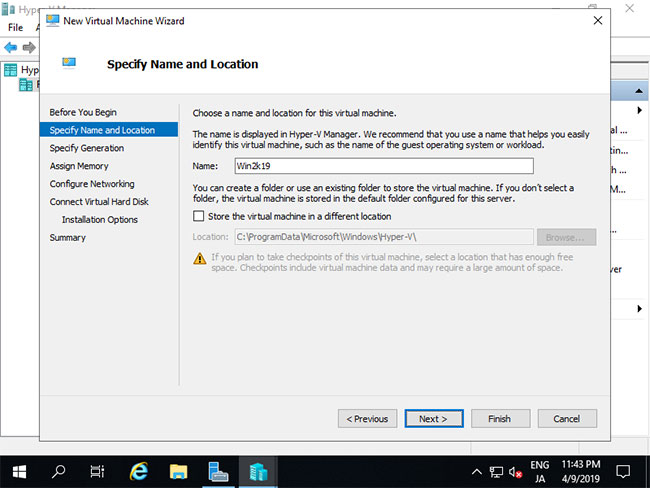
5. Enter the name of the virtual machine. Any name will do.
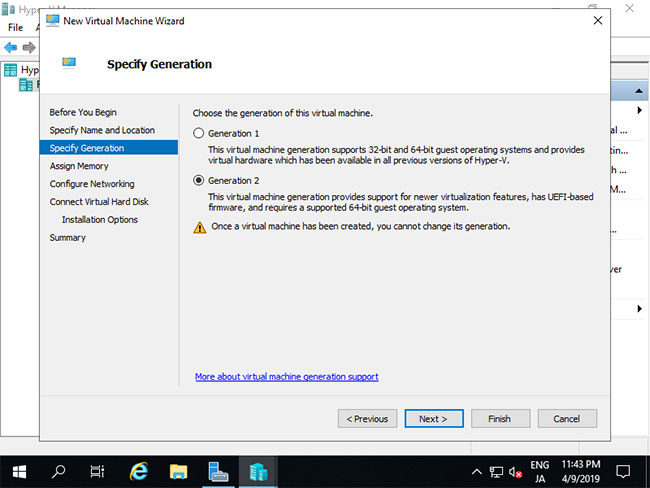
6. Specify generation of virtual machines. In this example, select Generation 2.
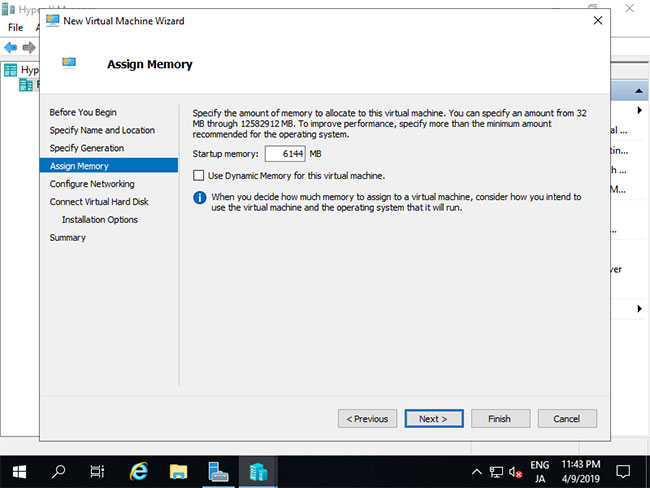
7. Assign memory to the virtual machine.
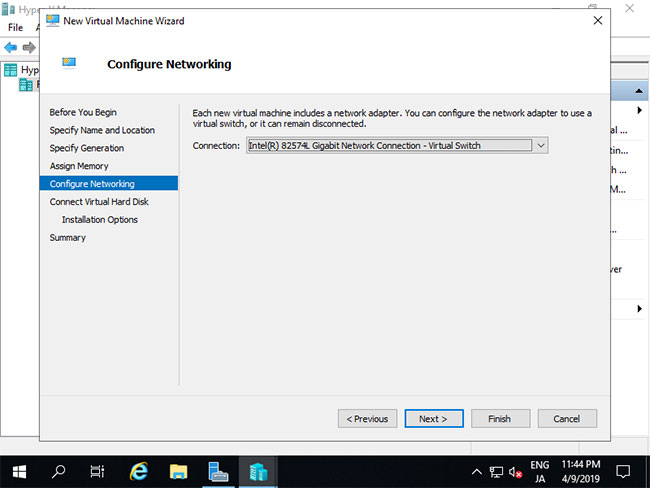
8. Select Virtual Switch to use the virtual machine’s network connection.
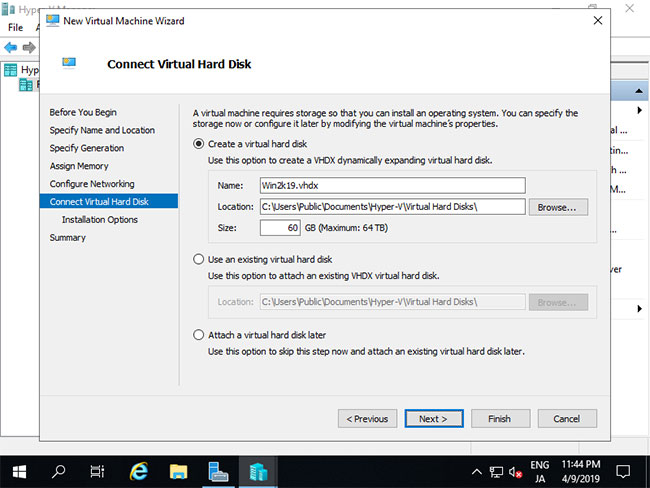
9. Configure virtual hard drives. Set the parameters you like.
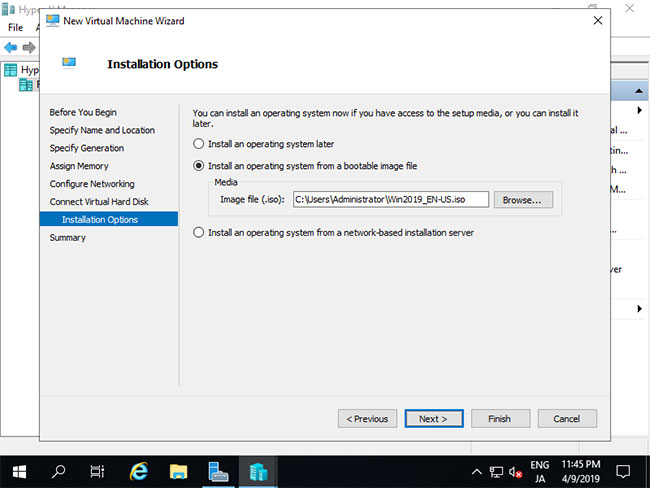
10. Select the source for the GuestOS installation.
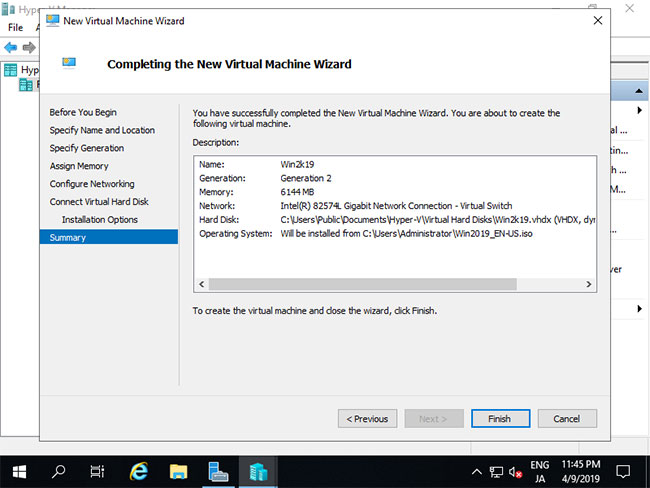
11. Click the button finish if everything is OK.
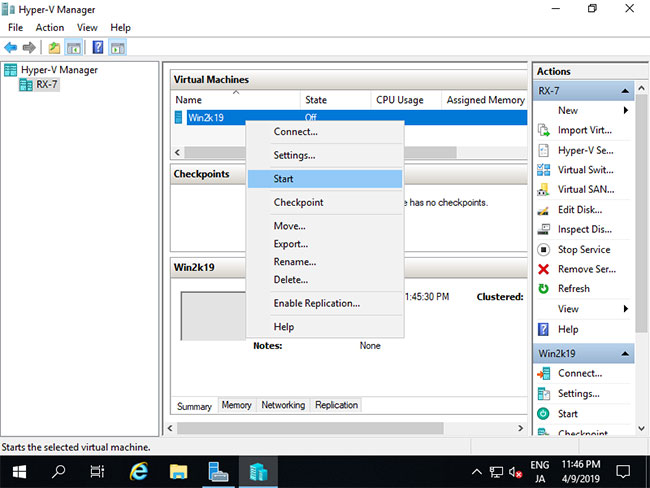
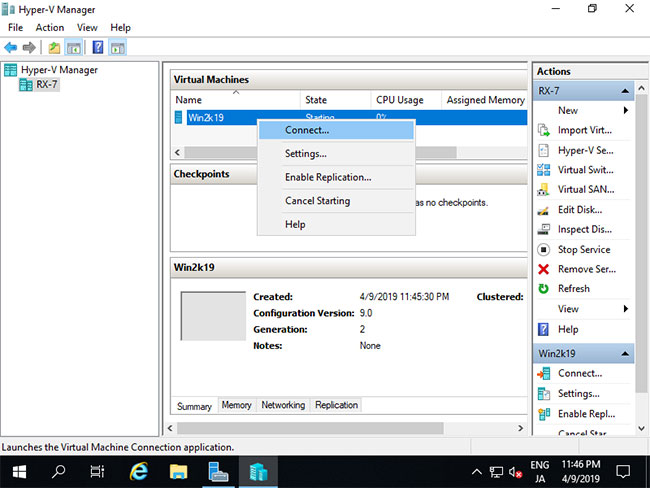
12. The virtual machine has just been created. To get started, right-click on it and select Start.
13. To connect the virtual machine control panel, right-click on it and select Connect.
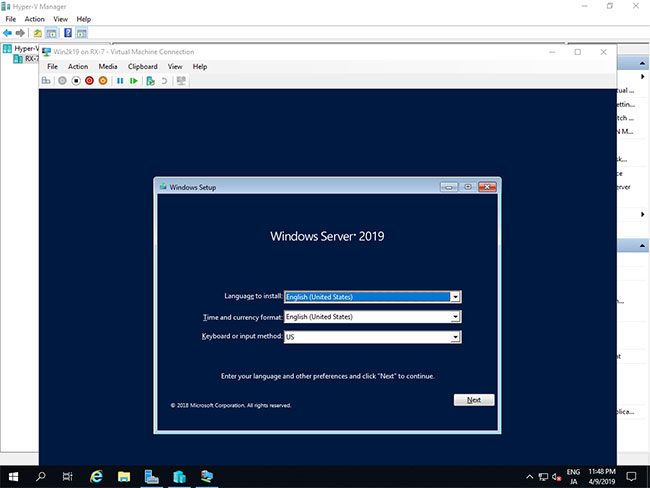
14. Install GuestOS according to normal procedure.
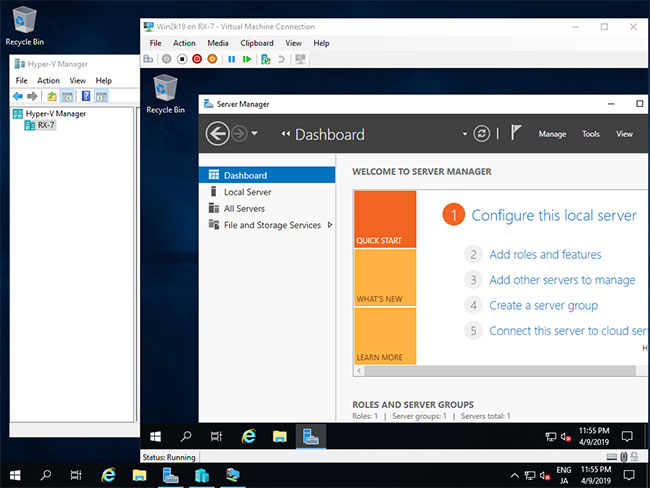
15. The installation is complete and the Windows Server virtual machine is now running.
Hope you are succesful.
Source link: How to install Hyper-V on Windows Server 2019
– https://techtipsnreview.com/


