
By default, Windows 11 automatically checks for and installs new updates on the system as they become available. However, if those automatic updates bring unexpected changes, or you simply don’t want to apply the new update on your system at this time, Windows will allow you to pause it. deploy automatic updates in a week. Here’s how to do it.
First, open the Windows Settings app by pressing the key combination Windows + i. Or, you can right-click the Start button on the taskbar and select “Settings” in the menu that appears.

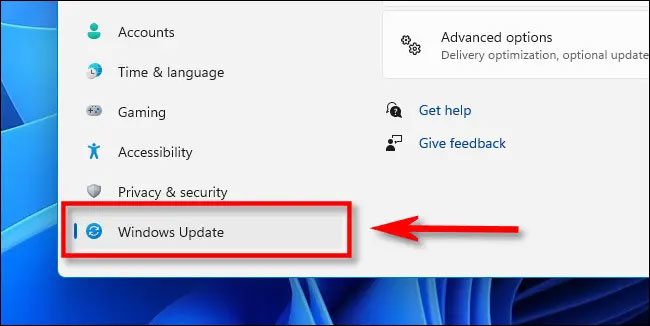
When the Settings interface opens, look at the list of items on the right and click “Windows Update” at the bottom.
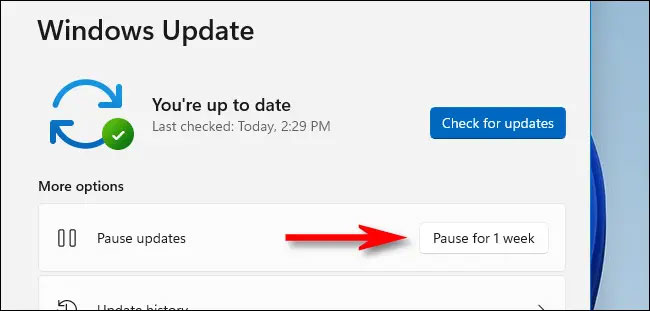
On the Windows Update settings screen that opens, look down to the “More Options” and click the “ button”Pause for 1 Week“.
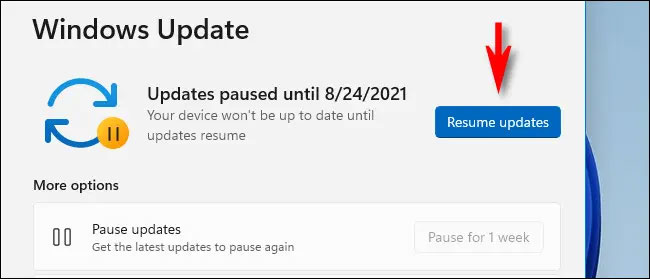
Immediately, the Windows Update settings page will display the content “Updates paused until […]” (rough translation: Updates are paused until […]). Inside […] is the one week time since you clicked the pause button. When that date is reached, automatic updates will continue to roll out.
Continue automatic updates on Windows 11
To re-enable automatic updates, open the Windows Settings app and navigate to “Windows Update“. On the Windows Update settings screen, click the “Resume Updates“.
Immediately, Windows Update will check for new updates and if it finds any available, you can click “Download Now“, “Install Now” or “Restart Now” to apply the new update, on a case-by-case basis.
Wish you have a good experience with Windows 11!
Source link: How to pause updates on Windows 11
– https://techtipsnreview.com/


