- Instructions to Restore iPhone with iTunes properly
- Fix error 27 when Restore iPhone 5s with iTunes
- Fix error 20 when restoring iPhone with iTunes
- How to fix error 53 when restoring iPhone?
- Uninstall iTunes, delete iTunes installed on computers and laptops
When using iPhone, iPad to download too many applications, games or contain many files, videos, images will make the device work slowly. Users now even if they delete files and applications, they cannot make iPhone and iPad work as fast as new. There’s only one way Restore iPhone with iTunes to turn your iPhone, iPad back to its original state. Applications, installation files, and data on the device will be wiped clean, turning the user’s iPhone into a new device. Follow the following instructions of 9mobi.vn to Restore iPhone with iTunes.
How to Restore iPhone with iTunes
Step 1: Connect your iPhone, iPad to the computer with the original USB cable. Now on iPhone, iPad will ask the user if Trust this computer or not, please click Trust.

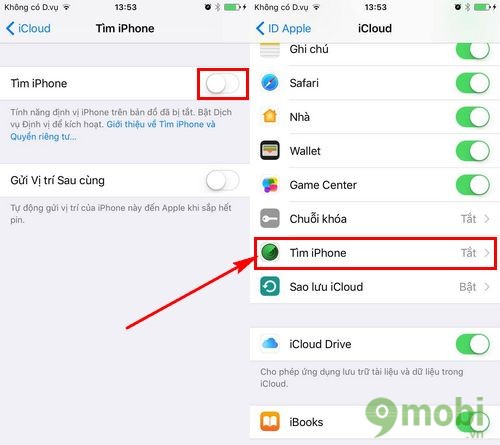
Step 2: Before working on the computer, users need to pay attention to turn off the Find my iPhone feature Find iPhone on the phone. Access Settings > iCloud > Find my iPhone and Turn off this feature.
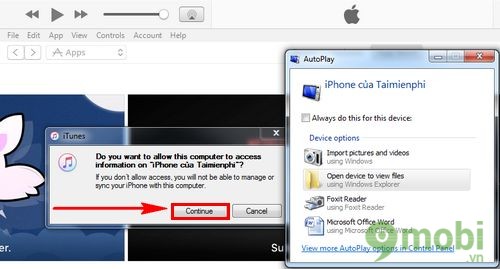
Step 3: Back on the computer, users need to have iTunes enabled and press tiếp tục to connect iPhone, iPad with iTunes.
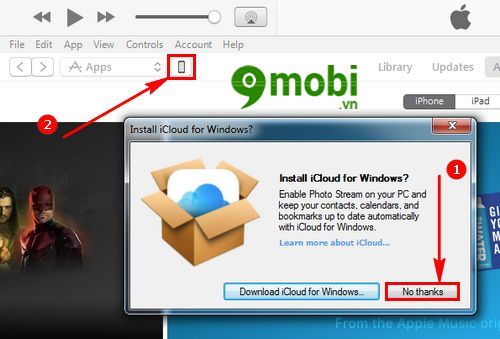
Step 4: You can accept the iCloud for Windows download to view your synced iCloud data. If you don’t want to press No Thanks. Then click on the phone icon on iTunes.
The connection interface between iPhone, iPad and iTunes will display the phone’s parameters, phone name.
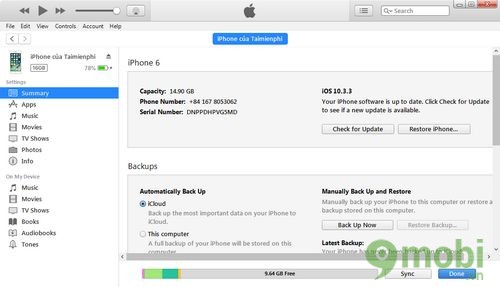
Step 5: To perform Restore iPhone using iTunes, users click Restore iPhone in the iOS version section.

Click select Check.

Step 6: If you want to store data before Restore iPhone using iTunes, please select Back Up. If you don’t want to keep the data on your iPhone or iPad, quickly press Don’t Back Up.

Step 7: To Restore iPhone using iTunes, users click Restore.

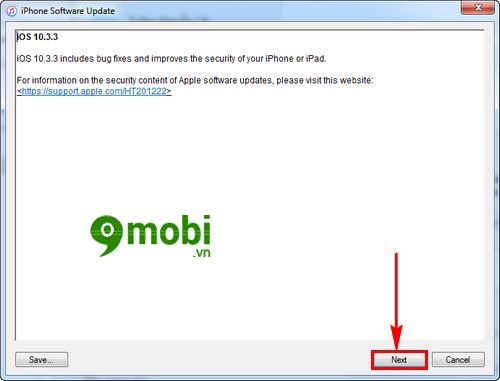
Step 8: Press next.
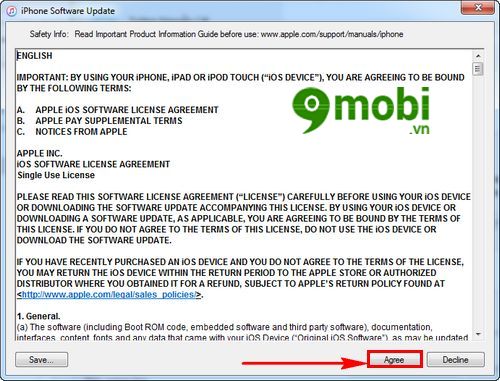
Step 9: Press next Agree to accept Apple’s terms before Restore iPhone using iTunes.
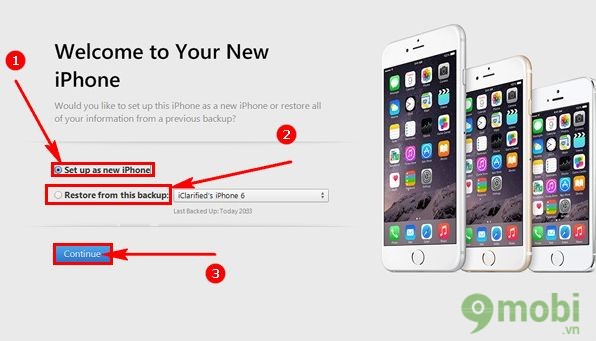
Step 10: The process of Restore iPhone with iTunes will take place quickly. When you’re done, you’ll have options:
Set up as new iPhone: Install like a new iPhone.
Restore from this backup: Restore with backup.
The user selects the appropriate setting and presses tiếp tục to perform.
That’s it, you have done Restore iPhone with iTunes easily with the above instructions of 9mobi.vn. With iPad, similar restores, using iTunes Restore iPad will help you fix your device in the best way, if there are How to restore iPad else, feel free to share with us.
https://9mobi.vn/cach-restore-iphone-bang-itunes-19733n.aspx
In the process of performing Restore iPhone with iTunes, there are also some errors that may be encountered. In which, error 20 is common when Restore iPhone with iTunes. Users need to fix error 20 when Restore iPhone with iTunes if unfortunately encounter this problem. The cause may come from the software, so you can fix error 20 when Restore iPhone with iTunes at home easily. Good luck.
Source: How to Restore iPhone with iTunes
– TechtipsnReview