
In Windows 11, you can set an internet data limit so that your PC doesn’t use more than your network data allows. This article will show you how to specify different levels of Internet usage data limits on a Windows 11 PC.
Set data limit in Windows 11
In Windows 11, you can set a separate data limit for each WiFi and Ethernet network you connect to.
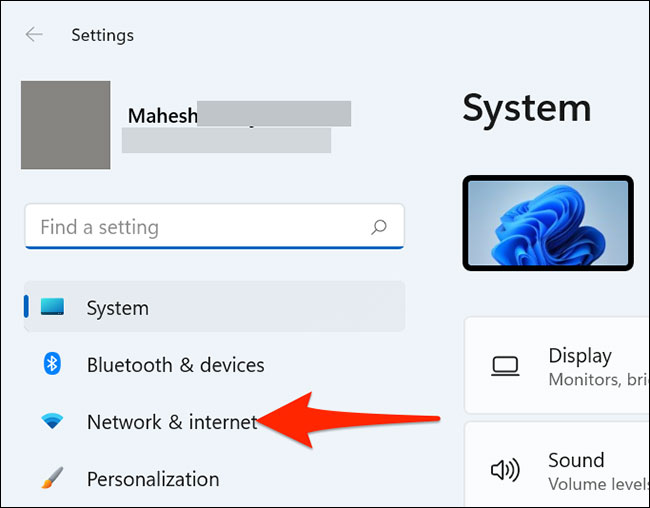
To get started, launch the Settings app on your PC by pressing the key combination Windows + i.
In the Settings window that opens, click on the “Network & Internet” in the list on the left.
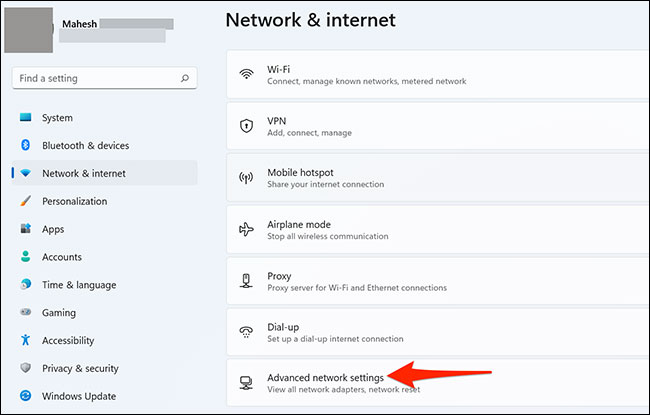
On the settings screen”Network & Internet, scroll down and select “Advanced Network Settings“.
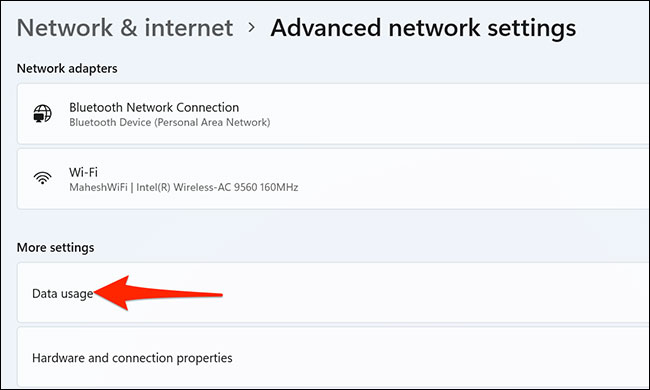
On page “Advanced Network Settings“Open, you find the”More Settings” and click on “Data Usage“.
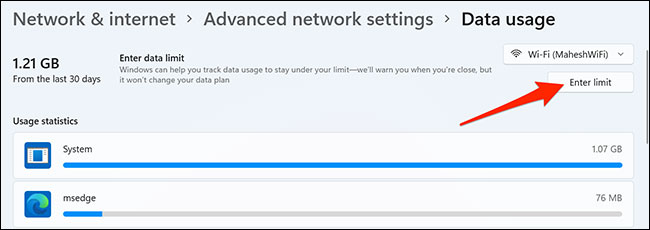
You are now on the data usage settings page. Here, in the top right corner, click the drop-down menu “WIFI” and select the network for which you want to set the data limit.
Then under the drop-down menu “WIFI, click the “Enter Limit“.
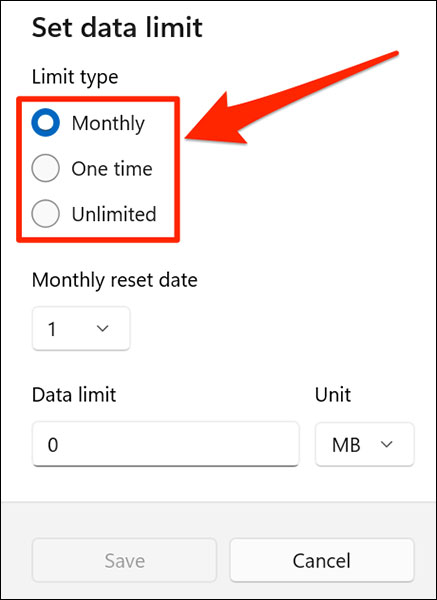
Immediately, the window “Set Data Limit” will open. In the “Limit Type“, select the type of data limit you want to apply to your connection.
Available options include:
- Monthly: Reset your data limit monthly.
- One Time: The data cap will expire after the specified number of days.
- Unlimited: No restrictions on data usage. However, data usage statistics will be reset on a specified day of the month. This is useful in figuring out the average amount of data you use over a particular time frame.
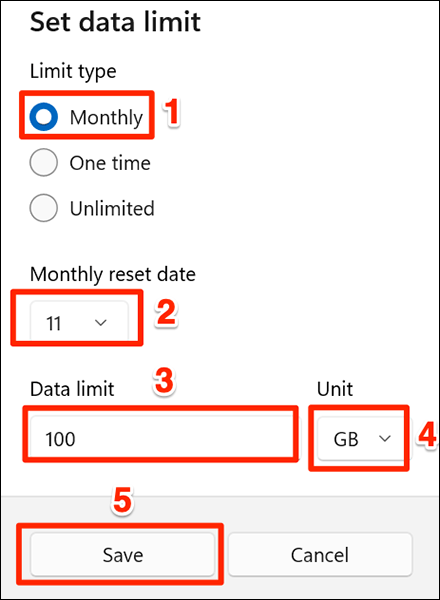
If you choose Monthly, click the drop-down menu “Monthly Reset Date” and select the date on which the data cap expires. Click the “Data Limit” and enter the amount of data allowed to use. Then click “Unit” and select a unit for the data.
Then, at the bottom of the pop-up, click “Save“.
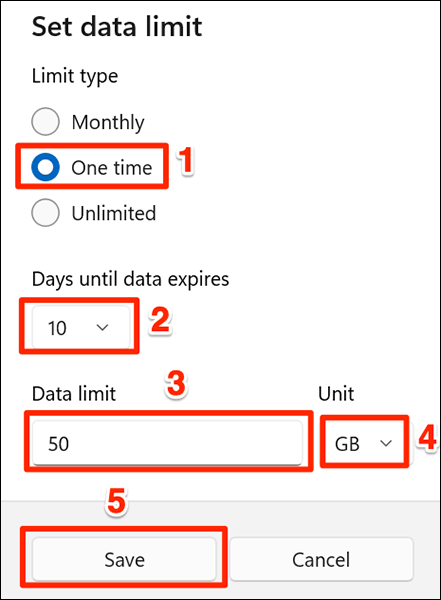
If you choose option One Time, click the drop-down menu “Days Until Data Expires” and select the number of days after which your data expires. Click the “Data Limit” and enter the amount of data allowed. Finally, click “Unit” to select the data unit.
Then, at the bottom of the pop-up, press “Save“.
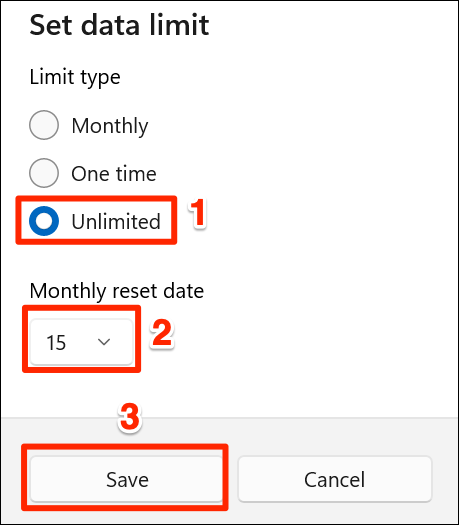
If you choose Unlimited, click the “Monthly Reset Date” and select the date on which the data limit expires.
Then click “Save” at the bottom of the pop-up.
Those are all the steps needed to set a data limit in Windows 11. When you are close to reaching your data limit, the system will send you a warning. You can then continue to use the Internet or stop using it as you please.
Remove the set data limit
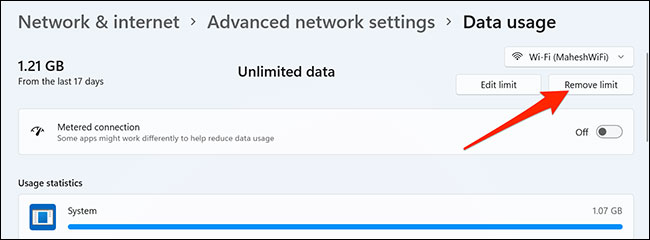
To unset data limit settings, first open the Windows Settings app and navigate to Network & Internet > Advanced Network Settings > Data Usage.
On the screen “Data Usage, click on “Remove Limit” in the top right corner.
In the prompt “Remove Data Limit“open, click”Remove“.
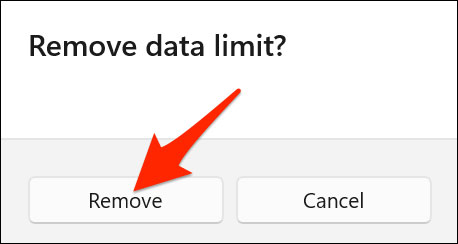
Your data limit has now been removed.
Source link: How to set Internet data usage limit in Windows 11
– https://techtipsnreview.com/


