
In addition to the new changes and improvements in interface and features, Windows 11 also includes an extremely handy new “Quick Settings” quick access menu menu, replacing the Action Center on Windows 10.
At a glance, Quick Settings has many similarities with Control Center on macOS, but of course there will still be some differences in interface and usage. Here is a general guide to the function and how the Quick Settings menu on Windows 11.
Change basic settings quickly.
While using a PC, sometimes you need to quickly change a few basic system settings, but accessing each specific menu in the Settings application is very time consuming. In that case, the Quick Settings menu in Windows 11 is just what you need.
To access the Quick Settings menu in Windows 11, all you need to do is click on a set of status icons (Wi-Fi, speaker, and battery) in the bottom-right corner of the screen, on the bar. action. Or, you can also press Windows + A (is a shortcut combination used to open Action Center in Windows 10).

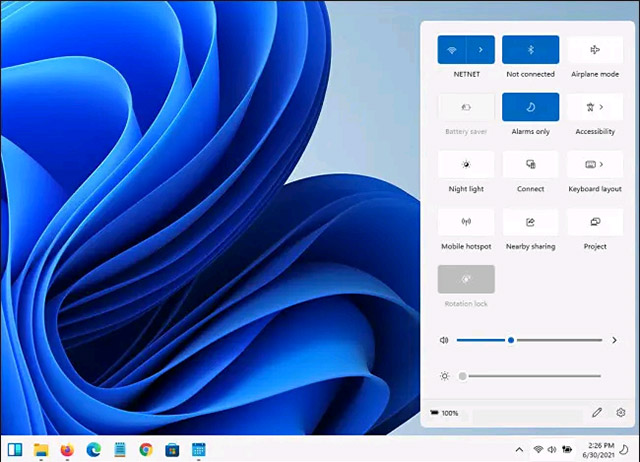
Immediately, you will see a small menu with rounded corners will pop up, this is Quick Settings. Inside the menu are options buttons that let you quickly connect or disconnect WiFi and Bluetooth, buttons to activate Airplane mode, Battery Saver, Focus Assist, Accessibility, and Night Light (which changes the tone of the screen). by default.
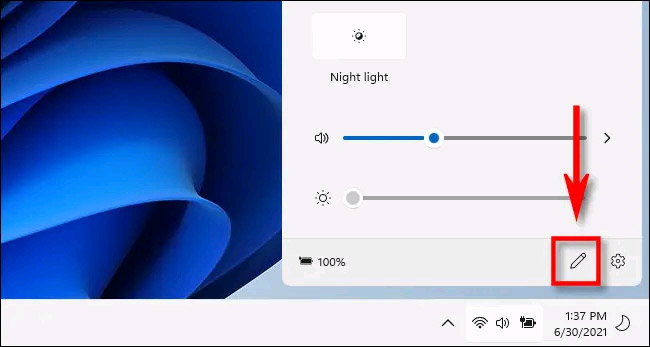
There are also 2 sliders that let you adjust the volume and screen brightness, a small battery percentage indicator (on connected devices), and a quick link to the Windows Settings app (the pie icon). denticle).

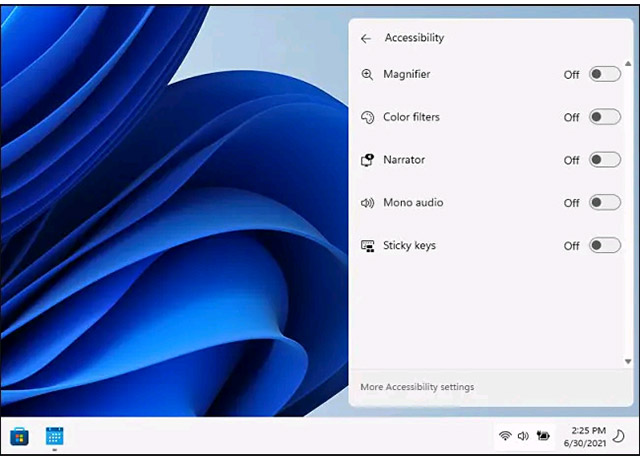
When you click on large items like Accessibility, sub-options pop up, allowing you to make direct adjustments quickly. Tapping the back arrow button in the upper left corner will return you to the default Quick Settings screen.
To change the contents of the Quick Settings menu, click the small pencil icon in the lower right corner.
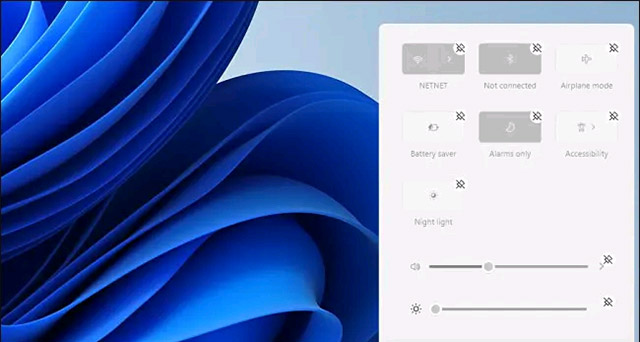
Immediately, the icons in the menu will turn gray and you can delete the elements you want to remove by clicking the little “unpin” icon in the corner (looks like a crossed out pin) .
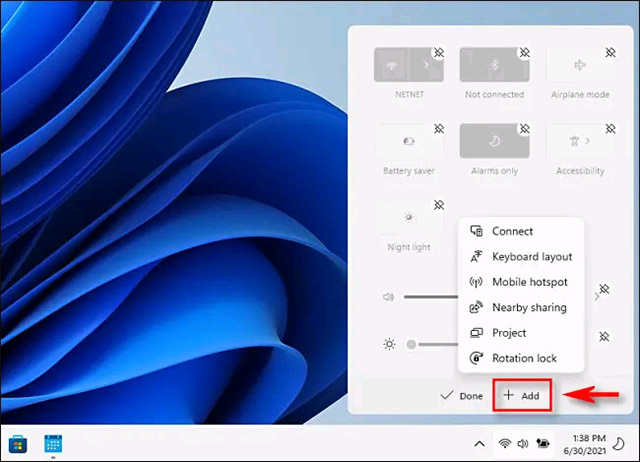
Conversely, you can also click the “Add” button to add new settings options to the Quick Settings menu from the pop-up list. These options include “Connect” (which controls streaming to a Miracast device) “Keyboard Layout”, “Mobile Hotspot”, “Nearby Sharing”, “Project” and “Rotation Lock”.
If you add all of these options, the Quick Settings menu interface will also automatically expand vertically accordingly.
To close the Quick Settings menu, simply click anywhere outside the menu interface on the screen, or press the Escape key.
Source link: How to use the new “Quick Settings” menu on Windows 11
– https://techtipsnreview.com/


