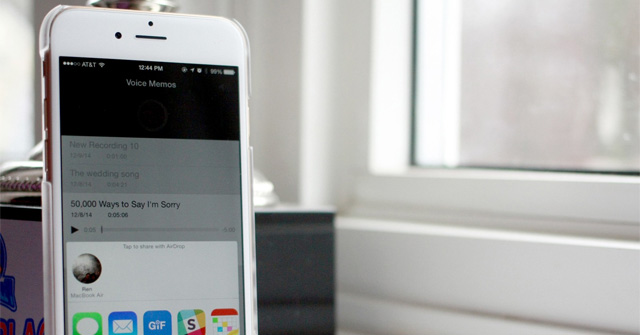
The built-in Voice Memos app makes it easier for you to record on your iPhone, keeping all the sounds you want.
How to record with Voice Memos on iPhone
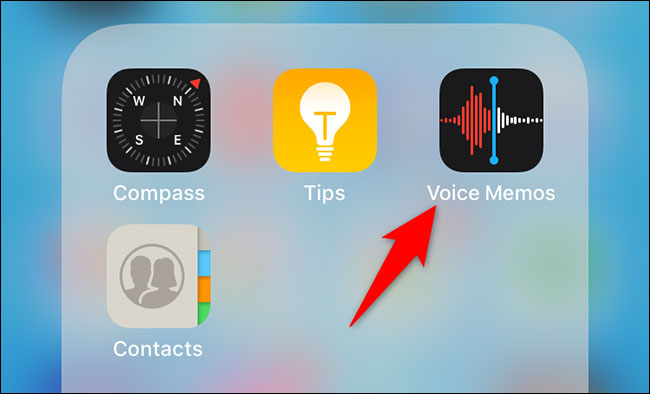
To get started, open the Voice Memos app on your phone.
In the application interface that opens, click the big red circle button to start recording.

Your iPhone will immediately activate the built-in microphone to record the surrounding sound. You can try singing a song, or say whatever you want. The corresponding audio recording will be created.
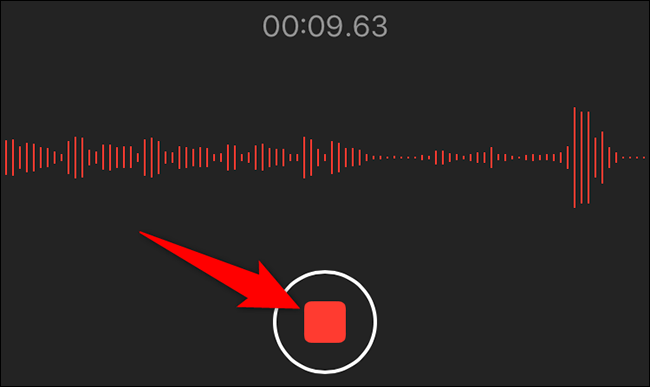
When you’re done and want to stop recording, tap the big red button at the bottom of the Voice Memos interface.
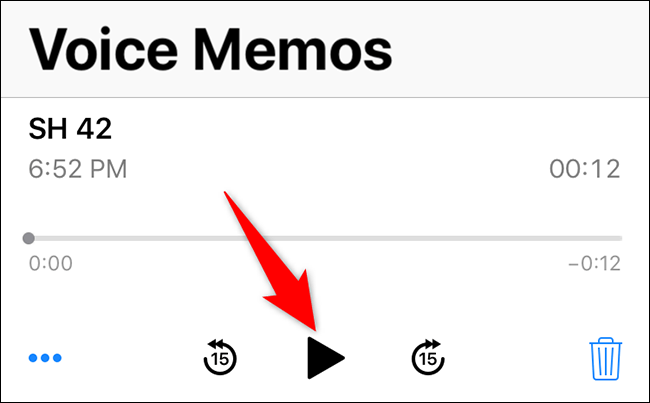
Your recording is now saved in the app. To play it, tap the recording and then click the play icon.
That’s how you can make voice recordings on your iPhone without using a third-party app.
Rename a recording on iPhone
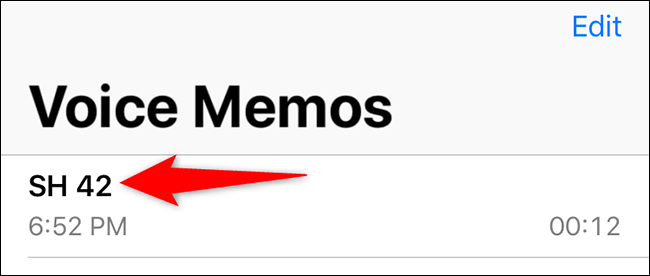
To rename a recording, first launch the Voice Memos app, then tap the recording you want to rename.
Click on the record name to be able to edit it. Then, type a new name for the record and press Enter.
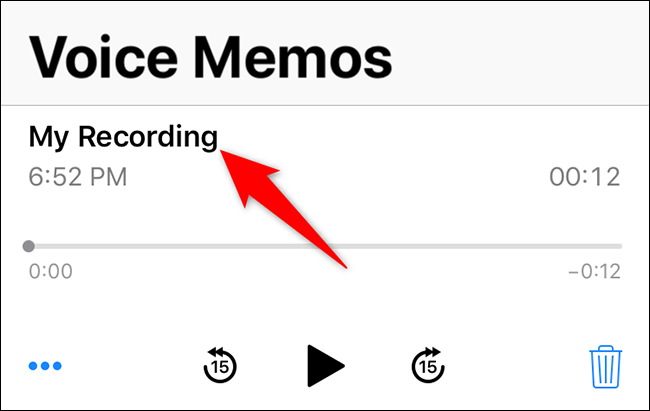
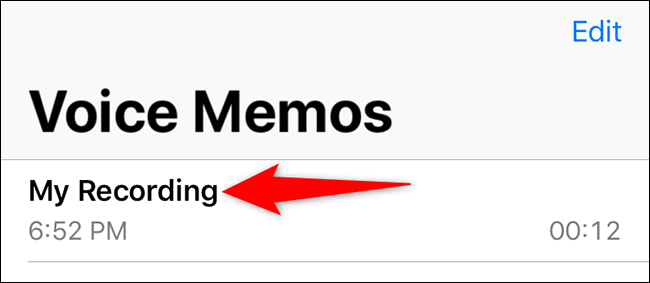
Your recording has now been renamed.
Share recordings on iPhone
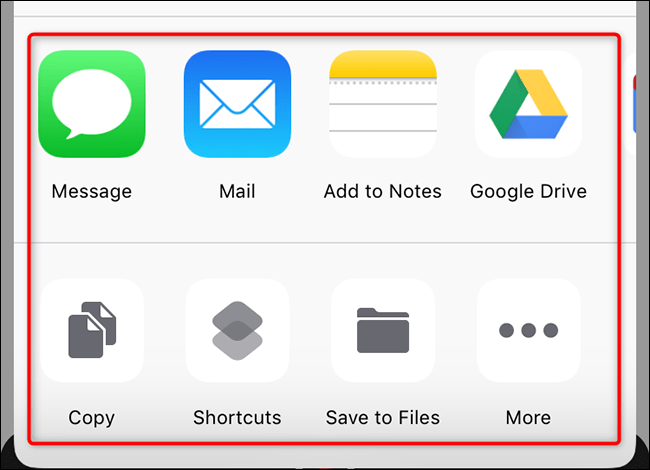
You can share your recordings using the iPhone’s standard share menu. This means you can flexibly share recordings with the Files app, Google Drive, and even email them to someone.
To get started, open the Voice Memos app and tap the recording you want to share.
In the bottom-left corner of the recording, tap the three-dot button.
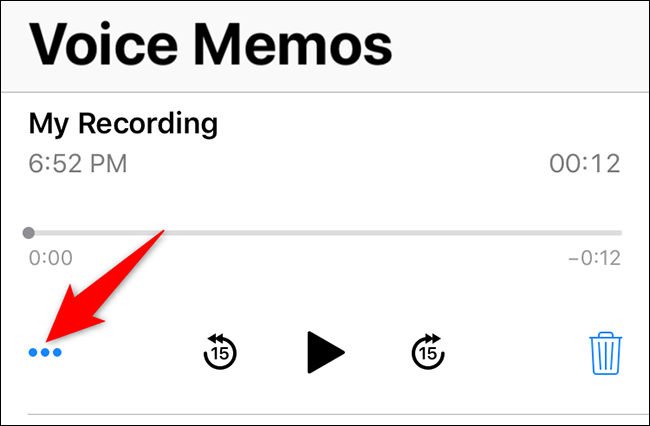
From the menu that appears, click on the item “Share” (Share).
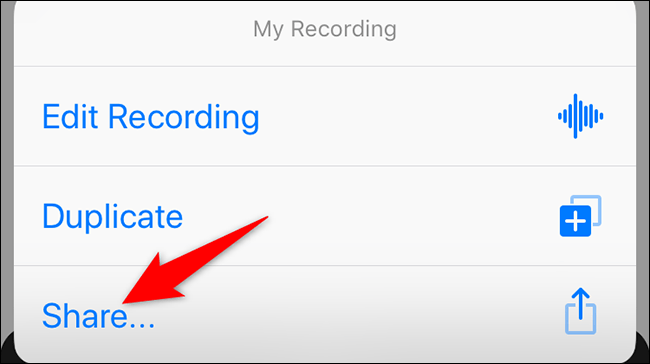
The standard iPhone sharing menu opens. Here, simply select the “destination” where you want to share your recording.
Delete audio recordings on iPhone
For recordings that are no longer needed, you can delete them to save memory space.
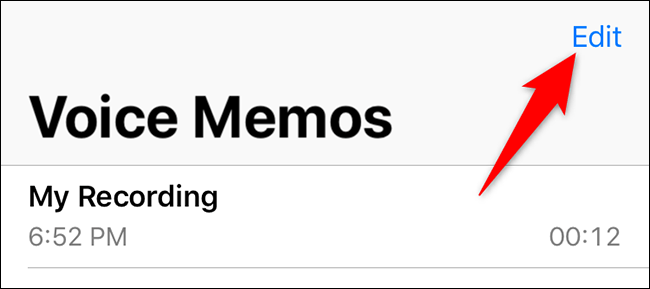
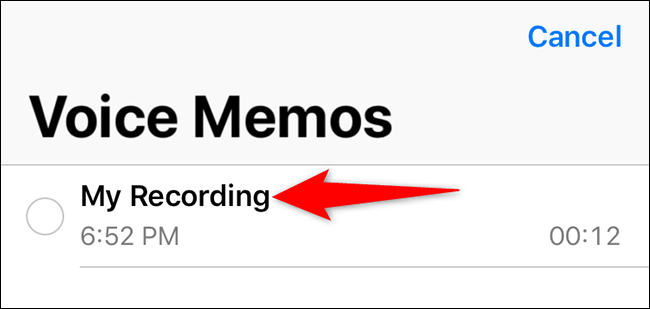
First, you launch the Voice Memos app and tap the “Edit” (Edit) in the upper right corner.
Select one or more recordings you want to delete.
In the bottom right corner of the Voice Memos interface, tap “Delete” (Erase).
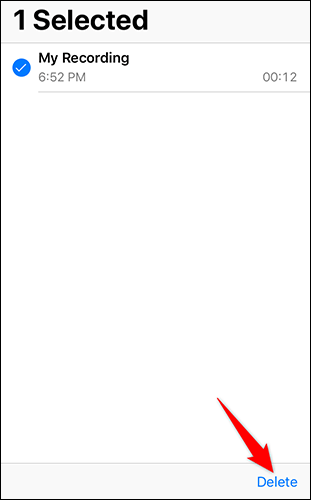
Voice Memos will move your selected recordings into the “Recently Deleted” (Recently deleted). They will stay here for 30 days, after which they will be permanently deleted.
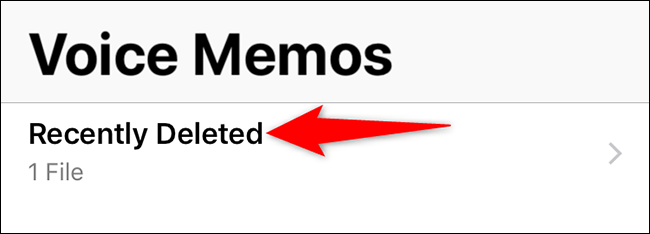
If you want to permanently and immediately delete these recordings, click on the folder “Recently Deleted” on the main screen of the Voice Memos app.
In the top right corner of the “Recently Deleted” screen, tap “Edit” (Edit).
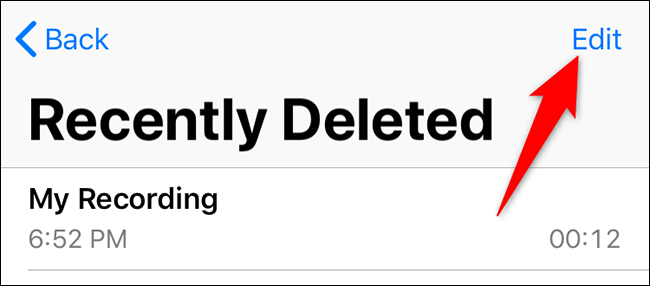
Select the records to delete, then in the bottom right corner, tap “Erase” (Erase).
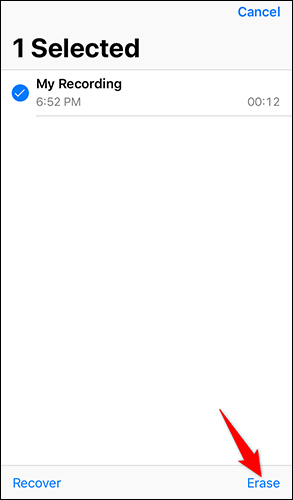
(Tips: If you want to recover deleted audio recordings, tap the option “Recover” (Restore)).
From the menu that opens, select “Erase Recording“.
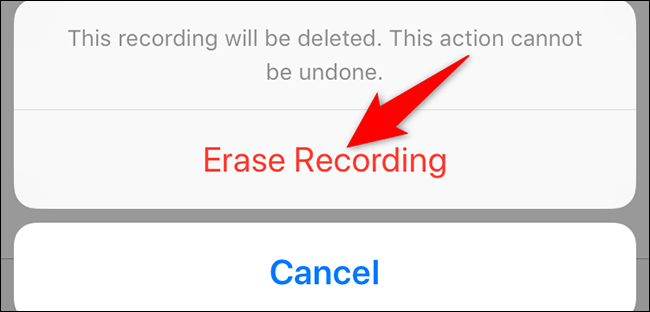
(Warning: You cannot recover your recordings once they are permanently deleted. Make sure you really want to delete them before clicking “Erase Recording”.
Your recording is now deleted.
Wish you have a good experience with Voice Memos app on iPhone!
See more:
Source link: How to use Voice Memos on iPhone and iPad
– https://techtipsnreview.com/