
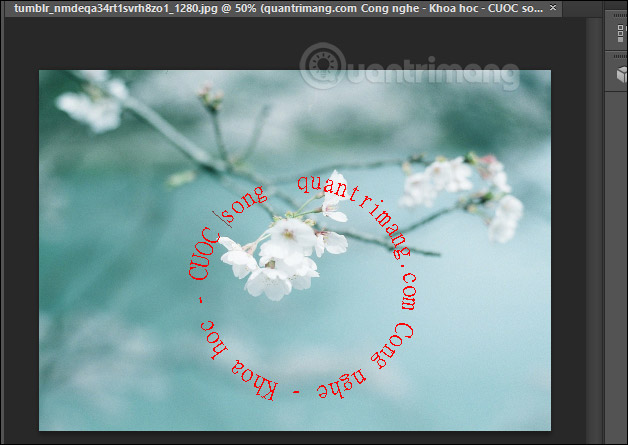
Text in Photoshop can be transformed into many different artistic fonts, instead of just choosing a simple font or color. You can style the text slice effect in Photoshop, integrate text into the image in Photoshop or simply create a wavy, arc, or circle typeface for the text. Creating curvy typefaces in many different shapes is very simple, we can use the available text frames, or create the frame yourself and enter the text. The following article will guide you how to create artistic text on Photohsop.
Method 1: Write Photoshop curls with Warp text
Step 1:
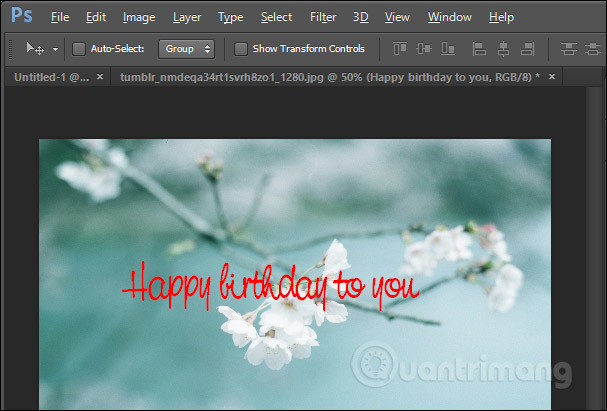
First you need to insert text into the image by clicking T symbolthen select the font, font size, font color, adjust the position of the text.
Step 2:
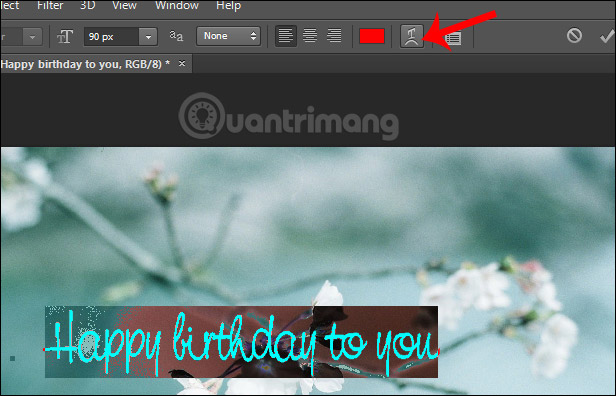
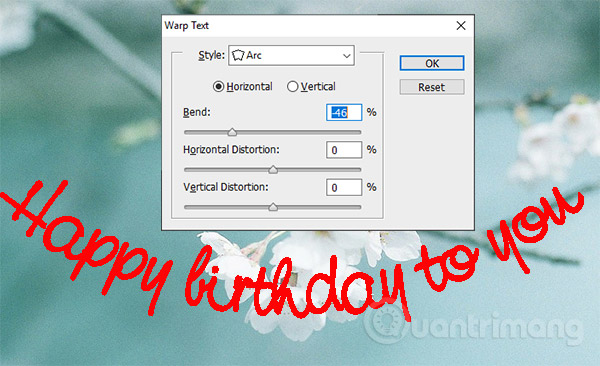
Next, click on the text layer and then click on the text in the image and then black out the entire text content. Click next to Warp text icon in the toolbar above the interface.
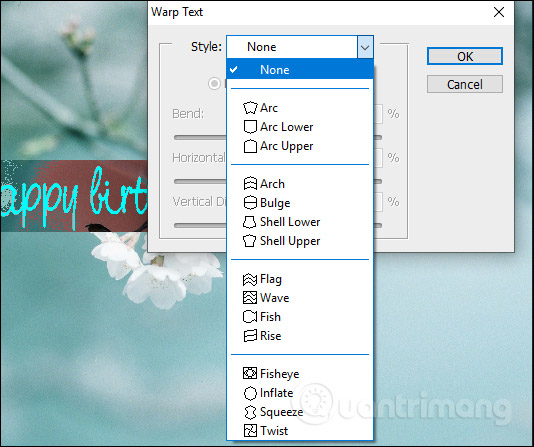
Displays the interface of the winding font selection window with 15 styles. Click Style frame then select the wavy font you want to use.
Step 3:
Next we proceed to choose curvature of the text effect at the Bend . bar. The bar is left to the default value of 50%, but we can change that value by dragging the slider left or right. If the drag is reduced, the curvature of the text is reduced.
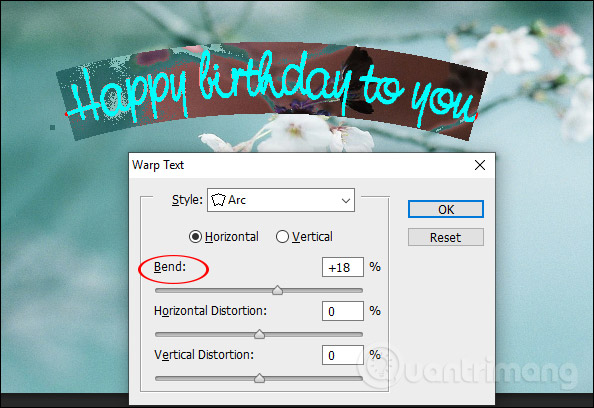
If reduced to a negative value, the letter will bend in the opposite direction.
Step 4:
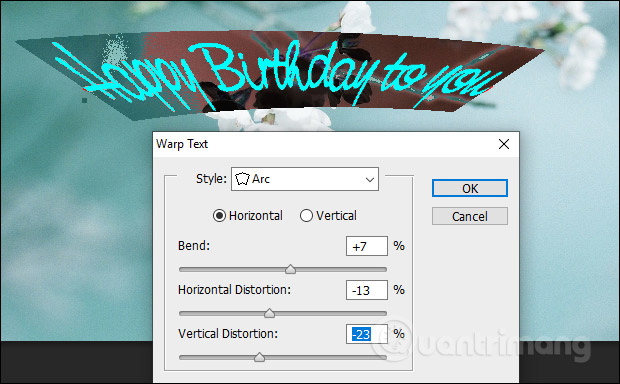
Also in the editing interface you will see there 2 bars Horizonal and Vertical. Horizonal is used to bend the text to the left or right and Vertical to rotate the text from top to bottom.
Depending on the image and we choose the appropriate type of bending.
Method 2: Create curved text in Photoshop with Shape
Step 1:
First of all we need to Select the image you want to frame for text as shown below.
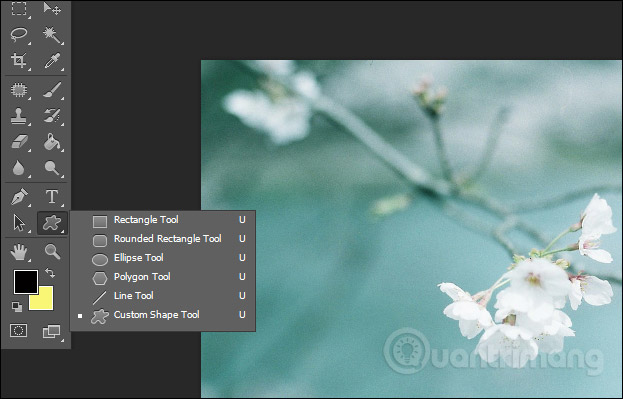
Step 2:
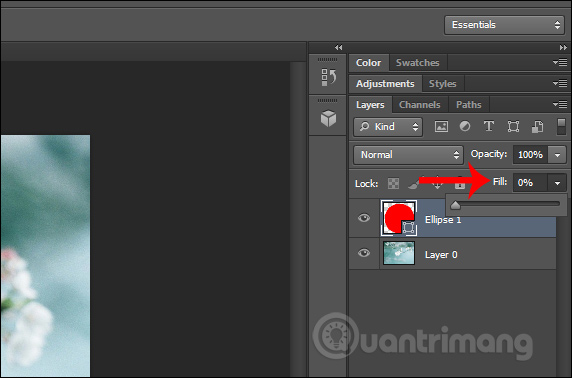
Draw a shape into the image and then switch to the layer section, click on the frame layer and then switch items Fill to 0% to remove the background of the figure.
Step 3:
Click BILLION tool then hover over the drawing until the winding drawing is displayed, then click on the frame to enter text. Finally, we just need to enter the text according to the frame.
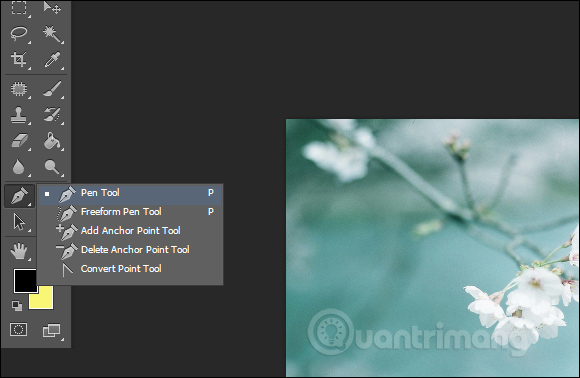
Method 3: Write Photoshop curls with the Pen Tool
Step 1:
Right click on the pen tip icon and select the Pen Tool to create custom lines.
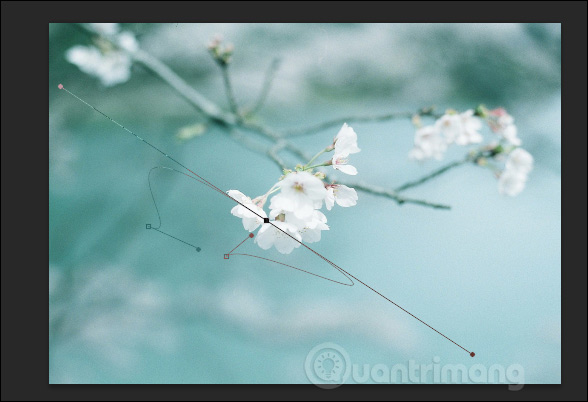
Draw a line by dotting points on the image and then creating a line.
Step 2:
Next to the user press the letter T to write the letter Follow that line and you’re done.
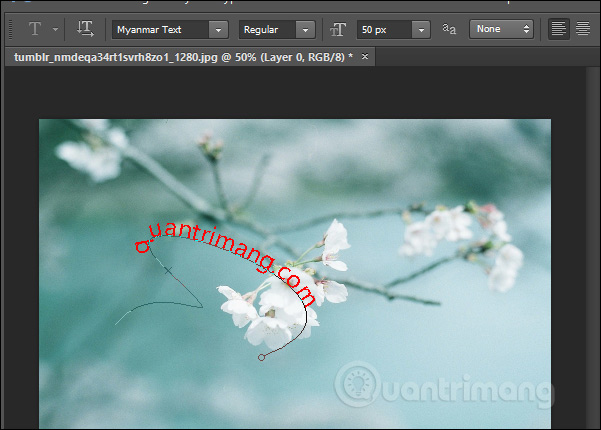
So you’ve got 3 different ways to write artistic, wavy text in Photoshop. As for drawing with the Pen Tool, we need to carefully adjust the drawing line to match the line we want to write.
Wishing you success!
Source link: How to write wavy text in Photoshop
– https://techtipsnreview.com/


