Google Docs already has a watermark option for you to use, instead of having to resort to some ways like using Google Drawings before. Accordingly, you can choose any image as a watermark in Google Docs, similar to inserting a watermark in Word or inserting a watermark in Excel. Inserting a watermark in a Google Docs document will also help you protect the document from copying, when we share the document in Google Docs. The following article will guide you to insert watermark in Google Docs.
1. Instructions for inserting watermark in Google Docs
Step 1:
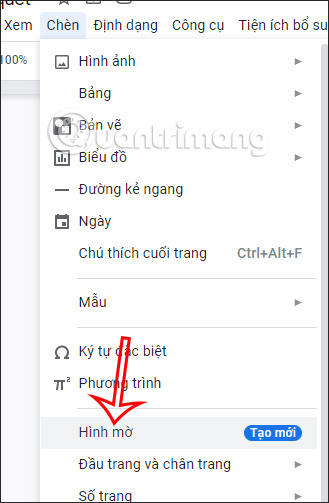
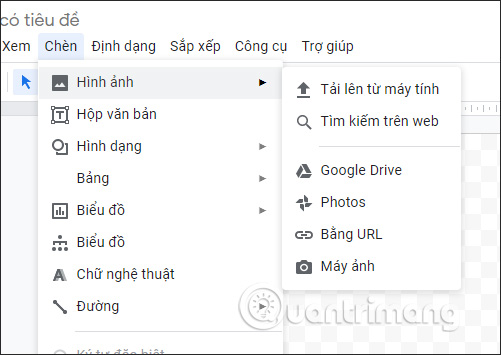
First of all, you open the document in Google Docs you want to insert the watermark image. Next at the interface we click Insert. Then display the selection list below, the user clicks Watermark section.
Step 2:
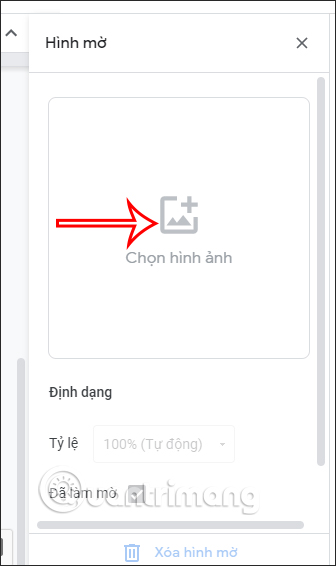
Immediately display the interface on the right side of the screen for you to customize the insertion of watermarks in Google Docs documents.
First you click Select image to download the watermark image available in the computer you want to choose as a watermark for the document.
Step 3:
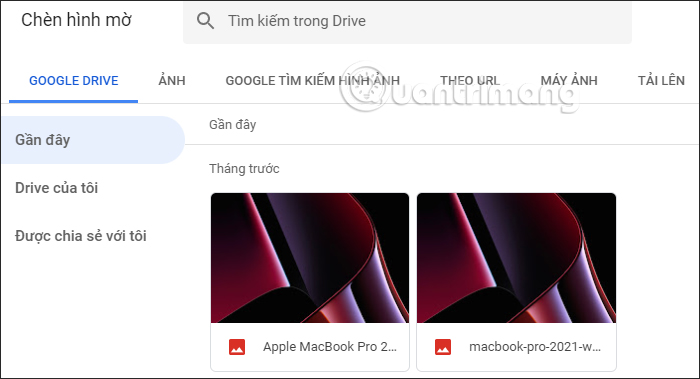
Now display the interface with options to find the image you want to insert into the document. You can use images from Google Drive, Google Photos or images from URLs to insert. You click on the item to select the image from there.
Step 4:
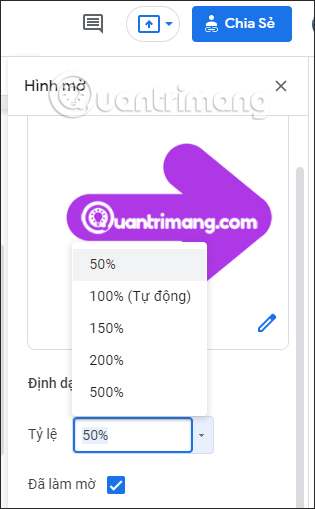
Soon you will see the image you uploaded as a watermark. Then you proceed to format the watermark. In Ratio section We choose the size for the watermark. By default, the watermark image is blurred when inserted into the document. If you want to make it darker, uncheck the box at Blurred.
Final Click Done to finish inserting the watermark into the document in Docs.
Step 5:
As a result, you will see the watermark inserted in the Google Docs document as shown below.

Step 6:
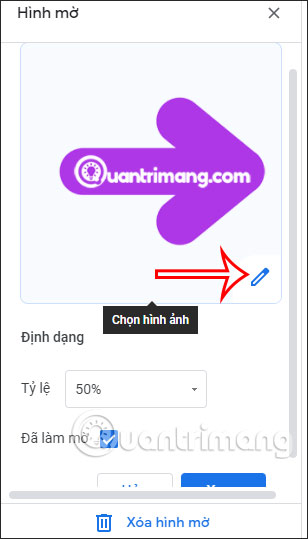
In case you want to change or edit the watermark inserted in Docs, we click Insert > Watermark. Then click on pen icon for editing. Now you can choose another watermark.
In case don’t want to use watermark in Google Docs then click Remove watermark is to be.
2. How to create watermark with Google Drawings
Create watermark with images
Step 1:
We access Google Drawings to proceed with creating drawings. At the interface click Insert > Pictures then select the image you want to use as a watermark.
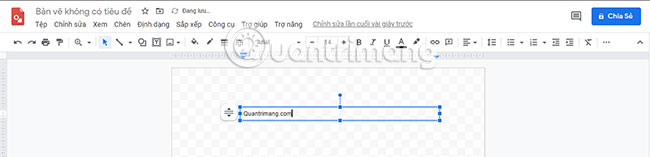
If you want to use text, press Insert > Text Box. After creating the text box, enter the content and then proceed to edit the format as usual. Because you use it as a watermark, we need to choose a lighter color than the text color.
Step 2:
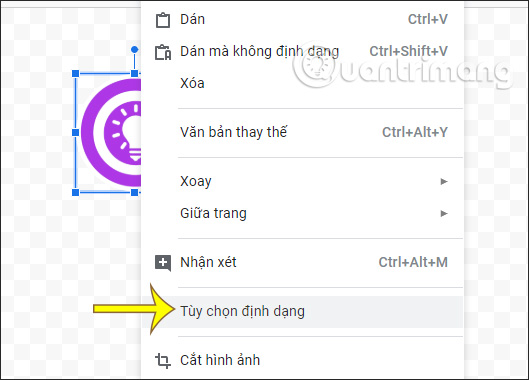
Right click on the image, select Format options to edit the format.
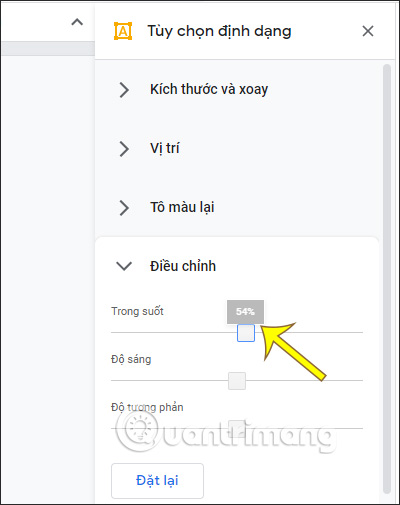
Display the frame on the right side of the screen, find the section Adjust to correct Transparent bar for content. Should be adjusted from 50% or more. When done, enter a name for the drawing to save.
Create watermark with text
If you want a custom text watermark, you can still create one in Google Drawings. This tool is very useful in creating watermark if you do not have the appropriate image to use.
1. Access Google Drawings.
2. Name the watermark.

3. Click Insert > Text Box.

5. Enter the text you want. Content can be anything. Common watermarks include CONFIDENTIAL, COPYRIGHT, DRAFT, FINAL, etc..
6. Edit and format text with your preferred font type, size, and weight.
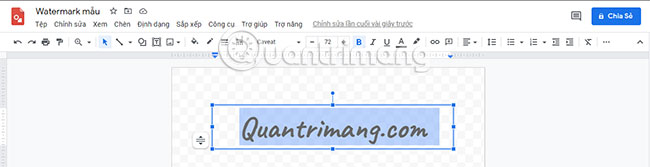
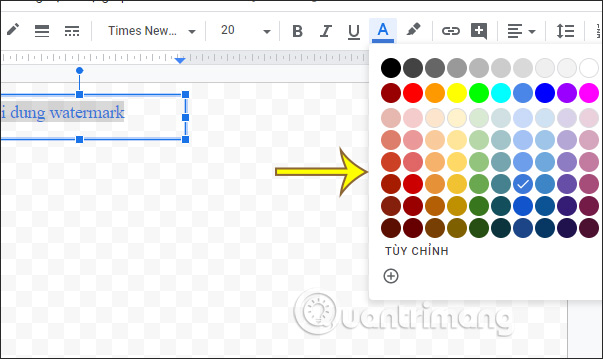
7. Once done, tap on the text color and choose your preferred color.
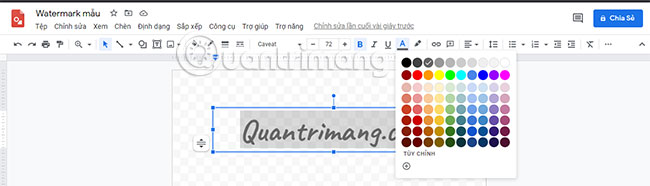
8. Next, choose a lighter color variation, such as light gray. This ensures that your text watermark does not obscure certain parts of the document.
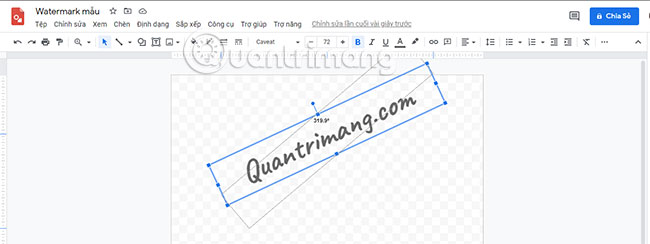
9. Click Sort and choose how you want to display your text. You can orient your text watermark horizontally, vertically or tilted at some angle. Alternatively, you can tap the round button at the top of the text for easy rotation and in the corners to change the text box position.
3. How to insert watermark into Google Docs from drawings
Step 1:
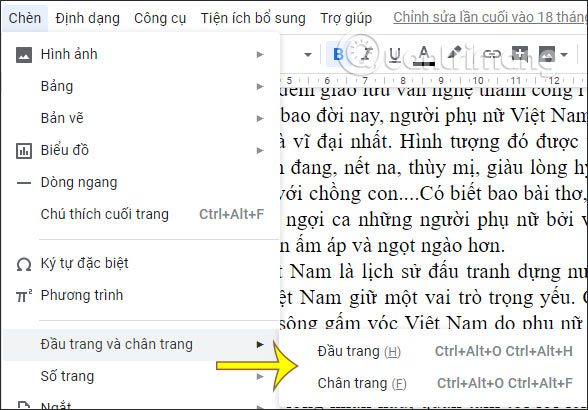
At the interface on Google Docs, users click Insert then choose Header and Footer, and then select the location where you want to insert the content.
Step 2:
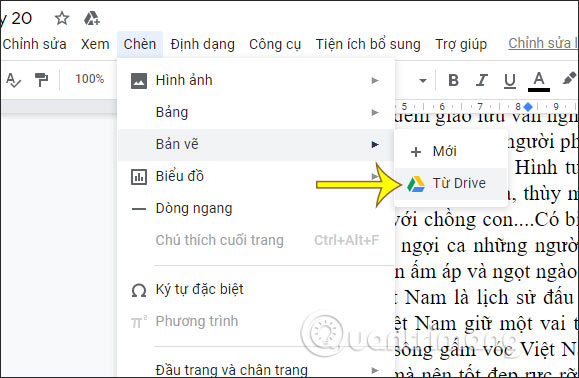
Then tap again Insert > Drawing > From Drive to get the drawing you just created and save it in Drive. Display the Drawing interface and we just need to click on the newly created watermark.
Step 3:
Then there are 2 options to insert images as below. If it’s simply a drawing inserted into Docs, then you choose Insert without linking embedded content, already press Insert under.

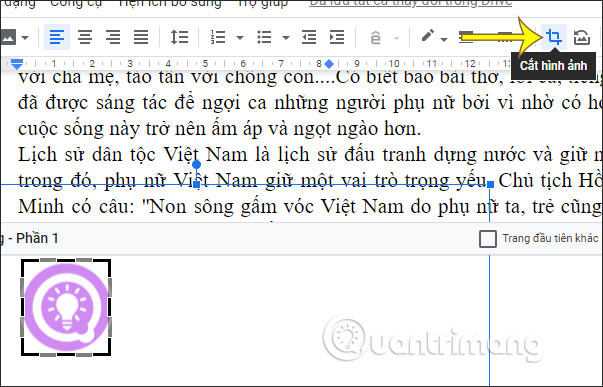
Step 4:
When the drawing is inserted into the content, we use retouching tools such as cropping the image to remove the extra white areas around, by adjusting the black border.
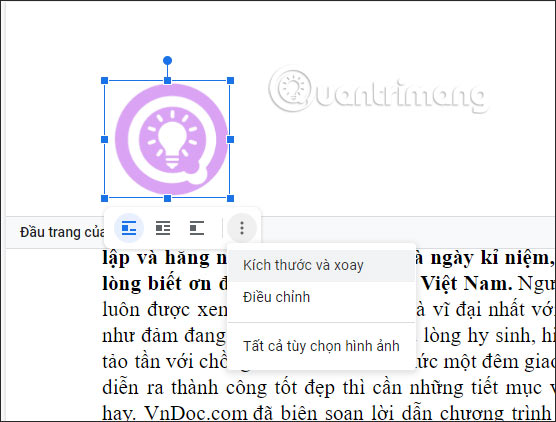
When clicking on the image will display more positioning tools, and clicking on the 3 dots will display more options. Finally, you adjust the position of the drawing in Google Docs accordingly. So the watermark that you insert will always be displayed in the interface of Google Docs.
Source link: How to insert watermark in Google Docs
– https://techtipsnreview.com/


