
Microsoft Teams is one of the very popular teamwork applications across many countries and businesses. Since 2018, the manufacturer has released a free version of Teams, but certain features require a fee. However, starting in March 2020, Microsoft decided to completely free Teams application, helping users to experience the application better. The free period to use the paid features is 6 months. The following article will guide you how to sign up for a Microsoft Teams account and set it up for teamwork.
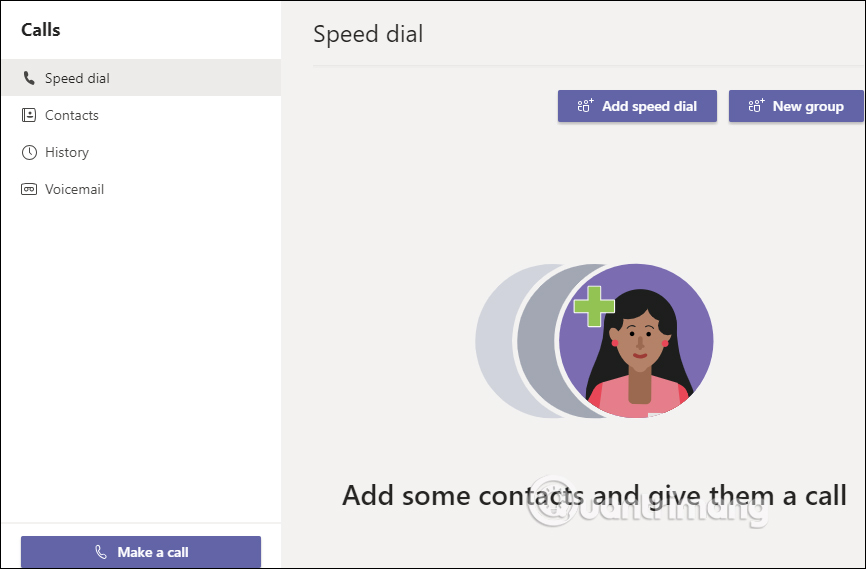
1. Instructions for creating a Microsoft Teams account
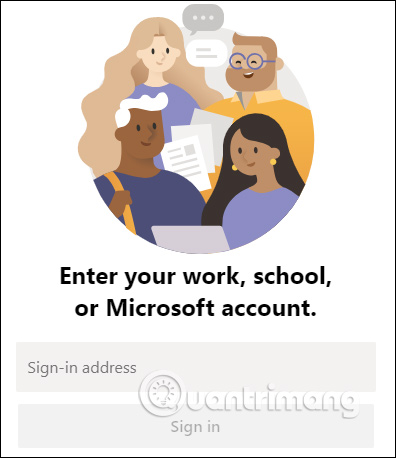
Step 1: First of all, we access this link to access the Microsoft Teams tool download page, Microsoft account login your personal.
After you have successfully logged in Click Get the Windows app to download software to your computer, or depending on the operating system in use. Or click Use the web app instead to use the Microsoft Teams online version. The steps to create an account are the same as below.
Step 2: Start the software and now you are also asked to enter your Microsoft account, Click Sign in to continue.
Step 3:
Next press Sign Up For Teams to proceed with the setup for your workgroup. A new web page displays for you to choose from. Here if the user already has a workgroup, click Sign in, no group yet then proceed to form a group, press Sign Up For Free.
Fill in your personal email address Click Next to continue.

Step 4:
Import full information your name and company name, then Click Set Up Teams to create a new workgroup.

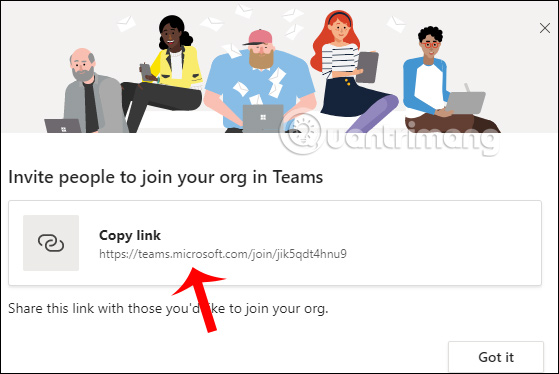
As a result, we have successfully created a workgroup on Microsoft Teams. Each working group will have a group link. User send group link this to other members.
When someone wants to join the workgroup, you will receive an email, press Accept to agree.
Step 5:
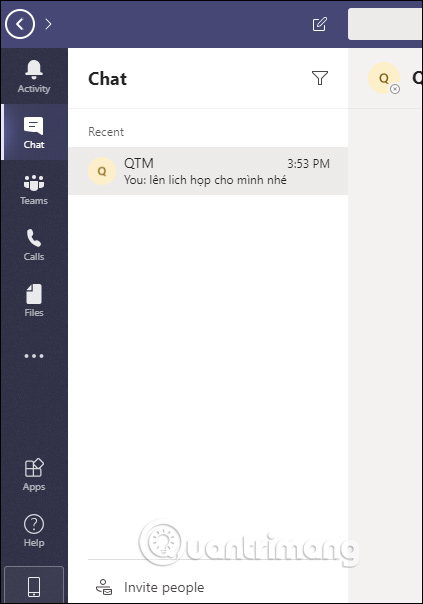
In the interface of Microsoft Teams you will see the management items displayed through the leftmost vertical bar.
- Activity: Displays all notifications relevant to you.
- Chat: Messaging with other members.
- Teams: Teamwork.
- Call: Call members.
- Files: Files uploaded and shared with all members.
Step 6:
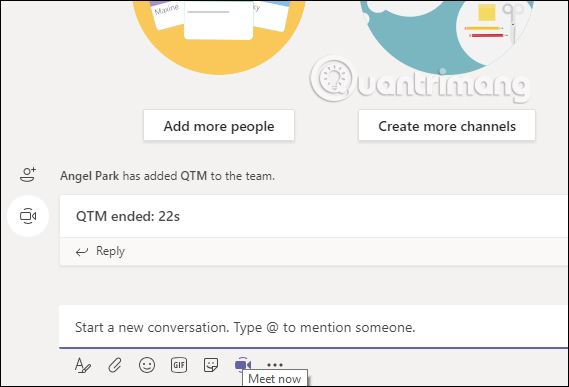
In Teams section there will be icons that support group communication, including Meet now icon to organize video meeting online. Then the team members will join the meeting organized by you.
Step 7:
Section Call to manage voice calls to any member. You can call 1 member or create a group to make voice calls to many people.
In general, using Microsoft Teams for teamwork is very simple.
2. How to share screen on Microsoft Teams
When teachers work on Microsoft Teams, they can share the computer screen or many other types of screens, including sharing PowerPoint slides for students to directly follow the presentation that the teacher teaches, or with the lectures. available presentations.
1. Screen Sharing on Microsoft Teams PC
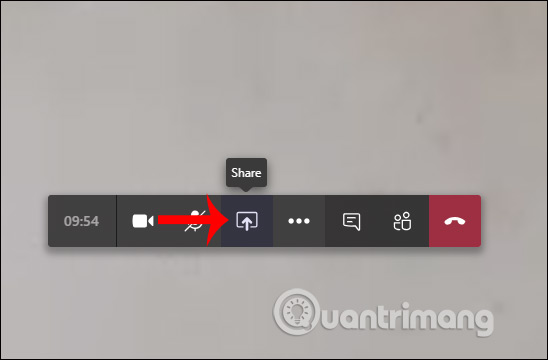
Step 1:
In the group call interface we click share icon to select screen sharing.
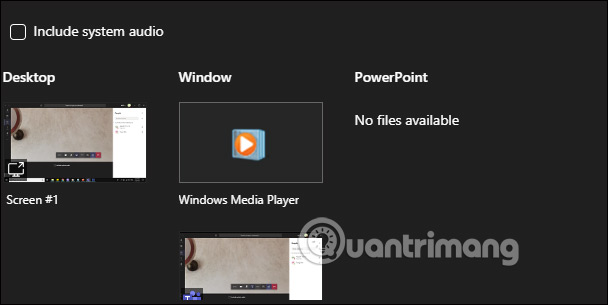
Step 2:
This time displays a lot of different screens and is divided into specific groups by Microsoft Teams. You choose a screen to share with students. With the presentation slide we can open it on the device to choose to become a separate screen when we want to share.
Step 3:
Now the screen you choose to share has been transferred to the student’s device, and at the sharing screen there will be a toolbar above as shown below.

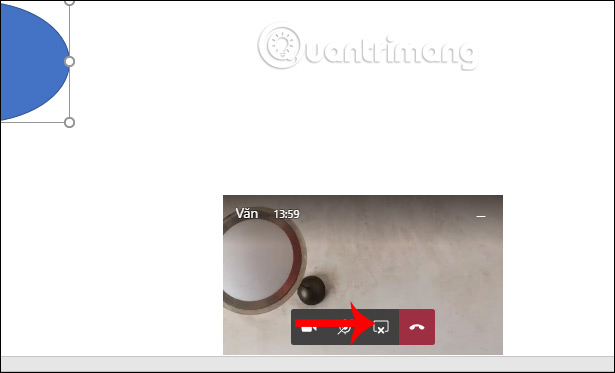
Step 4:
The video call screen has been moved to the bottom so we can still see our students. The teachers perform all operations on the screen, the students can see it. To stop sharing press share icon x. The other shared screens we do the same.
Step 5:
In case you want Directly open PowerPoint slides on Microsoft Teams to share then click Browse then choose Upload from my computer.

Now display the folder on your computer for you to select the completed presentation slide to share the screen.
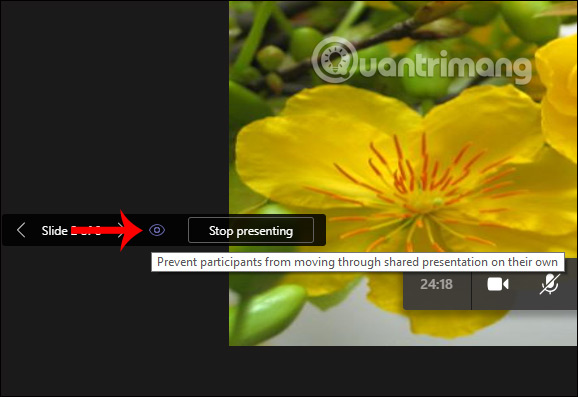
If sharing slides like this, participating students can arbitrarily move the slide without the teacher’s knowledge. To restrict students from adjusting the slide showyou click eye icon at Stop presenting. In the end, she saw that she just showed the slide for students to follow.
2. How to share screen on Microsoft Teams phone
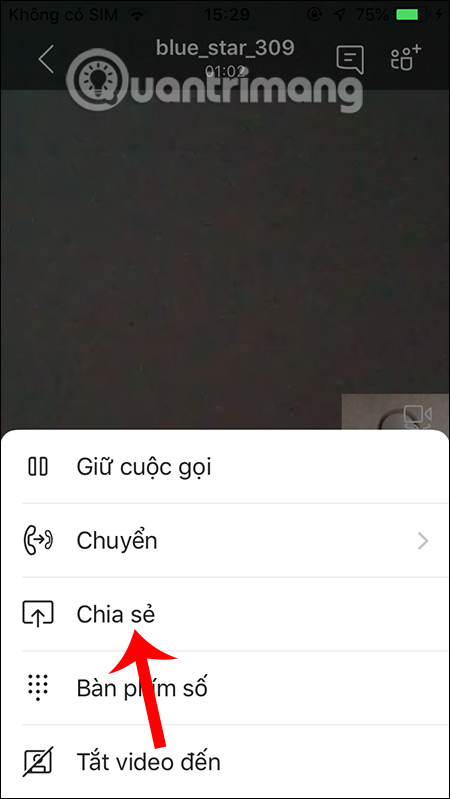
Step 1:
At the call interface on the phone we click 3 dots icon then choose next Share in the displayed list.

Step 2:
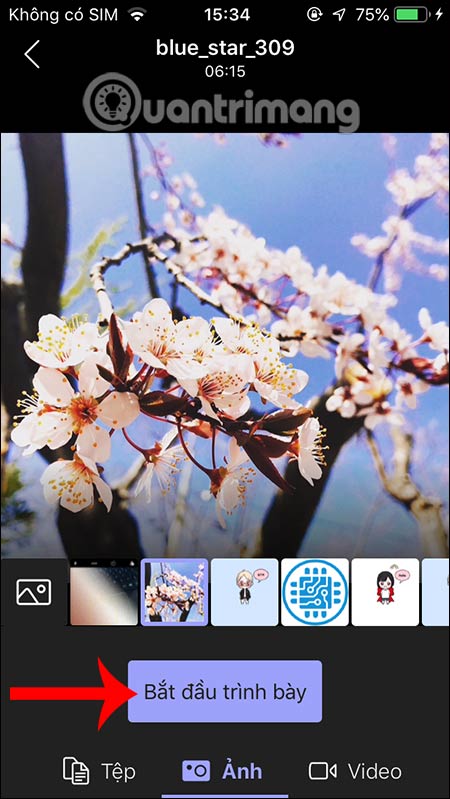
Now display options for you to choose to share the screen on Teams phone. With photo or video sharing, you will choose photos and videos created directly or available in the album.


If you share a file PowerPoint will link to the OneDrive storage service for you to choose the file you want to share.

See more:
Source link: Instructions for using Microsoft Teams on computers
– https://techtipsnreview.com/


