
Reserved Storage has been around for quite some time on Windows 10, but because of the way it works as well as the efficiency that it brings “hard to count”, many people still reduce or turn off this feature altogether.
Specifically, this feature will take up a portion of the Windows 10 installation drive (about 7GB) to serve the Windows update more smoothly, or to store temporary files …
I. What is Reserved Storage?
Reserved Storage on Windows 10 has the main effect of “cutting” out about 7GB of hard drive space (drive installed the operating system) to serve the Windows Update. In addition, it is also used to store temporary files of applications / software that you often use, or the system memory … when not using the update files.
Reserved Storage has appeared since Windows 10 version 1903. If you install this new version, it will be activated by default. On the contrary, if you update Windows 10 from the old version it will not activate.
II. How to check whether the reserved storage is enabled or not?
+ Step 1: You open up Windows Settings by pressing the key combination Windows + I => then select System => select Storage => and click Show more categories as shown below.
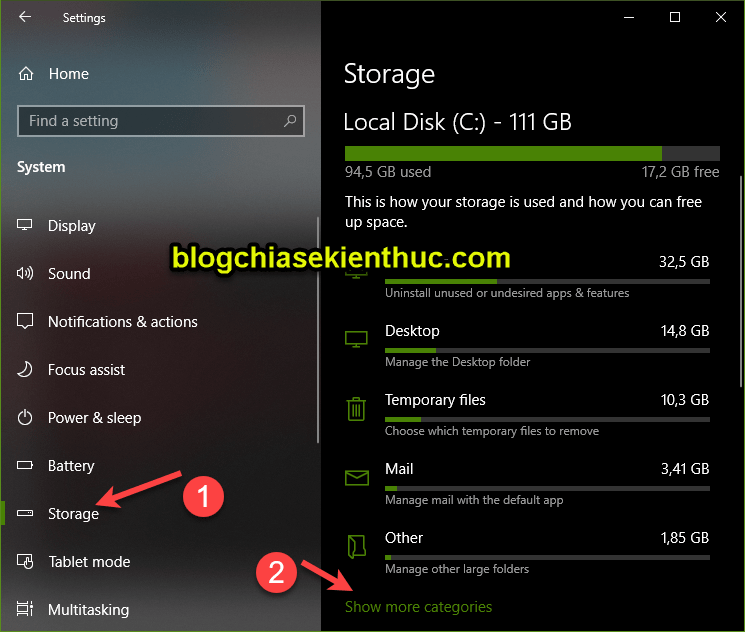
+ Step 2: You choose System & reserved

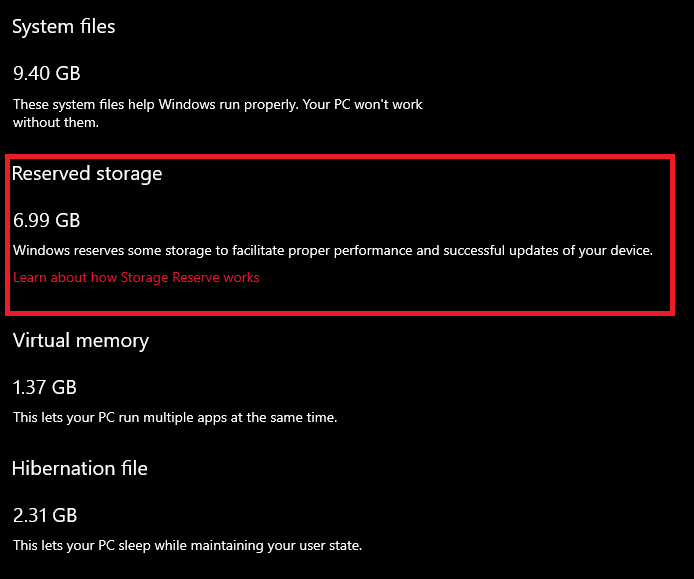
+ Step 3: Okay, here if you see the Reserved Storage line taking up space as shown below, it means this feature is working.
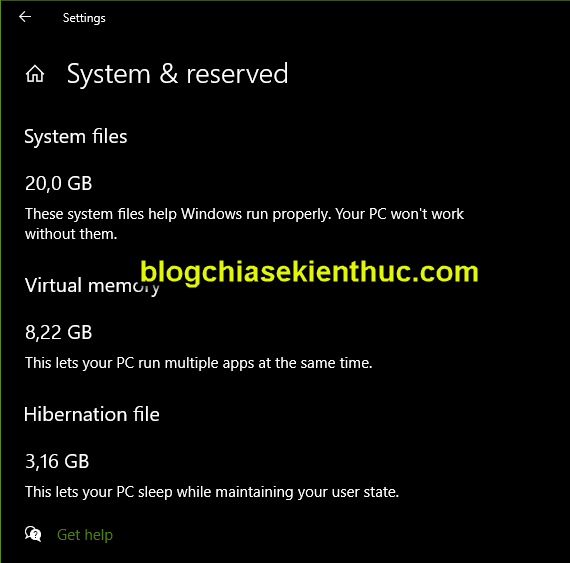
On the contrary, as my computer is updated, the old version is up so it has not been activated. As you can see, there is no Reserved Storag line.
III. Should I disable Reserved Storage on Windows 10?
Well, to Microsoft, they advise against disabling this feature. Because the purpose of this feature is to ensure critical operating system functions always have enough hard disk space to function.
If the Reserved Storage feature is not enabled, then when the hard drive is almost full, Windows or some applications may perform worse because there is not enough free space.
But if your hard drive is too little, or you can control the amount of free space on your operating system drive (usually drive C), you might consider turning this feature off to reclaim space. The archive has been “cut” away.
IV How to turn off the Reserved Storage feature on Windows 10
Before turning off the Reserved Storage, you should also check how much space this feature is taking up on your Windows 10 to consider whether to turn it off or not.
Read the first part above, I know a lot of you don’t usually read the first part :))
#first. Disable Reserved Storage on Windows 10 by Command Prompt
To disable this feature on Windows 10, we can use the tool Deployment Imaging and Servicing Management also known as DISM.
However, since DISM is a command-line tool – it does not have a Graphical User Interface (GUI), we can only do it by using commands (CLI – Command Line Interface) in Terminal. , with Windows 10 it is Command Prompt (CMD).
+ Step 1: First, open up CMD as Administrator by entering keywords cmd in the Windows Taskbar search box (you can use the Windows + S combination) => and select Run as administrator as shown in the picture.
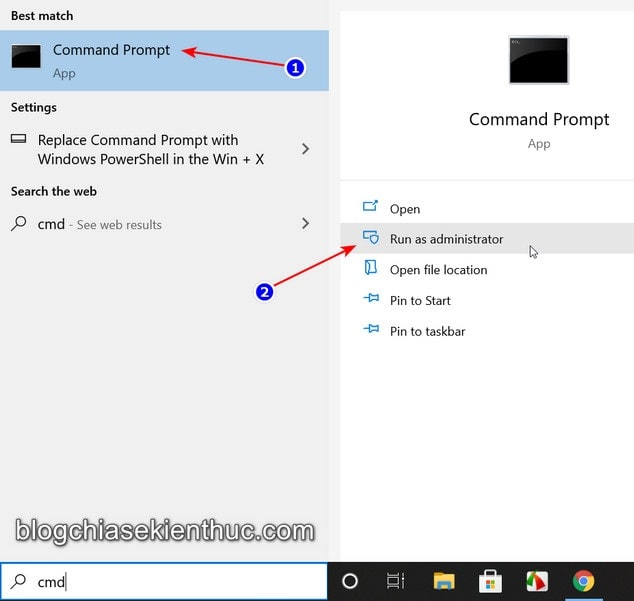
Tips : You can enter keywords cmd into the window Windows Run (Windows + R) and then press the key combination Ctrl + Shift + Enter To quickly open Command Prompt with Admin rights, this is also how I often use it and it is really convenient.
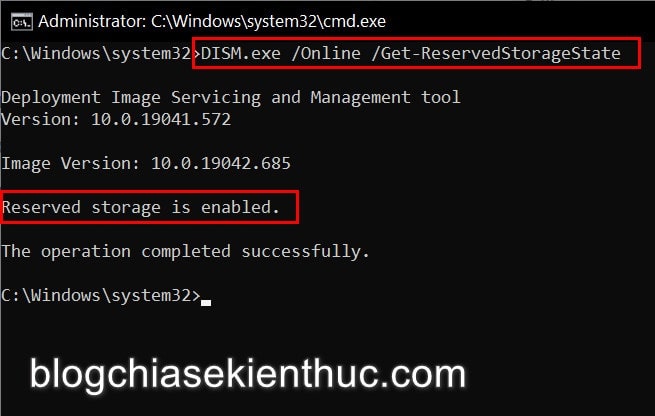
+ Step 2: Then use the DISM tool to check the status of Reserved Storage on Windows by entering the command below => and then press Enter.
DISM.exe / Online / Get-ReservedStorageState
If the result is Reserved storage is enabled As shown in the figure, the Reserved Storage is active and vice versa.
Although this feature is enabled by default when you finish installing Windows 10, we should still check back to be sure, it’s better than missing!
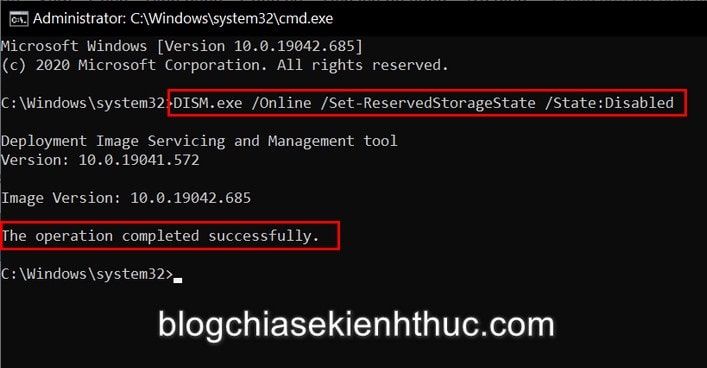
+ Step 3: In case this feature is enabled, enter the command below at Command Prompt => then Enter to disable the Reserved Storage feature on Windows 10.
DISM.exe / Online / Set-ReservedStorageState / State: Disabled
If nothing goes wrong, you’ll get a message The operation completed successfully as shown below, and Reserved Storage will be turned off.
Note: You will not be able to turn this feature off or on while Windows 10 is performing the update, now you are forced to wait for the update to complete before you can turn it off or on as you like.
When you want to turn it back on, just change the word Disabled in the above statement to Enabled is done, ie the complete command will be:
DISM.exe / Online / Set-ReservedStorageState / State:Enabled
#2. Disable Reserved Storage on Windows 10 with PowerShell
Windows PowerShell is also a tool to help you perform operations via the command line interface since Windows 7, and later Microsoft turned it into an open source and cross-platform application called Powershell Core.
PowerShell is really powerful, this is undeniable, but it will take you a lot of time to get used to, exploit, grasp and use that power.
Besides, because the command structure is quite complicated and messy, it will suit programmers more than ordinary users, this is also the reason why PowerShell is not used as much as its predecessor Command Prompt. .
As for the shutdown Reserved Storage Using PowerShell is extremely simple, you don’t need to use DISM as in Command Prompt, but just one command line.
Perform:
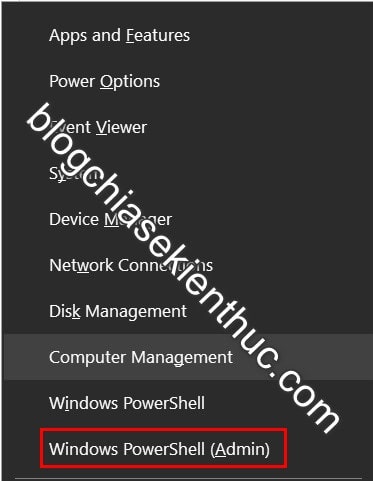
+ Step 1: First, open Windows PowerShell as Administrator by right-clicking on Start button => and selecting Windows PowerShell (Admin).
Or You can press key combinations Windows + X => then choose
Windows PowerShell (Admin)in the Menu that appears.
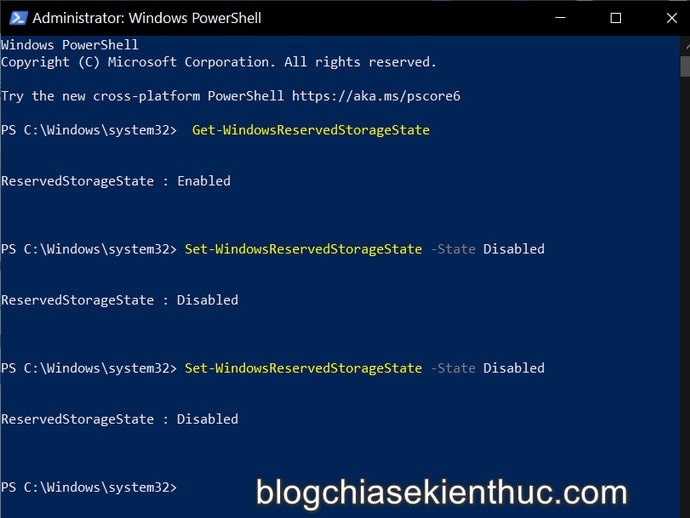
+ Step 2: Use command Get-WindowsReservedStorageState to check whether the Reserved Storage status is on or off.
+ Step 3: Then you enter the command Set-WindowsReservedStorageState -State Disabled in the window PowerShell => and then press Enter to turn off Reserved Storage
Or Set-WindowsReservedStorageState -State Enabled to re-enable this feature is done. The result is similar to the image below and it is done successfully.
# 3. Disable Reserved Storage on Windows 10 ver 1903 and 1909
In fact, at the present time, the majority of users have updated to the latest Windows 10 20H2 build version, in addition to consistent features, quite a few common users still use these two versions.
But I will still have instructions for it because maybe you are in that group of “Pretty few” users: D.
We should have done editing directly in the Registry in Windows 10, but to shorten the time as well as use and reduce the risk, I have prepared the .REG file already. Download this file using one of the links below:
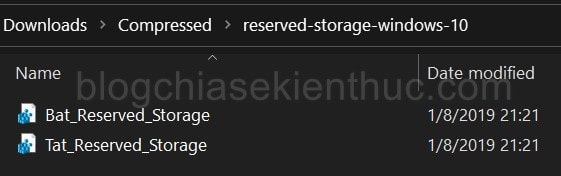
After downloading, extracting you will get 2 files Bat_Reserved_Storage.reg and Tat_Reserved_Storage.regNow you just need to click run file on or off respectively => and press Yes when asked to confirm the Registry edit.
Finally, you need to restart your computer for this change to take effect, that’s it, it’s convenient.
V. Conclusion
So I have just finished guiding for you How to turn off Reserved Storage on Windows 10 Alright. In general, it is very easy, right.
In general, this is a very useful feature and really we should not turn it off, unless it is too urgent to turn it off.
This is an article with the main purpose is to help you better understand what Reserved Storage is. The decision to turn off or not depends on the ability to manage your computer. Hope this article will be useful for you. Good luck !
CTV: Nguyen Thanh Tung – techtipsnreview
Note: Was this article helpful to you? Don’t forget to rate, like and share with your friends and relatives!
Source: Instructions to turn off the Reserved Storage feature on Windows 10
– TechtipsnReview


