
Currently, there are many software that allow us to lock the USB ports on the computer, free of charge, and a lot of paid ones.
Even if you don’t need to use any software, you can still lock the USB port easily. You can:
- Use the device management feature in Manager.
- Interfere with the Registry
- Customization in BIOS…
These ways have been very detailed by the admin in the article HOW TO LOCK USB PORT, if you want, you can review it. And in this article, I will show you how to lock the USB port with USB Block software.
Why are there many ways to lock the USB port, but I show you this way?
Yes, this software will overcome the disadvantages of the above methods, and add more useful features for users.
#first. Some information about USB Block software
USB Block allows us Enabled / Disable USB ports easily and quickly
If Enabled is turned on, when connecting USB or any other device to the computer via USB, the software will appear, asking for a password to connect.
In case you enter the wrong password, you will not be able to connect, thanks to this feature, the data in your computer will be safer, and also limit the virus from spreading from the USB to the computer.
In addition, the software cannot be uninstalled by any other software without the password.
Supported platforms:
#2. Advantages and disadvantages of USB Block software
2.1. Advantages
- Block USB storage devices such as USB flash, portable hard drive, memory card…
- Block optical drives, floppy disks like CDs, DVDs, A and B
- Block access to shared drives on the same LAN like Map Network Drives
- Block drives or partitions that do not belong to the system such as IDE, SATA, ATA, SCSI, etc. are generally peripheral storage devices whose connection ports are the ports listed above.
- Support keyboard shortcuts to quickly launch the software.
- Log records all software related activities such as number of times connecting devices via USB port, removing software, number of times entering wrong password
- Friendly interface easy to use
- The authorized device when connecting will not ask for a password
2.2. Defect
- Commercial software (paid)
NOTE: If you do not have the conditions to buy a key, you can find the key online or hunt for the annual Giveaway to be used for free in case you really need this software.
#3. Instructions for installing USB Block software
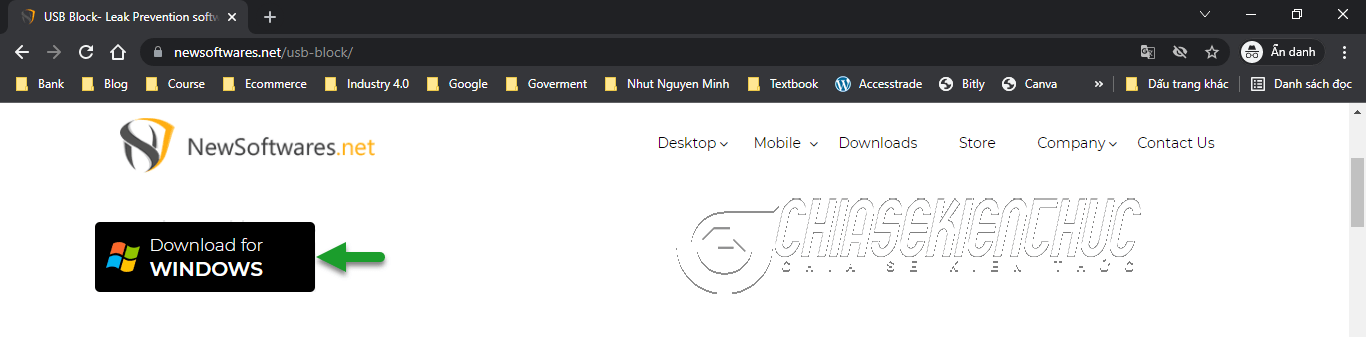
+ Step 1: Visit the link https://www.newsoftwares.net/usb-block/ => choose Download for WINDOWS to download the software to your computer.
+ Step 2: Double click on the file usb-block-en.exe that you have just downloaded to proceed with the installation process.
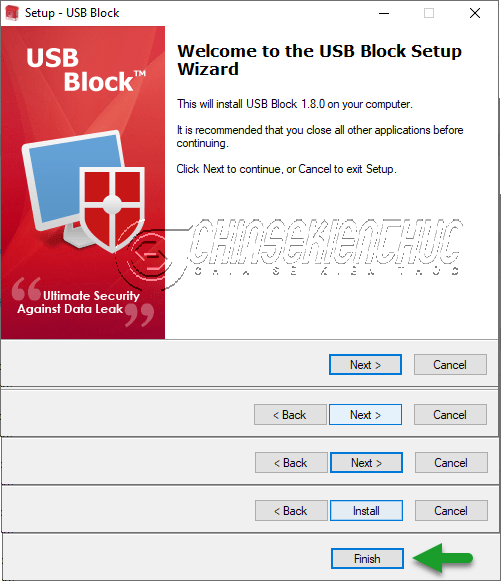
+ Step 3: Choose Next => choose Next => choose Install => choose Finish
#4. Set password to protect USB port
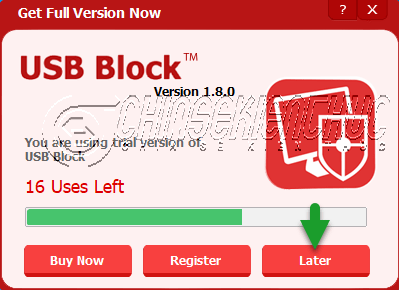
+ Step 1: Double-click the USB Block icon on the Desktop to launch the USB Block software.
Immediate dialog Get Full Version Now appears prompting us to purchase the license and display the number of trials remaining. Since I haven’t bought the software license yet, I’ll wait 5 seconds then choose Later (buy later).
+ Step 2: Set up password protection
+ Step 3: The main working interface of the software appears.
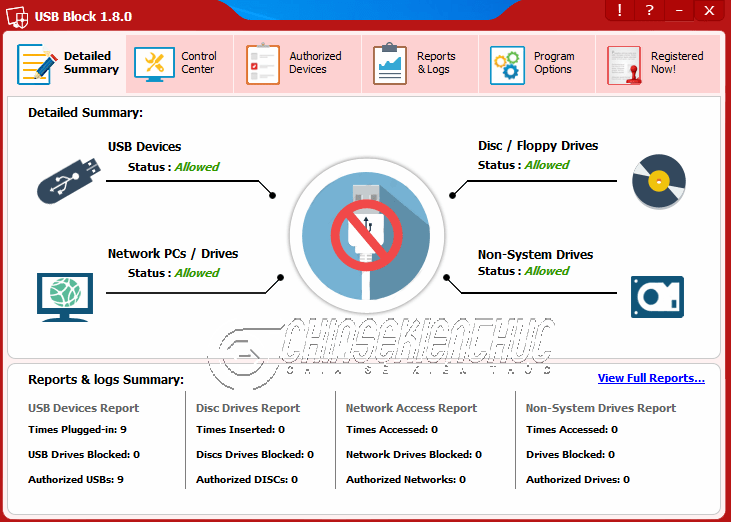
#5. USB Block software user manual
5.1. Block connection, block USB port on computer
You choose tab Control Center => select the corresponding option to block connections on specific requests.
- Block USB Devices block USB storage devices
- Block Discs & Floppy Drives block optical drives and floppy drives
- Block Network Access block access to shared drives on the LAN
- Block Non-System Drives block drives or partitions that do not belong to the system
=> Here I need to block the connection of storage devices via the USB port, so I will choose Block USB Devices

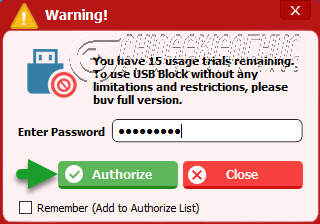
After this, every time you connect storage devices via the computer’s USB port, a dialog box will appear Warning! will appear. At that time, you need to enter the correct password to be able to successfully connect.
+ Step 1: Enter the correct password
+ Step 2: Choose Authorize
5.2. Add device to authorized devices list
This feature is meant to allow a device to connect to the computer without having to enter a password, you think of it as being on that white list.
If it’s your personal device, it’s secure, private, and you connect to your computer often, then check the box. Remember (Add to Authorize List) to add to the list of authorized devices
As I said above, devices in this group will be connected directly, no need to enter a password
Perform: Select tab Authorized Devices to view a detailed list of authorized devices
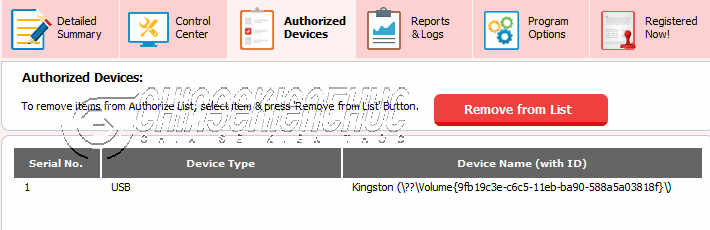
It’s easy to find yourself with an authorized Kingston USB flash device
If you want to remove a device from the group of authorized devices, select that device => select Remove from List okay guys.
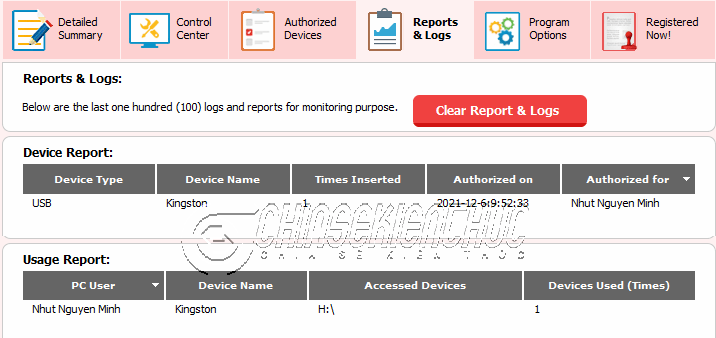
5.3. View Report and Log
Tab Reports & Logs allows us to review the type of connected device, connected device name, number of connections, …
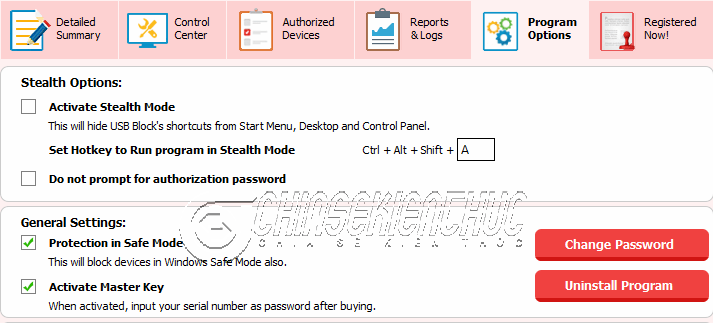
5.4. Customize some more cool options
Card Program Options allows us to customize some options, this will help us get a version that suits our usage habits.
In addition, this tab also provides features such as Change Password (Change Password) and Uninstall Program (Software Uninstall)
#6. Epilogue
Yes, so with USB Block software, you can easily set password for USB portlock the USB port … so that every time you connect a certain device to the computer, you will have to enter the password to continue to connect.
It’s a great piece of software, isn’t it? However, similar to other software and security solutions, the protection of this software is only relative, so in addition to technology solutions, our consciousness is also very important.
Goodbye and see you in the next posts!
Read more:
CTV: Nhut Nguyen – techtipsnreview
Note: Was this article helpful to you? Don’t forget to rate the article, like and share it with your friends and family!
Source: Software to set password for USB port and lock USB port
– TechtipsnReview


