![[Tricks] How to use the Windows XP interface on Windows 10](https://techtipsnreview.com/wp-content/uploads/2020/11/Tricks-How-to-use-the-Windows-XP-interface-on-Windows.jpg)
NOTE: Welcome to the Knowledge Sharing Blog! If you encounter any errors during use, such as error in download link, slow loading blog, or unable to access a certain page on the blog … please notify me. via Contact page. Thanks!
Around the early years of the 21st century, when we started using computers back then, no one should be strangers to the name Windows XP anymore, it really became a legend. and one of Microsoft’s most successful operating systems.
Windows XP is an operating system produced by Microsoft and is the successor operating system of both Windows 2000 and Windows Me.
But up to now, Microsoft has “died” or more precisely stopped updating support for Windows XP on April 8, 2014 to make room for new and more advanced versions of Windows. And nowadays it can be said that very few people still use Windows XP.
Read more:
However, for some nostalgic people, even if you no longer use Windows XP, you will always remember it, because it was associated with a fierce childhood ?
Therefore, today I will share with you how to switch interface from WINDOWS 10 to WINDOWS XP, so you can re-experience this legendary interface.
How to turn Windows 10 interface into Windows XP?
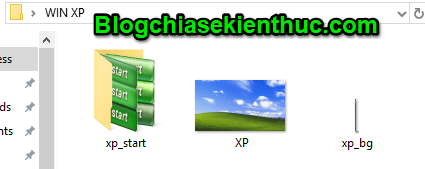
+ Step 1: Download some necessary folders first.
Please upload the folder that I uploaded here or here Please.
In this directory include:
- A folder containing the Start button icons on Windows XP.
- A legendary Windows XP wallpaper.
- A background image for the Taskbar on Windows XP.
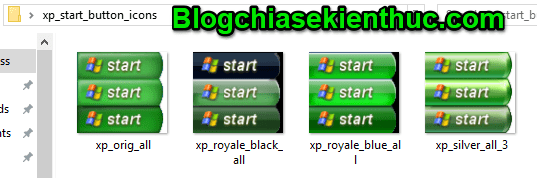
These are the icons of the Start button on Windows XP guys, there are 4 versions (Original, Black, Blue and Silver).
After downloading the folder that I said above, please unzip the file and leave it for a little while, we will need to use it.
+ Step 2: Install the software Classic Shell.
Please download the software Classic Shell at the address: http://www.classicshell.net/ . After accessing the above address, click Download Now to start downloading.

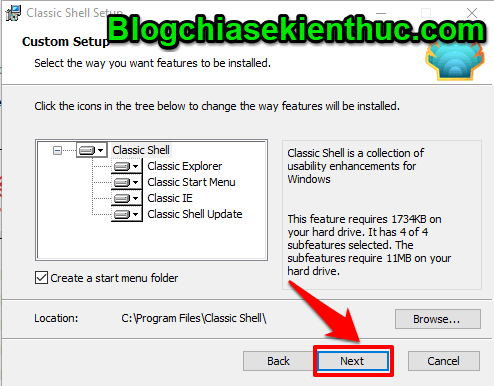
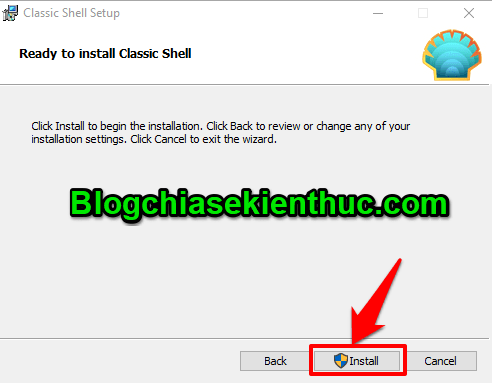
After the download is complete, proceed to install it according to the following simple steps:
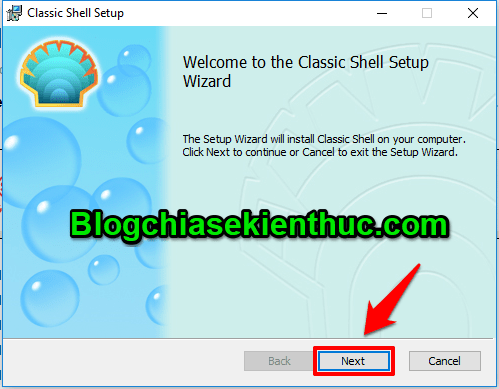
Open the installation software you just downloaded => then click on Next.
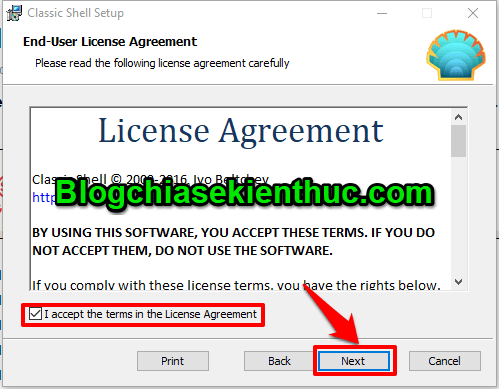
Click the check box I accept … => Then press select Next.
Continue to click Next.
Finally choose Install to complete the installation.
+ Step 3: Make some edits.
After the installation is complete, the software Classic Shell will be automatically opened. You will have to make some edits like me.
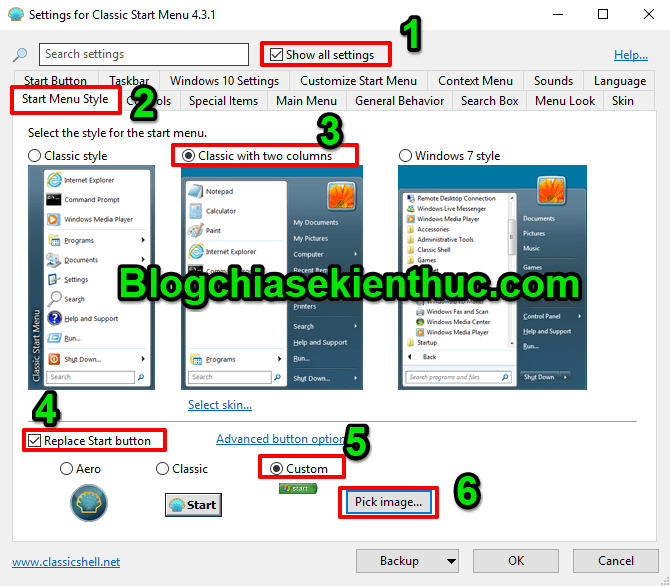
First, please click tick Show all settings (first) so all settings are visible for us to operate.
Then you click on the item Start Menu Style (2) => tick selected Classic with two columns (3) => continue to tick Replace Start button (4) => select next Custom (5) => select Pick image… (6)
(Pick image means you should choose an icon Start Follow the path that I downloaded earlier, guys, please choose 1 out of 4 arbitrary versions).
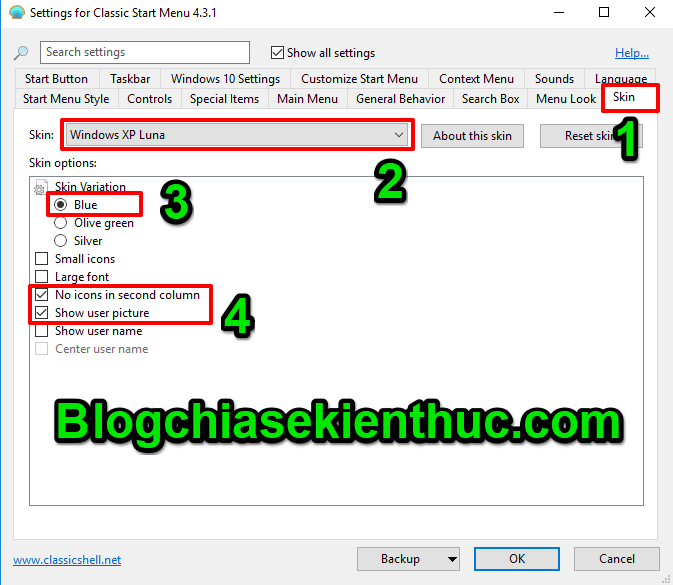
Next, please select the item Skin (first). In the first Skin, remember to choose Window XP Luna (2) => ticked Blue (3) => tick 2 options No icon in second column and Show user picture.
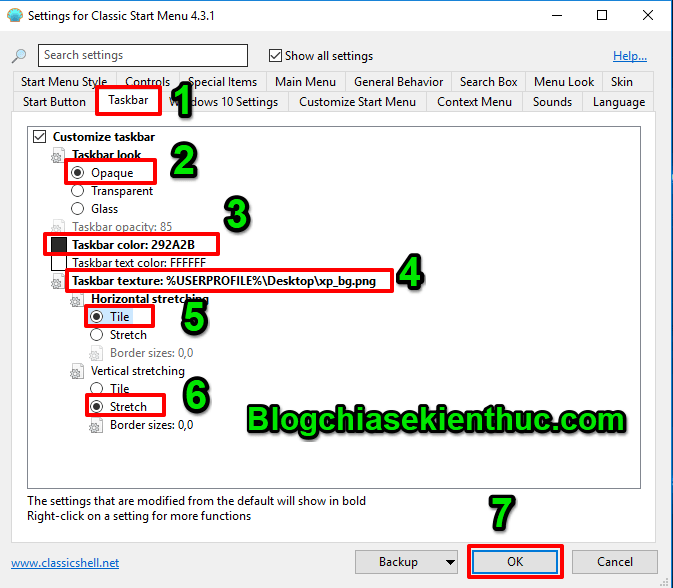
Finally, click on the item Taskbar => Opaque => Taskbar Color (change it to color code 292A2B) => Taskbar Texture (Please select the path with the background image of the Taskbar that we downloaded earlier) => Select Tile => Stretch => OK
Finally press OK to save your changes.
Some notes are needed to look more like Win XP interface
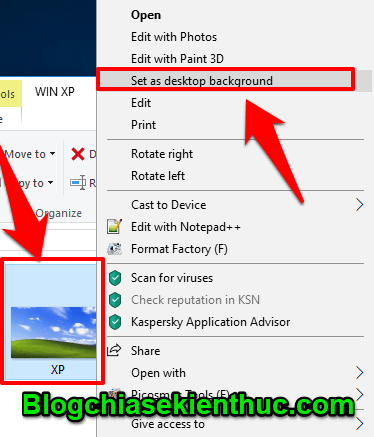
First, change the legendary Windows XP computer wallpaper for your computer.
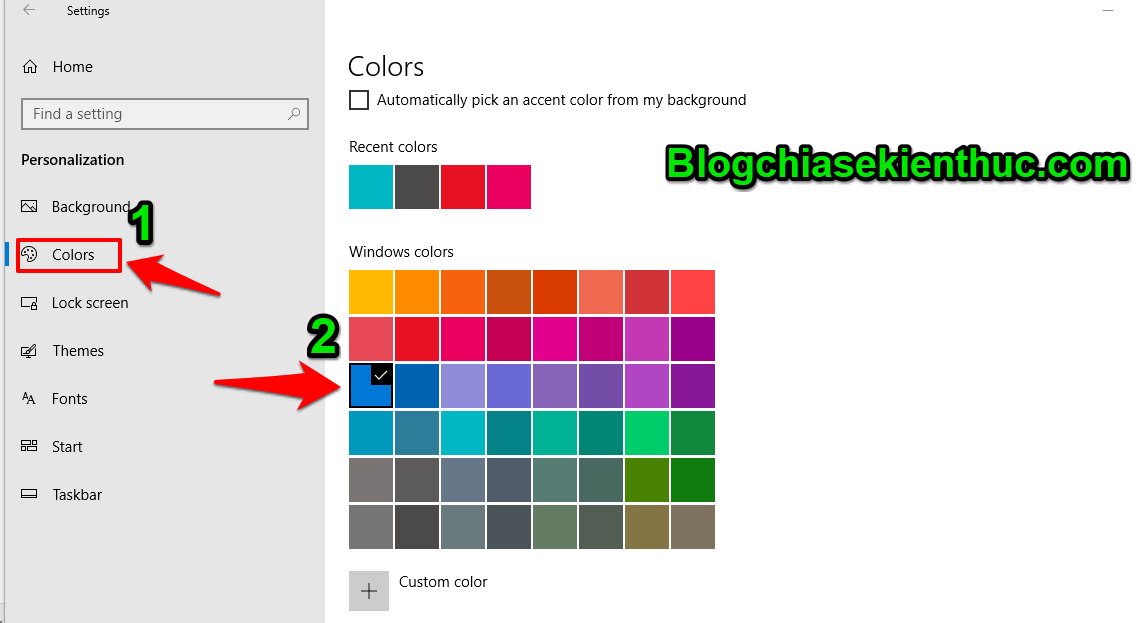
Next you press the key combination Windows + I to enter Windows Settings => select feature Personalization => select tab Color => Remember to choose the blue color (the third leftmost position from the top).
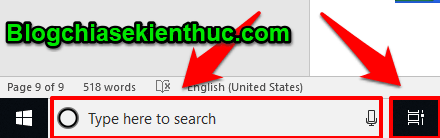
Another note is that you click to hide the bars Task View and Cortana next to the button Start let’s go. This is simple, for example, to hide Cortana, right-click => select Cortana => select Hidden is done.
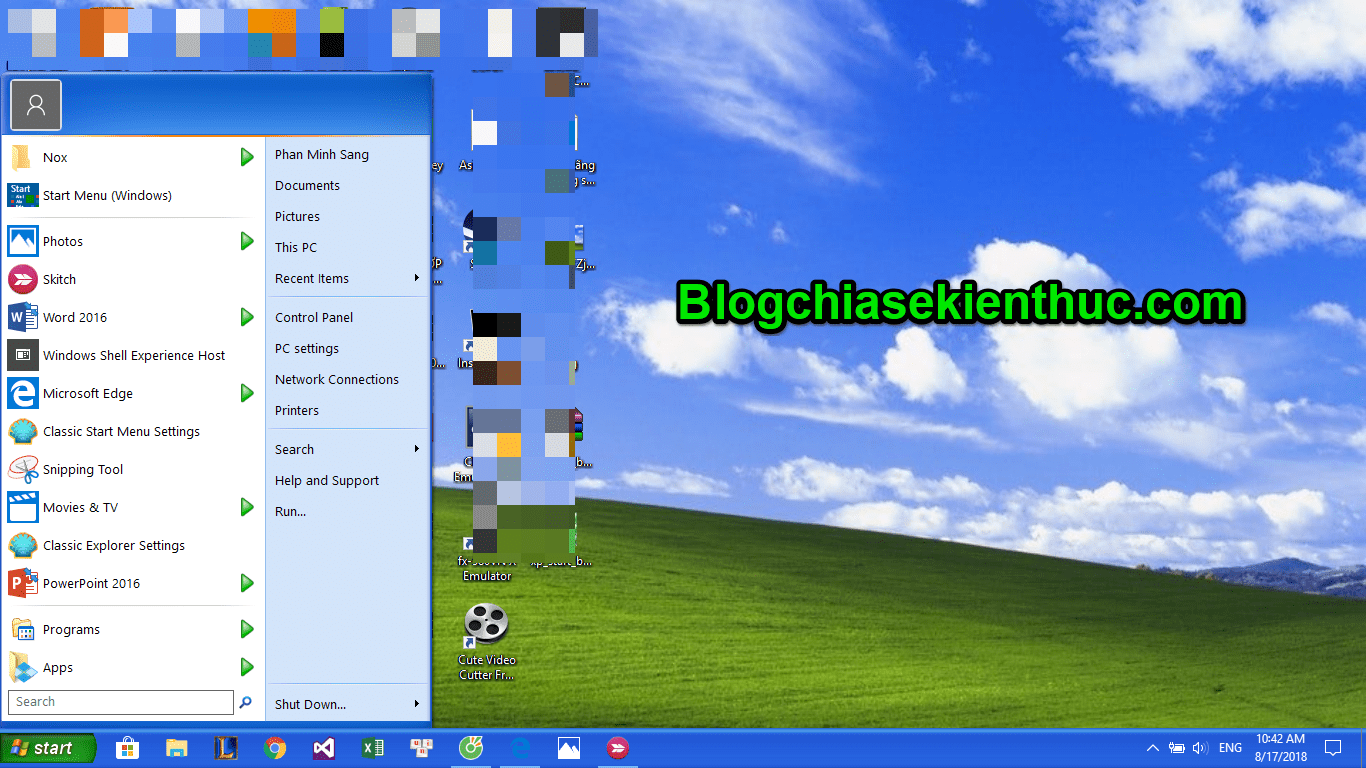
So it is complete already. And this is the interface that I switched from Windows 10 to Windows XP on my computer.
It’s simple, isn’t it?
Epilogue
OK, so I just finished instructing you how to use the Windows XP interface on Windows 10 Alright. A pretty interesting trick ?
Thank you for watching my post. If you find the article interesting and useful, please rate 5 stars for the article and Share it right away for everyone to know.
Wish you all luck and success!
CTV: Phan Minh Sang – techtipsnreview
Note: Was this article helpful to you? Don’t forget to rate, like and share with your friends and relatives!
Source: [Tricks] How to use the Windows XP interface on Windows 10
– TechtipsnReview


