As you all know, the Windows operating system market provides us with a free but highly appreciated antivirus tool called Windows Defender.
Windows Defender is capable of fighting viruses, ransomware, spyware, rootkits, and many types of potential malicious code coming from the Internet.
And in this tutorial, I will share with you how to run Windows Defender directly from the Windows Powershell command line tool.
You can completely perform the functions of anti-virus software available on Defender from the Powershell command window, such as scanning for viruses across the Windows system, for example.
#first. Launch Powershell Admin in Windows 10
To run the Powershell tool with Admin rights on a Windows 10 computer is very simple, you do the following:
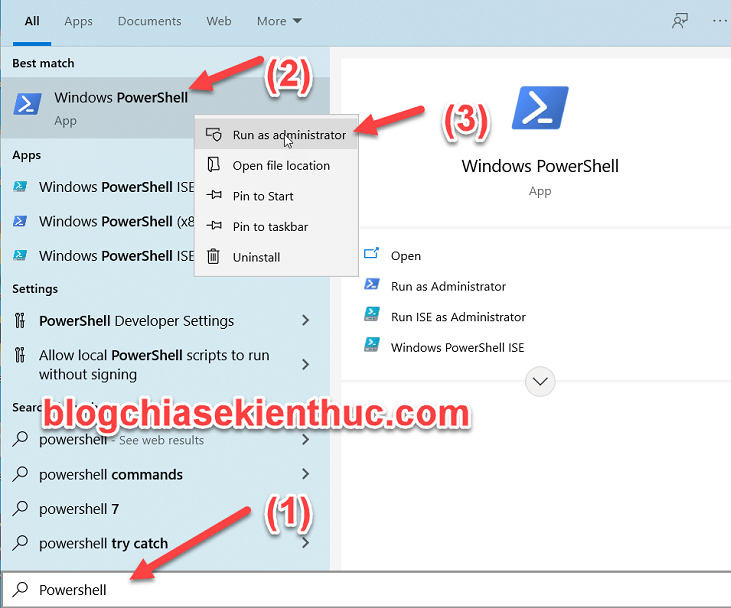
Step 1. You press the combination Windows + S to open Windows Search => then search with keyword Powershell.
Step 2. Right click on Powershell => and select Run as administrator to run it with admin rights.
#2. Windows Defender Status Check
Before performing a Windows computer virus scan, you need to run Microsoft Defender first. In addition, you should note that turn off other anti-virus programs, leaving only Microsoft Defender (required condition).
>> In the Powershell command line window, enter the following commands in turn => and press Enter After each command, guys:
Get-MpComputerStatus
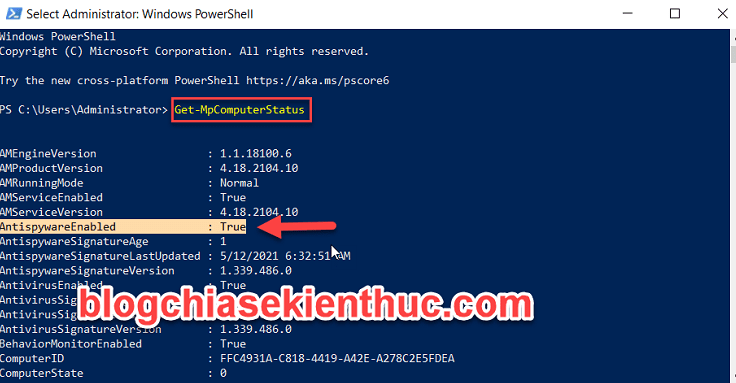
The command above will list details of information related to Microsoft Defender. If Microsoft Defender is running on your system, it will show True on the AntivirusEnable field.
#3. Update Microsoft Defender
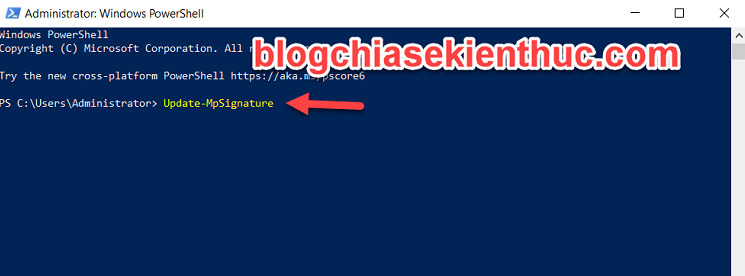
NOTE: If you regularly update Windows 10 Update versions, there is no need to do this. Otherwise, use the following command to update the Microsoft Defender application in PowerShell.
>> You enter the following command and press Enter:
Update-MpSignature
#4. Run a virus scan for your computer
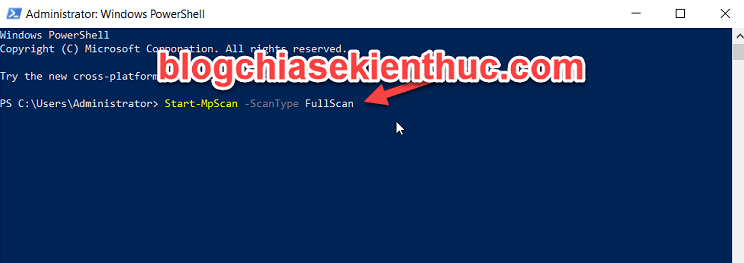
To keep your computer safe, you should scan for viruses regularly. You can do this with Powershell through a very simple command, it will scan and check all the data of the computer.
>> You enter the following command into the PowerShell window and press Enter:
Start-MpScan -ScanType FullScan
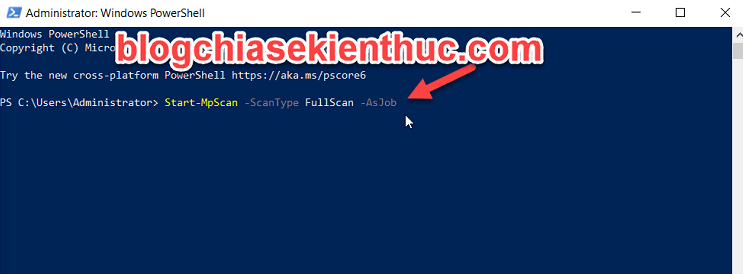
Since the full computer scan takes time to complete (quite a while), you can set Defender to perform the scan in the background. To do that, you run the following command:
Start-MpScan -ScanType FullScan –AsJob
#5. Run a quick virus scan with a command in PowerShell
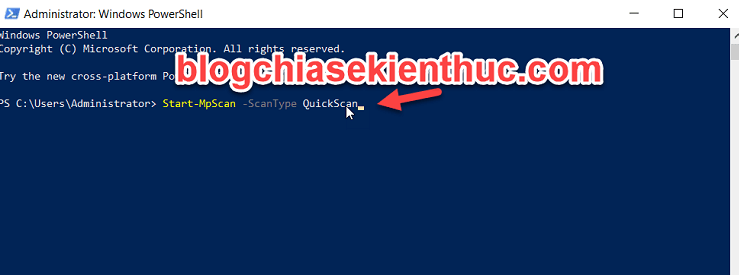
If you want to speed up the virus scan on Windows 10, you can run quick scan mode. Of course, we will still use the PowerShell window to scan for viruses.
>> You enter the following command and press Enter:
Start-MpScan -ScanType QuickScan
#6. Run Windows Defender offline scanner
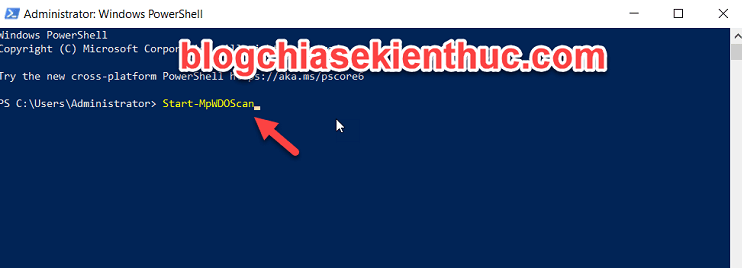
For those of you who don’t know, Windows Defender also has an offline scanning function that removes hard-to-detect malware.
However, offline scanning requires a trusted environment. This means it will delete temporary data of running and unsaved programs/software.
So, before using Windows Defender’s offline scanning feature, make sure to save all open files.
>> You enter the following command and press Enter to run a virus scan with Defender using PowerShell:
Start-MpWDOScan
#7. Epilogue
Above, I have completed the instructions for you how to use PowerShell to scan for viruses and malware on Windows 10 already. Hope this article will be useful to you, good luck!
CTV: ThachLC – techtipsnreview
Note: Was this article helpful to you? Don’t forget to rate the article, like and share it with your friends and family!
Source: How to use commands to scan for viruses and malware on Windows
– TechtipsnReview


