Android notifications can be annoying at times, so turning on the “Do Not Disturb” mode is one way to mute notifications that appear unnecessarily. Here’s how to set up do not disturb mode on Google Pixel phones.
How to customize the do not disturb mode
The option “Do not disturb” will be in the settings Sound (Sound). First, swipe down from the top of the screen twice, then tap the settings icon.
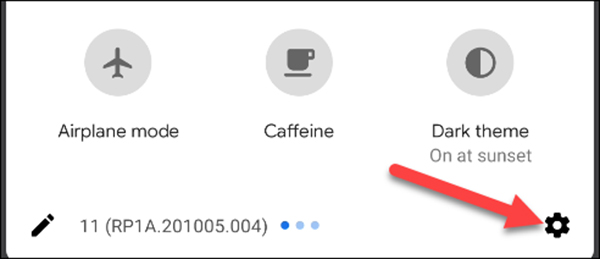
To enter Sound (or Sound & Vibration)> Do not disturb.

Press Calls to choose who can reach you when in do not disturb mode.

Select one of the following options.
- Starred Contacts: Anyone in the special contact list you saved.
- Contacts: Everyone in your phone book.
- Anyone (Anyone): Anyone calling.
- No (None): All incoming calls are muted in do not disturb mode.
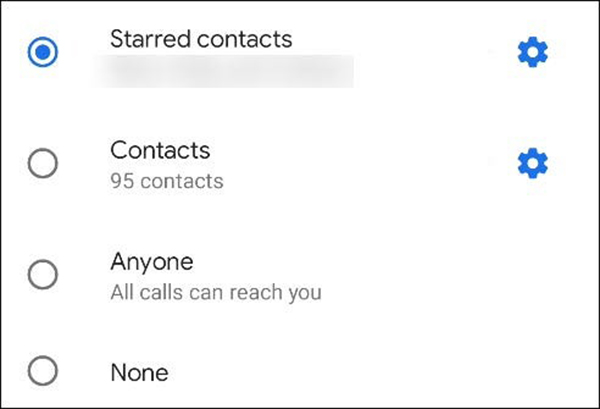
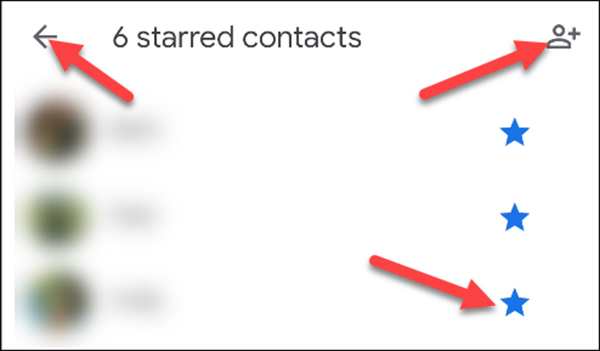
If selected item Special contactYou can click the icon to add or remove contacts from the list.
Select the icon in the upper right corner to add a special contact, or click the star icon to delete the contact. Select the back arrow when you’re done.
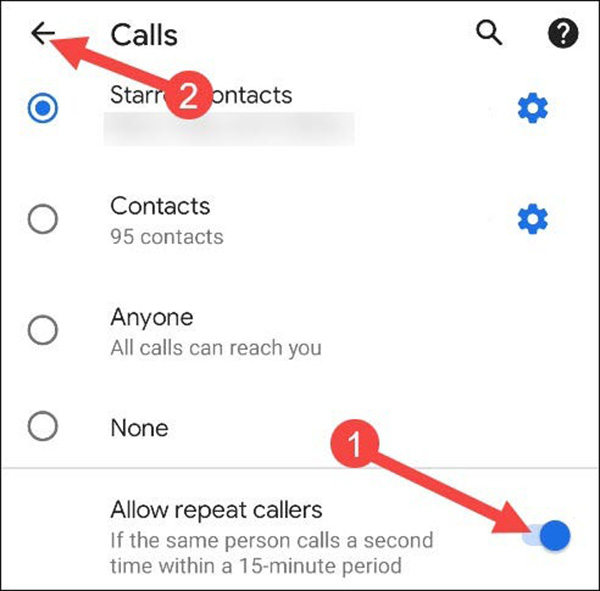
Next, turn on the option Allow Repeat Callers if anyone calls continuously within 15 minutes. Select the back arrow when done.
Next is the settings for the messaging section. Choose Messages.
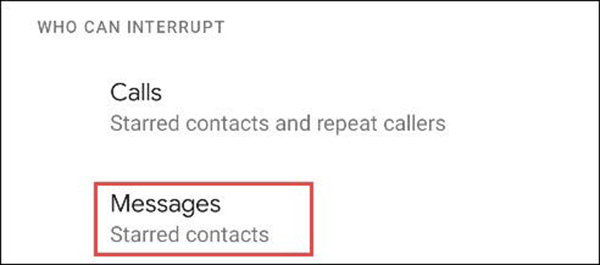
You will see similar options in the section Calls.
If you choose Starred Contacts You can choose from the same options as above.
The last thing to set up in the section People is CConversations. Starting with Android 11, you can bookmark specific chats in the messaging app. In do not disturb mode, you may not want to be notified from Facebook, but still want to receive an emergency SMS notification.
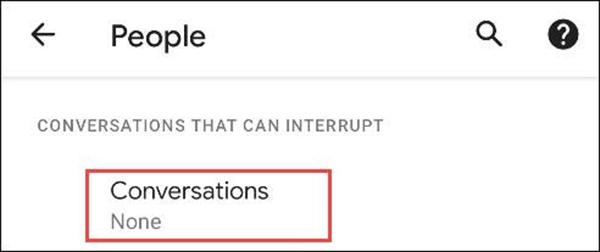
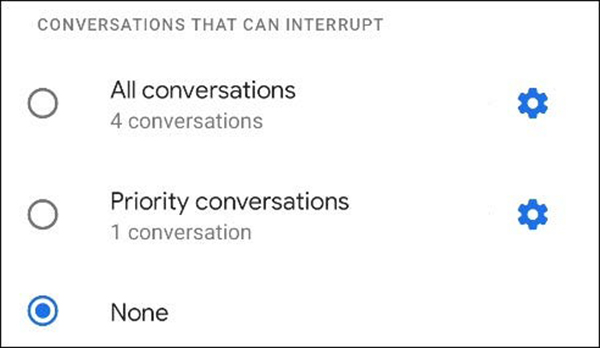
Options under “Conversations” will include the following. You can click on the gear icon next to the options to adjust which conversations are included.
- All Conversations: Receive notifications of all conversations.
- Priority Conversations : Conversations are marked with priority.
- No (None): Do not receive notification of all conversations.
Once set up Call and Message done, we can customize which other notifications are allowed in do not disturb mode. Choose Alarms & Other Interruptions.
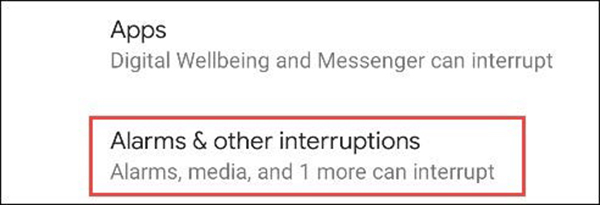
You will see a list of notification types with toggle buttons next to them. Select the ones you want to see in do not disturb mode.
The last part to mention is Apps. This indicates which apps will be able to alert you in do not disturb mode.
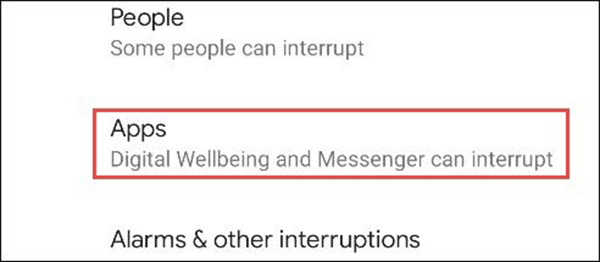
Apps That Can Interrupt will be displayed at the top. You can choose an app to customize exactly which notifications are allowed to interrupt.
To add the application to the list, select Add Apps (Add Apps).
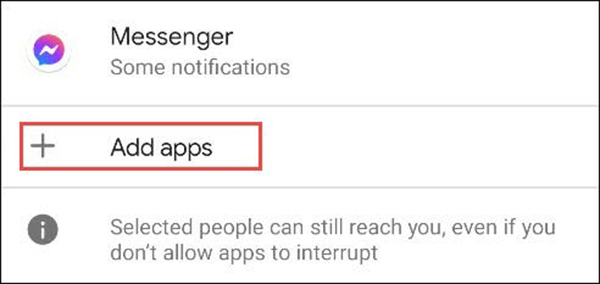
The page will expand with the complete list of apps on your device. Select the app you want to add.
You will be taken to a page with all the different types of notifications that may come from the app. Toggle the switch for whatever you want to allow in do not disturb mode.
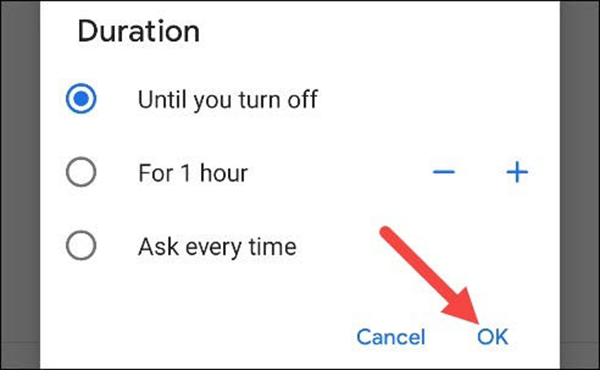
Once you’ve added the app, go back to the main “Do Not Disturb” setting. Next is to choose how long do not disturb mode will run with a quick install option.
You can choose the mode Until You Turn Off, set custom time or Ask Every Time (Ask Every Time). Click OK when finished.
Next, choose Display Options for Hidden Notifications. This option determines how notifications blocked in do not disturb mode appear and sound.
From here there are three options:
- No notification sound: The notifications will still appear, but they won’t sound.
- No notification image or sound is displayed: You will not see or hear the notification.
- Custom: Select this option to choose which notifications appear.
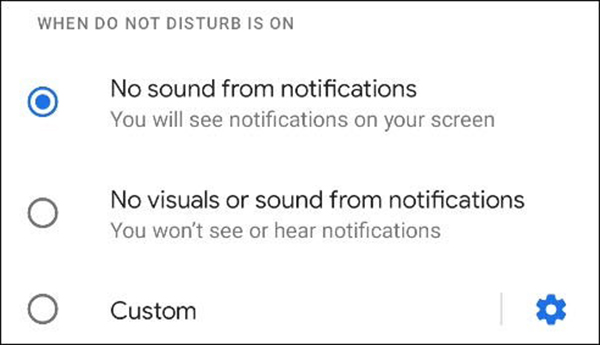
If “Custom” is selected, tap the gear icon to display options. You can choose a number of different variables to define exactly how the message will appear under different circumstances.
Finally, we can set the schedule for do not disturb mode. Click Schedules.
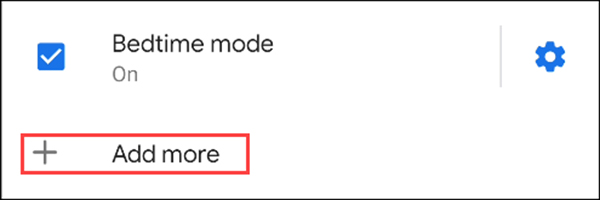
There will be a number of different reservation schedules you can use. If you have previously set up “Bedtime Mode” on your phone, you’ll see it enabled as one of the schedules.
To create your own calendar, tap Add (Add More) at the bottom.
You will first be asked to choose a schedule type. Do not disturb mode will run based on calendar events.
Source link: How to set up Do Not Disturb mode on Google Pixel phones
– https://techtipsnreview.com/


